WK4DS Amateur Radio Blog
Search Posts
Sometimes it is nice to have a slower day
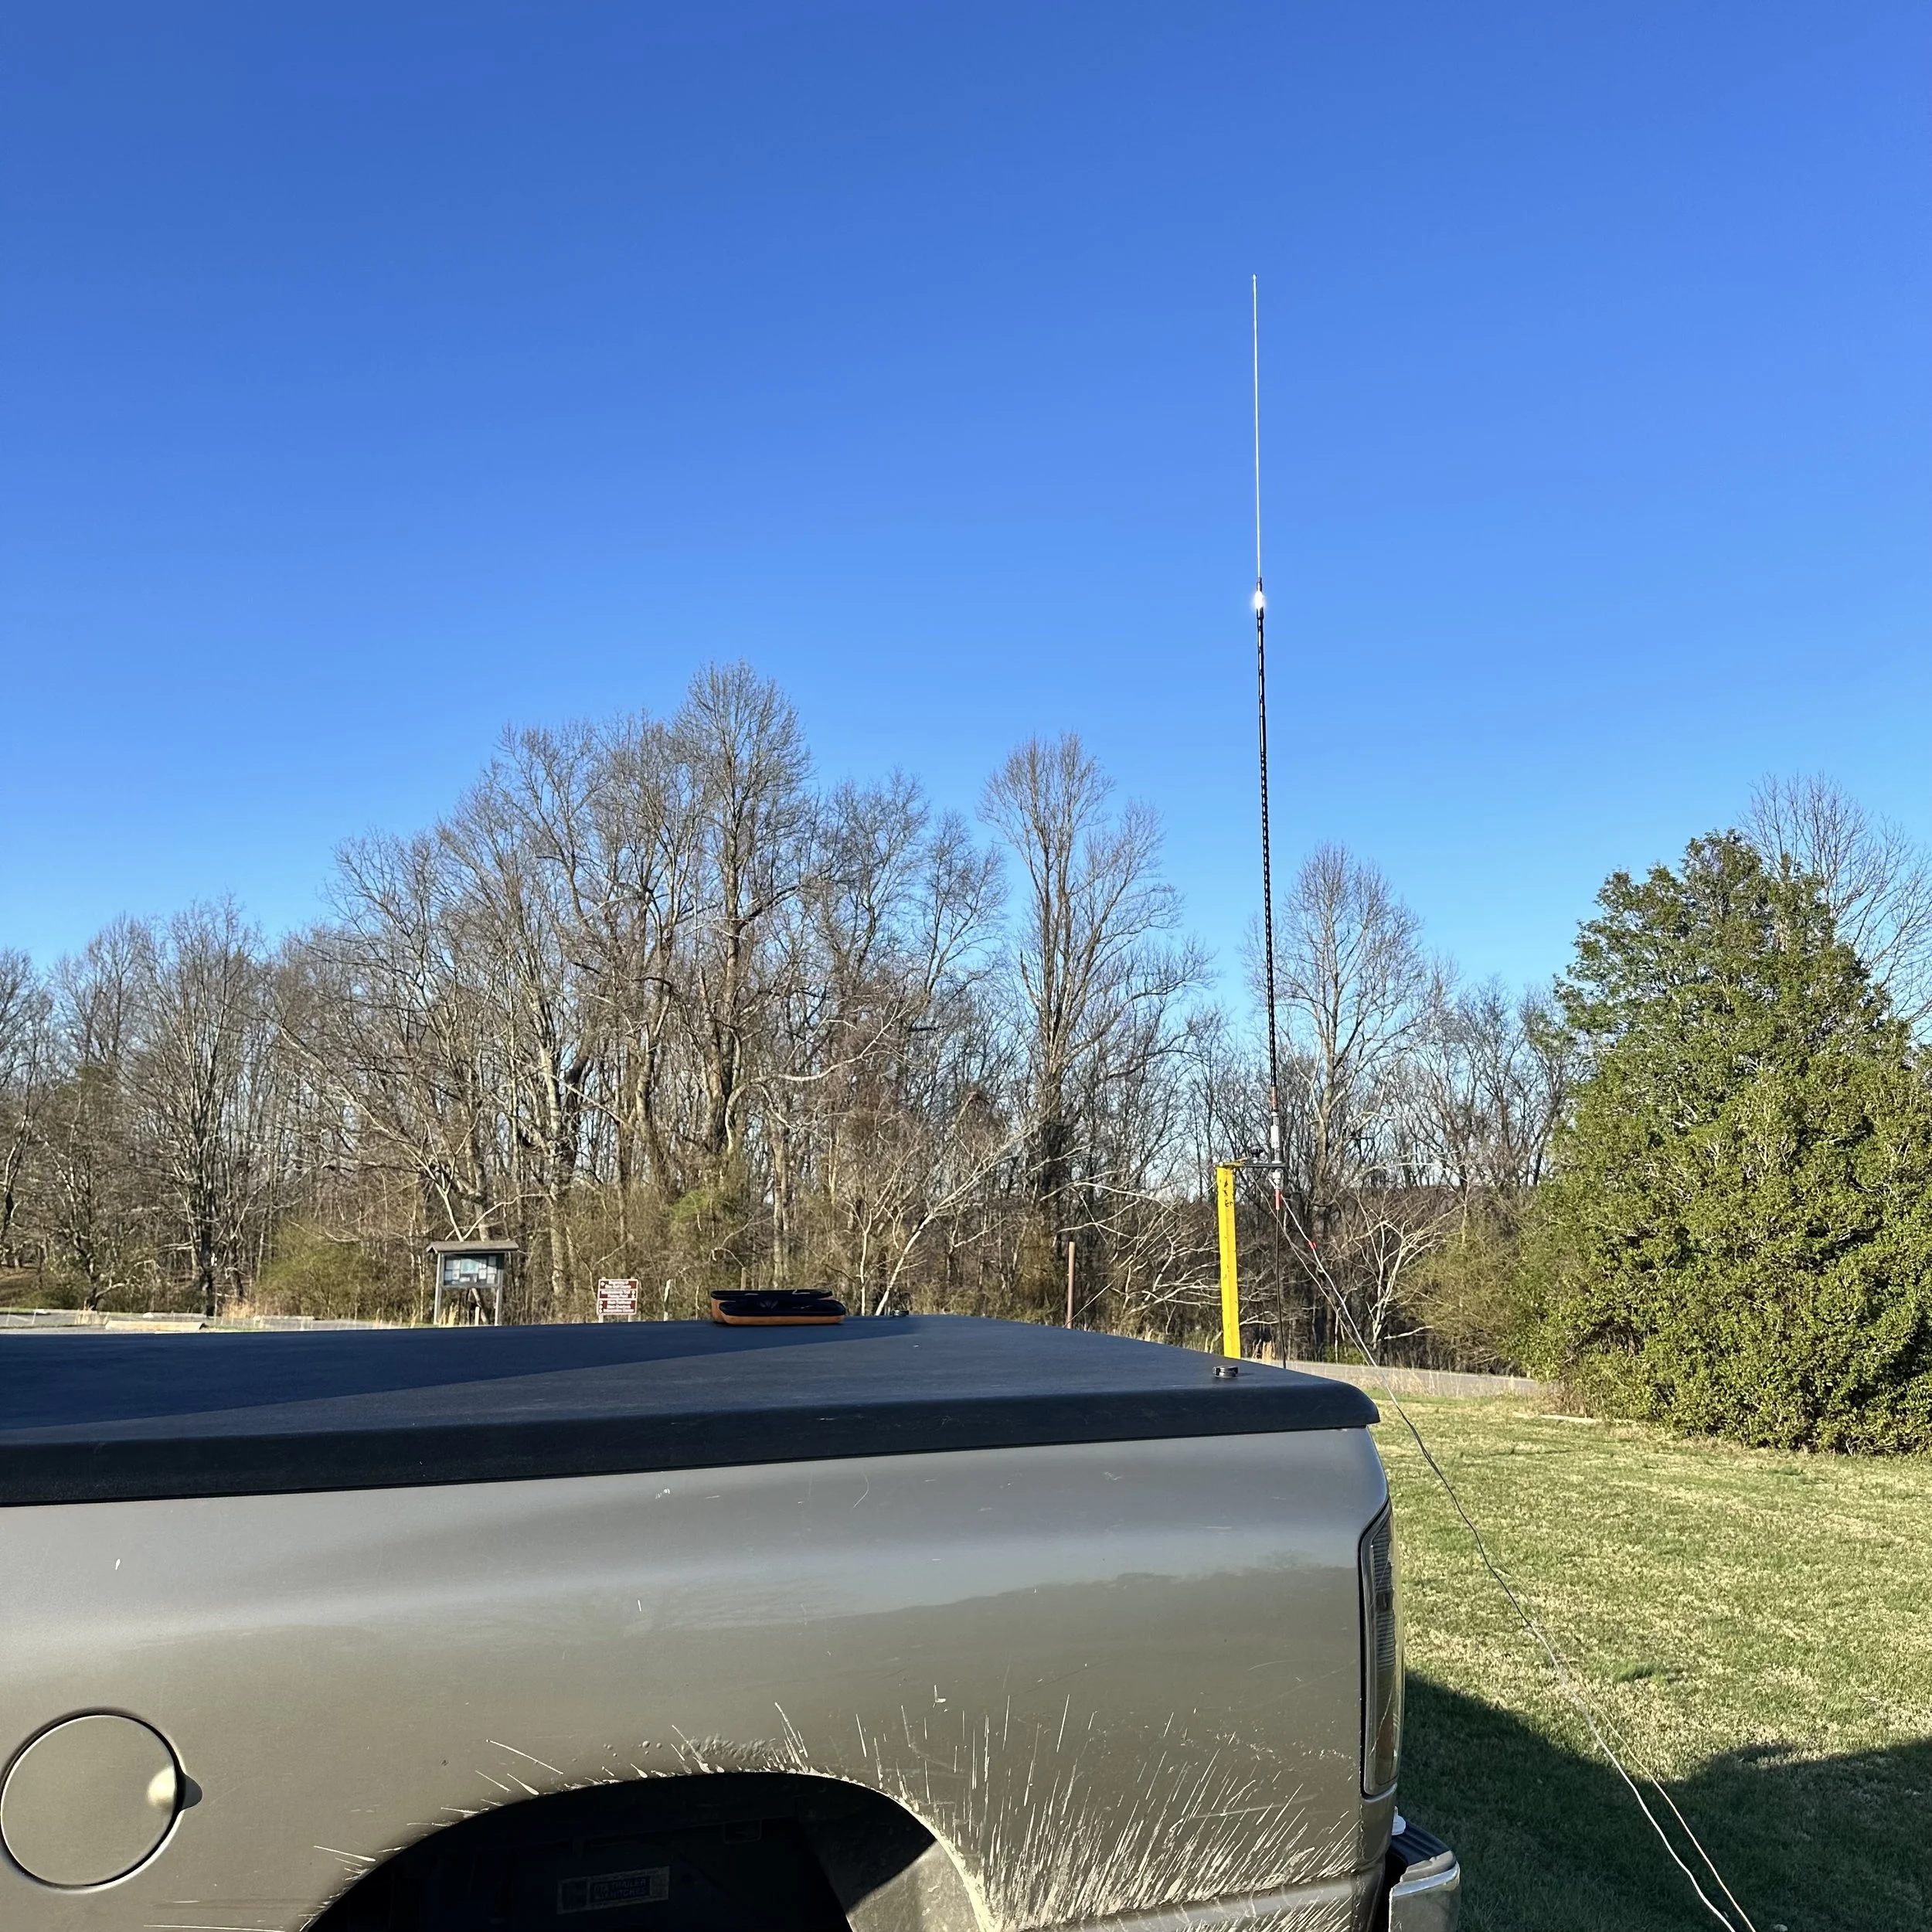
I recently setup an activation at K-2169 and had no where to be for the rest of the day… This is my kind of POTA activation!

The above photo is a little misleading, there was one other car in the lot, but due to camera angle and me wanting the truck to be in the frame as well as the parking lot it is out of view. But it was essentially empty, so it was really quiet and I didnt even see a park ranger on this day, they normally ride by once or twice while I am setup and sometimes they even stop for a chat. I have been here so much that they know what I am doing and are cool with it. I contribute this to the fact that I am in a corner of the property where there is little to no activity most of the time, I don’t consume more than one parking space with my setup, I stay out of the pavilions (I have used them in the past if they were not being used and had no placard reserving them), my setup doesn’t involve me driving stakes into the ground and I do my best to keep my footprint to a minimum. Since I use CW for the most part, I don’t make very much noise either so it is minimal impact all around. At least that is my perspective and it seems that it is also the park employees perspective as well…or they could just not care about the old codger over there with the little radios…lol.
Today saw me on the 17 meter band with Morse code and it has always been an intriguing experience. The rhythmic sound of the dots and dashes echoing over the airwaves brings a sense of nostalgia for a bygone era while honing my skills in communication and technology. Despite the advancements in digital modes, Morse code offers a unique challenge that is both rewarding and intellectually stimulating. Operating on the 17 meter band allows for reliable long-distance communication, opening up a world of possibilities to connect with fellow enthusiasts from different corners of the globe. (Check the log and you will see what I mean by waxing nostalgic) It's fascinating to see how a simple yet effective mode like Morse code continues to thrive in the modern age of ham radio.

Below is the whole station (minus the S meter I am currently building for it) for the TR-35 HF radio. I have built the “black box” of options to help complete out the radio, the box has a battery pack in it as well as a speaker for the radio since it has no speaker of it’s own and I have added a push button to activate the voltmeter so it doesn’t run constantly and drain said battery. There is also a power port on the front now to allow the connection of two accessories as well. (This is for future expansion of the kit to include one more item that I wished this radio had built into it, an S meter)…
I created the box with the cabling to connect it to the Penntek TR-35 radio and it makes a station out of it basically. Just add your favorite CW key and you are off to the races.

I really like the layout of this radio, if I could alter the design at all, it would be to add two pushbuttons to send the CW memories with, but that is nitpicking to be honest. One other thing is that I like to have an S meter for some reason, it is fine to operate without it, but I just like having it for some reason… The system works well as it is and once you use it for literally a couple of minutes, it is easy to send the memories. If you are into small CW radios, this is one to have in my opinion…

Another thing I like about this radio is the fact that all the controls are on the surface that you need when operating. I like that it has the four knobs at the bottom and i usually use all four of them in an activation! Come to think of it, I usually use EVERY control on the radio on every outing… Everything you need and nothing you don’t…except for that S meter… HaHa. Another thing I like about this radio is the size. It is so small that it fits in my hand (for the most part) and is a 4 band CW transceiver! Even though it doesn’t have an antenna tuner, this is still a huge win for me. It sold me almost immediately when I took it to the field. That was when I realized I had found the replacement for the Elecraft K1 that I had used for so many years..

What your going to notice about today’s logbook page is that it doesn’t have very many calls in it. There is a couple of reasons for this. The first one is that the band was fading in and out pretty heavily. Just look at the time stamps on the RBN reports below and the associated the dB levels at those times, it was up and down heavily. Now I understand these stations are scattered around the country, but they are all west coast for the most part ( a feature of 17 meters is it skips over the closer states for me on my hamstick) and they show an amazing amount of variation in signal in just a few minutes of time. Once I looked at this, I realized I just needed to call and when the band would open up I would get two or three and then it would close back down, call a few minutes and get a couple more…rinse and repeat. It was still a lot of fun and I work Japan in one of the openings too!!!

Just check out that one lone DX contact from Japan! I was blown away when I heard his callsign coming into my tiny little radio. I love these kinds of days just as much as the faster paced, high QSO count days. It is just fun to setup a radio and make contact with distant stations whether in my own country or half way around the world.

Thank you for following along on my little journey to a local park, I hope it inspires you to get on the air and make contact with someone out there.
72 WK4Ds
My activation with 9/10th of a watt… on CW.
Today marks a new milestone for me. I did a complete POTA activation with less than 1 watt of transmitter power. This is only 18% of my normal power of 5 watts. The numbers seem impressive now but just wait.

I went to K-2169 to get a quick activation in before they closed the park gate as I had almost two hours of time to do it.
I have several things that would be considered road blocks to this being possible.
The first one is the power obviously. The second is I am running that power into a hamstick antenna, which is not known for there efficiency. Lastly I setup at the foot of a mountain, literally… so let’s see what happened.

Spoiler alert…it went really well. I did have a bit of a rocky start as I wanted to get on 40 meters first but no one was there from what I could tell. After a solid 5 minutes of calling CQ I got zero answers, so I checked the spot page and saw there was a bunch of activators on 20 meters, so I changed the antenna to 20 meters and got on there.
Things changed when I did this. My first contact was with Paul KJ7DT in Idaho! That is right at 1780 miles on 9/10ths of a watt! He even gave me a 559 report, which I couldn’t believe! Wow, this just might work!!!
Well, as you see in the logbook, it went surprisingly well and I was able to complete the activation and get back home well before dark too. This was a pleasant surprise to be honest about it. I have turned down my power before but never this much. Now, I am going to do a series of self challenges to see how low I can take the Icom IC-705 for output power and still get the activation.
There is an award from the QRP-ARCI called the 1000 miles per watt award. I won this award at least six times today (if I were to actually apply for it that is). That just boggles my mind. I think my furthest contact was VA7AQ in British Columbia at about 2120 miles. That comes out to 2355 miles per watt!!! That is crazy!!!


Radio waves are a strange thing sometimes. If the sun is cooperating and the earth is also happy, it is easy to get across oceans with just a watt or two of radiated power. I plan to test this theory more this summer as the solar cycle improves even more towards the maximum.
What really impressed me is with POTA you normally send more honest signal reports than in say a usual DX pile up or a contest. If you will notice, 20 meters was going strong at that moment and almost everyone was booming into my IC-705 in the rain that day. (I was inside the truck but it was raining). 9/10ths of one watt is what most hf rigs would consider the pre-amp stage. Lol. So the next time you have 100 watts and 2:1 SWR, dont sweat it too much, you still have something like 90+ times the radiated power I was using today. That should make you feel a little better about it. Haha. Until next time, warm up that atmosphere!!!
Addendum: Well I now have to get crazy low as Thomas (K4SWL) has a video where he activates with 100mW of output power… more to come…
The Penntek TR-35 activates POTA K-2169 gloriously!

Click on the image to goto the WA3RNC website to get your very own TR-35 in either kit or factory built versions.
Today started off like most others with some time at work in the morning and then I had a few hours around lunch to do an activation. In addition to the usual activities, I have been using a variety of radios lately to see what I like about each one. Since I had activated most recently with the IC705 (by far my most favorite POTA machine) and so I wanted to use a different radio. I have been using the TR-35 lately in the shack, but wanted more field time with it to see how easy it would be to work with.

33’ wire radiator and two 10’ counterpoises bundles for storage. I love these velcro tie back straps.
So on this outing, I used a 33’ wire “vertical” antenna that I pulled into the tree with my throwline. Once the vertical was up, I laid out both of my counter poise wires (I think they are 10’ each) and for good measure I spaced them into a v pattern for kicks… On my next trip out I plan to see if putting them at 90 degrees to the radiator and 180 degrees from each other helps, it probably does and I have been paying the price all along with my silly V setup I have been using… lol…anyway…

This is a great antenna tuner and still happens to be in production! The new version is a little more streamlined but it is the same internally as this older one.

Back of the antenna tuner is just as busy as the front!
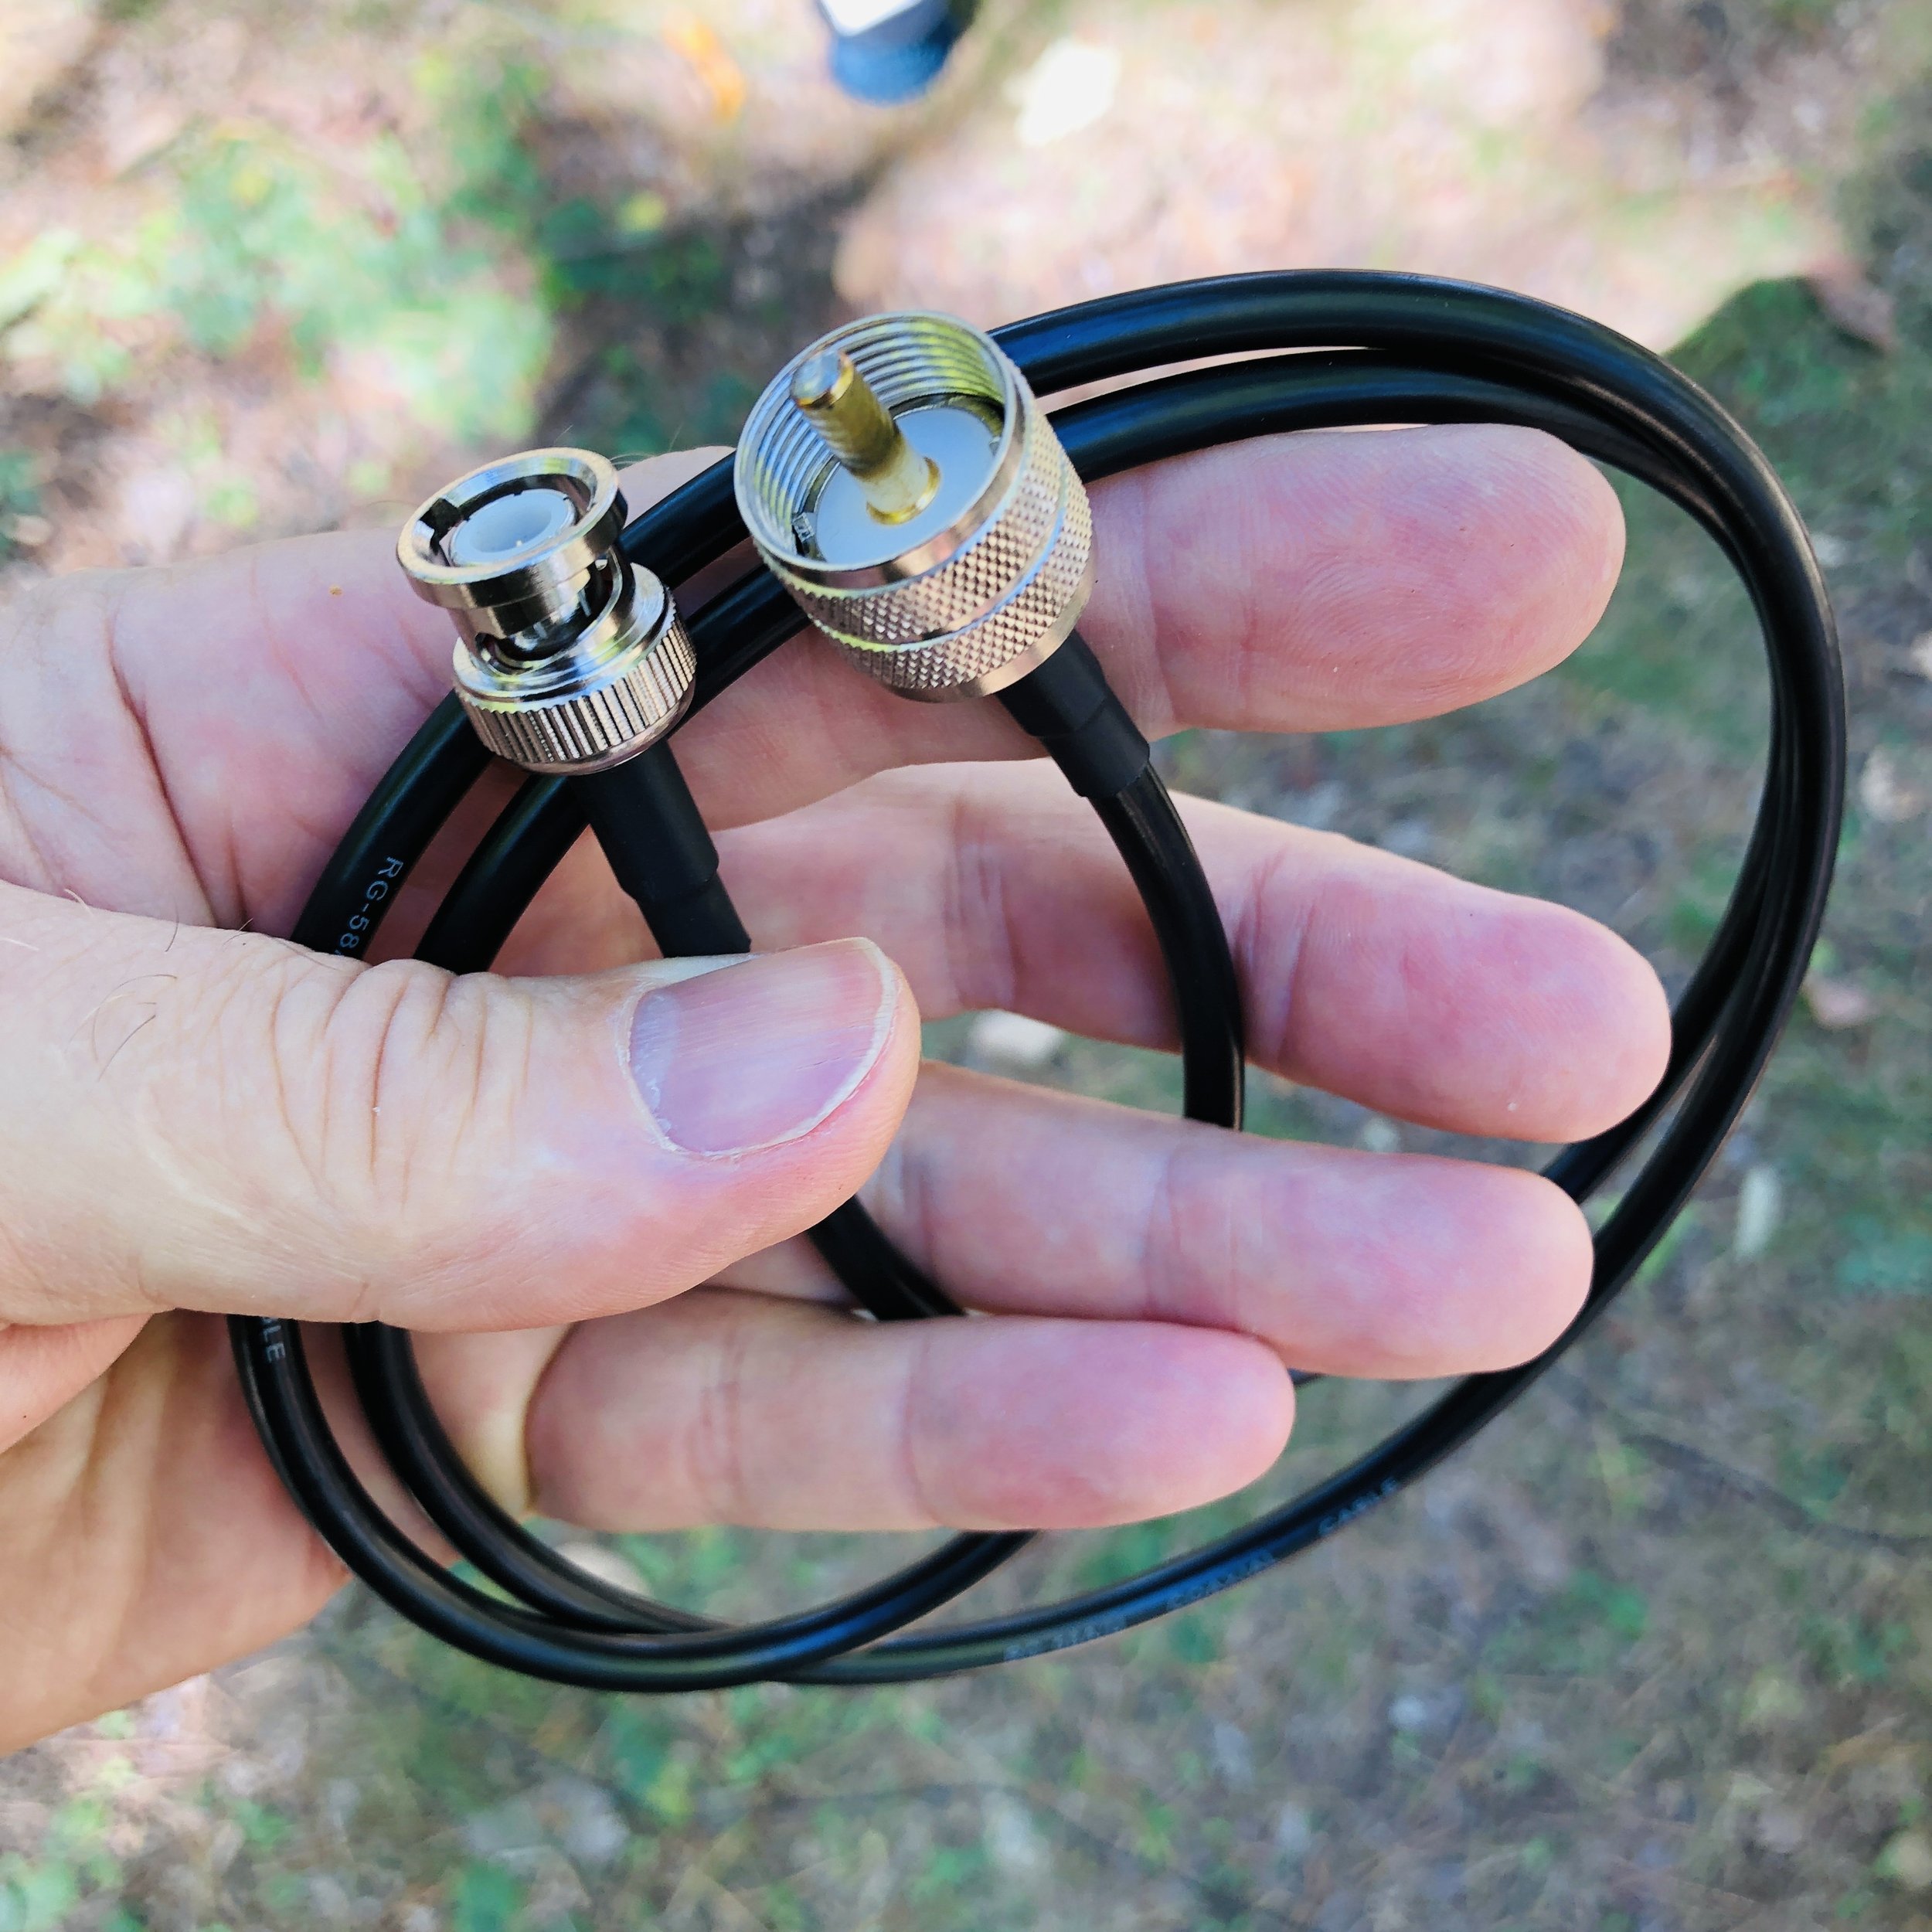
Once the antenna was up, I connected it to my MFJ travel tuner to the random wire lugs on the back of the unit. Then I use a special coaxial cable I bought from Amazon that has a BNC on one end and a PL259 on the other. The antenna tuner uses SO 239 mounts on it so the PL259 couples that end and the other end is natively a BNC on the TR-35, but I have also adapted my nanoVNA to BNC as well for simple tuning. Since my Ten Tec Argonaut 5 is SO 239, I have bought an adapter to convert it to this same system so I can tune the antenna easily on it as well.
This is not my idea, my late friend K4GC Brian was the person that taught me and Roger how to do this. It makes perfect sense when you think about it though so I started doing it once I got the VNA. Otherwise it is this trick of tuning till you hear the noise level peak and that is the best you get. This way works but it is possibly not centered where you need to be. Since the TR-35 doesn’t have an SWR meter, it has lots of protection circuits built in to prevent you from damaging the transmitter from tuning or operating at full power with poorly matched antennas. It has a current protection circuit as well as a thermal protection circuit, if either one activates, you really should check the antenna and see what is wrong, then reset the radio and try again. Alternatively, you could bring an SWR meter with you to get the tuner set as well if you don’t have a nanoVNA…
Amazon is a great place to find these sorts of oddball parts, several of the items in this blog today came from them.
Since everything is now BNC connected, I can quickly pull the cable from the radio, then connect it to the nanoVNA and see the tune on the tuner visually! I run a trace with the smith chart and a trace with a SWR line graph as well, with both of these running at once, it is pretty simple to get the SWR and the impedance really close to what the transmitter likes. Once I get the tuner adjusted to the band I want to use, I simply move the coax back over to the radio and off I go…

BNC is where it’s at with this system…

Here I am tuning for the 17m band, note that the VNA is showing the SWR of 1.541:1 and the impedance is 54.8 ohms and slightly inductive at 18.096mhz. I could dial some more of this out with the tuner, but it becomes a law of diminishing returns at some point with the tuning and this worked just fine. Note also that the SWR is fairly flat in the range I planned to work in also. (the yellow line represents SWR vs. Frequency)
Some things to note about the TR-35 that I noticed. The first one is that the headphone jack is wired from the factory for a mono plug, not the stereo plug that every set of headphone made in the last 30 years uses…why? So you go to Amazon once again and buy this little adapter to convert your normal headphones to a mono plug… You can go into the radio and change this on the circuit board, and the instructions even detail this mod, but you have to risk damage to the radio and it is a lengthy tear down and assembly process to get the board out of the case. Lot’s of chances to break something important if you asked me…so the adapter it is… Another thing I cant seem to master is the keyer programming. It is a simple operation to input the message into the keyer, but upon playback, it has odd spacing and sounds disjointed for some reason, I have tried slowing down the keyer speed to no avail, I will figure it out at some point, but for now, I don’t have that one working right. To put it plainly, it just sounds wrong on playback, like I was saying, it could be my sending is causing it, but I have not figured it out as of this writing. I have seen videos of it working as advertised so I am confident I can get it to work…eventually.

Amazon…they have literally everything at this point.
I powered it with my battery I use for my 705 activations, actually lots of the accessories I used came out of the 705 kit today for this activation. But I found this battery is way overkill for the TR-35, so I plan to get a smaller one for the travel battery to build the kit with. Probably something in the 4 or 5Ah range instead will be fine. I am also going to eliminate the voltmeter inline for the travel rig too, just a cable with power-poles on one end, the 2.1mm plug on the other and a fuse in line with the power. It pulls 5 watts wide open, does it really need 14 gauge wire??? Lol. I actually used the power cord for my IC-705 to power this radio today, the connector worked just fine. But I will make a cord just for this rig to go in the kit.

I am also still using the N6ARA tiny 3D printed paddle that I bought a while back(also from the 705 kit today) this is a device that although I like it, it has some problems that I have found. For one, it is really small and I didn’t take that into account when I bought it. It is available in a couple bigger sizes and I should have gotten one of those. This one is in my mind, one that should be a backup or a SOTA paddle or something like that as it’s main advantages are that it is light and small. What I have found from using it regularly is that is gets dirty contacts and you have to mess with it some and clean the contacts before it will send right once it gets some age on it. This is because it is plain copper/brass contacts (pc board with a brass arm on the “levers”) and they tarnish in a matter of days to the point it wont send properly till I clean them. I am looking into three solutions here, a nice travel key like the Begali travel paddle, make my own travel key, or buy a used small foot print paddle off the boards. I am actually leaning towards the Begali for now to give me time to design a key I can share with the world as well as for my personal use. Anyway, who doesn’t like a nice Begali key?

My N6ARA tiny paddle… I love this little key.
I have an alternative reason for working with this radio so much as well. I am going to be doing some traveling in the coming weeks and months and I want to take a radio that is not too large so it is easy to pack and carry around and such. This means smaller is better and the TR-35 is my physically smallest radio. This means it gets the nod based on size and now it also gets points for performance. Even if I cant figure out how to program the memory right. 😂
The kit will fit into one of several of my camera bags that I currently have so I don’t have to purchase a new bag to carry it in. I have found that camera bags work really well for QRP radios too, they just fit really well into old camera bags for some reason. By the way, I didn’t think of this idea either. I got this idea from my cohort KV9L who did this for his FT8 rig and I straight stole the idea from him. LOL.
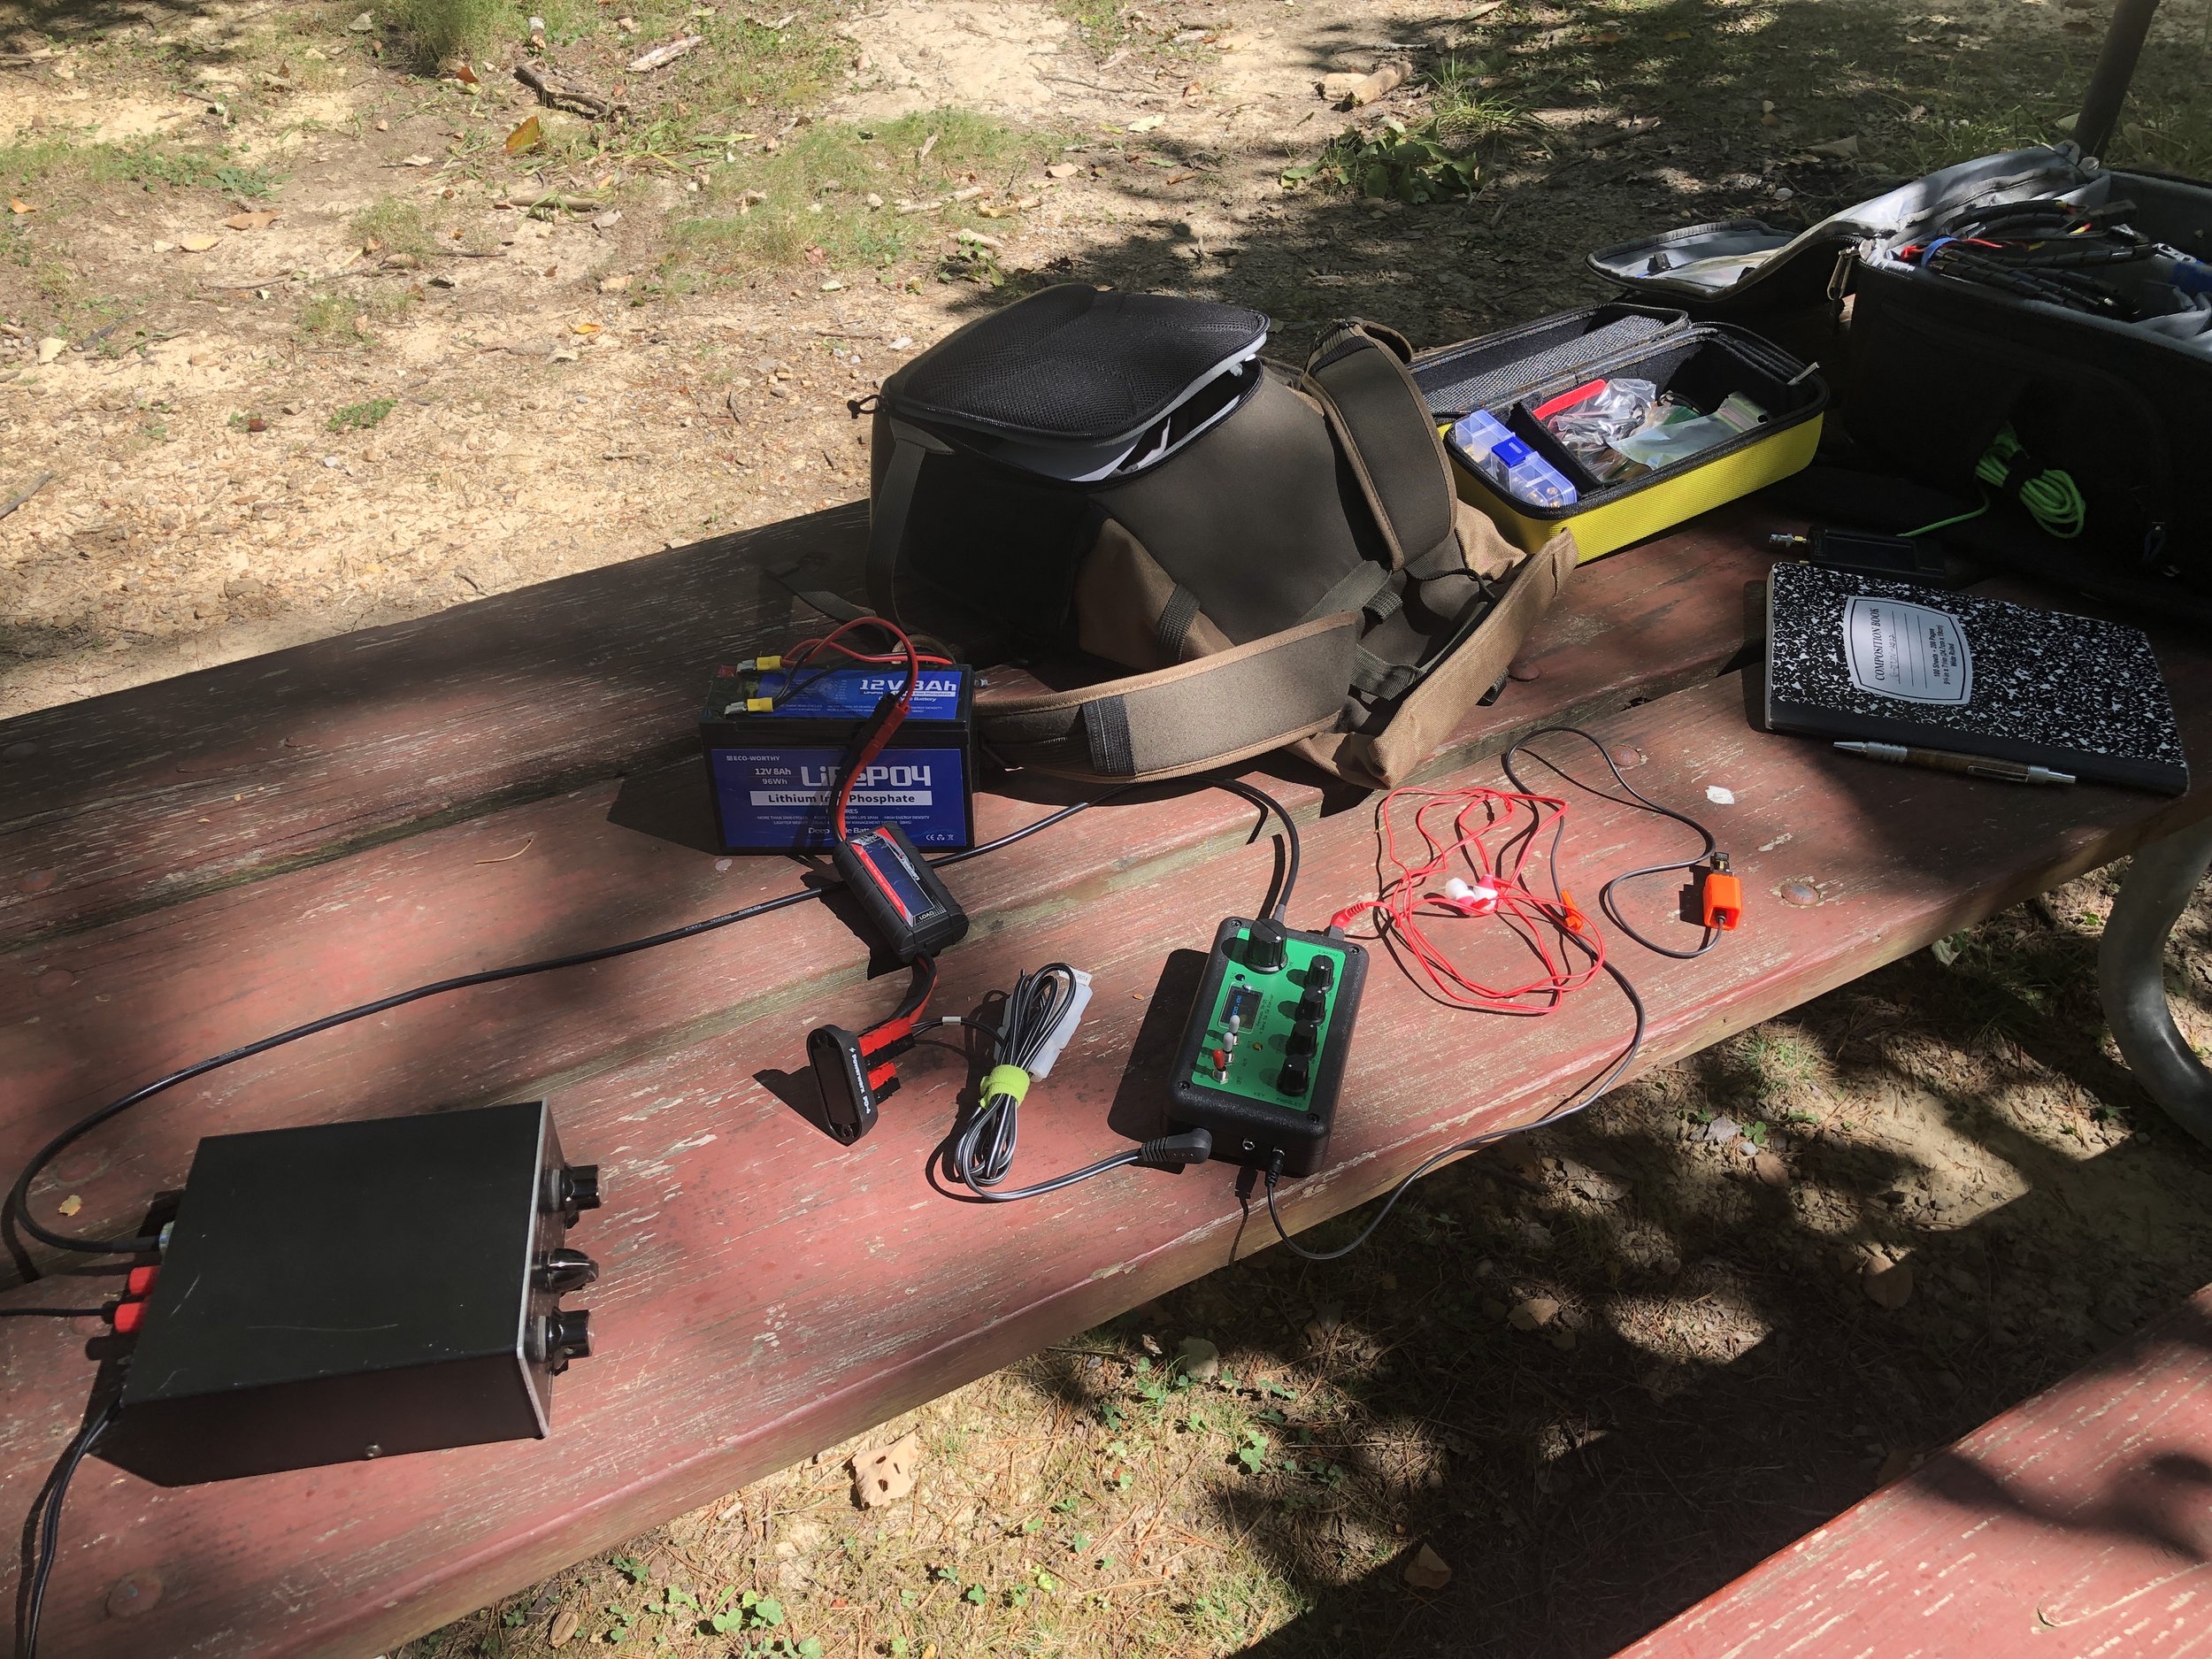
Parts everywhere today! I took the IC-705 bag to “rob” all the support gear from so it would be a simple deployment and I have not built out the TR-35 go bag kit as of yet either…

I really like the aesthetic of the TR-35 as it has everything you need and nothing you dont. It really is an incredible little radio. I didnt build mine from a kit, I bought mine factory built and aligned so I could get on the air sooner.

1 hour on the air netted two pages of QSOs! That is awesome for me!
Logbook looks good with a good spread of contacts today with several from Canada in the log for a change. I usually only get one or maybe two Canadians and today I think there are at least four! This was with only about an hour on the air too. That is really good for me since I run QRP power. The map below shows how far 5 watts into a wire vertical will reach with a little understanding of how to use it. All in all I really like the TR-35 from Penntek, it a great little QRP radio that fits into what I enjoy doing in amateur radio, low power CW operating…

So if you have not done it yet, please like this blog post and if you have a RSS feed, you can sign up there too. I really appreciate your reading along today and if you have not done it yet, get your gear out!!!
Thanks and 73
David - WK4DS