WK4DS Amateur Radio Blog
Search Posts
Getting back to my roots…with CW
Today I activated park US-2169 with the Ten Tec Scout and only used CW.

This was a pleasant change from the FT8 I have been using so much recently. I was actually planning on switching to SSB then FT8 as well and use all three modes in one sitting…but…CW was working SOOOOOO well.
I also decided to setup at the picnic table by the canyon rim so I could use a 41’ wire antenna and a tuner. This allowed me to go up to 10 meters as I checked the spot page and a bunch of people was already there. I worked on getting the antenna tuned a while, only to find that I had used it wrong. Once I figured this out, I was able to get it to tune to about 1.5:1 and this is perfectly fine for a Ten Tec.
I was blown away by what happened next.

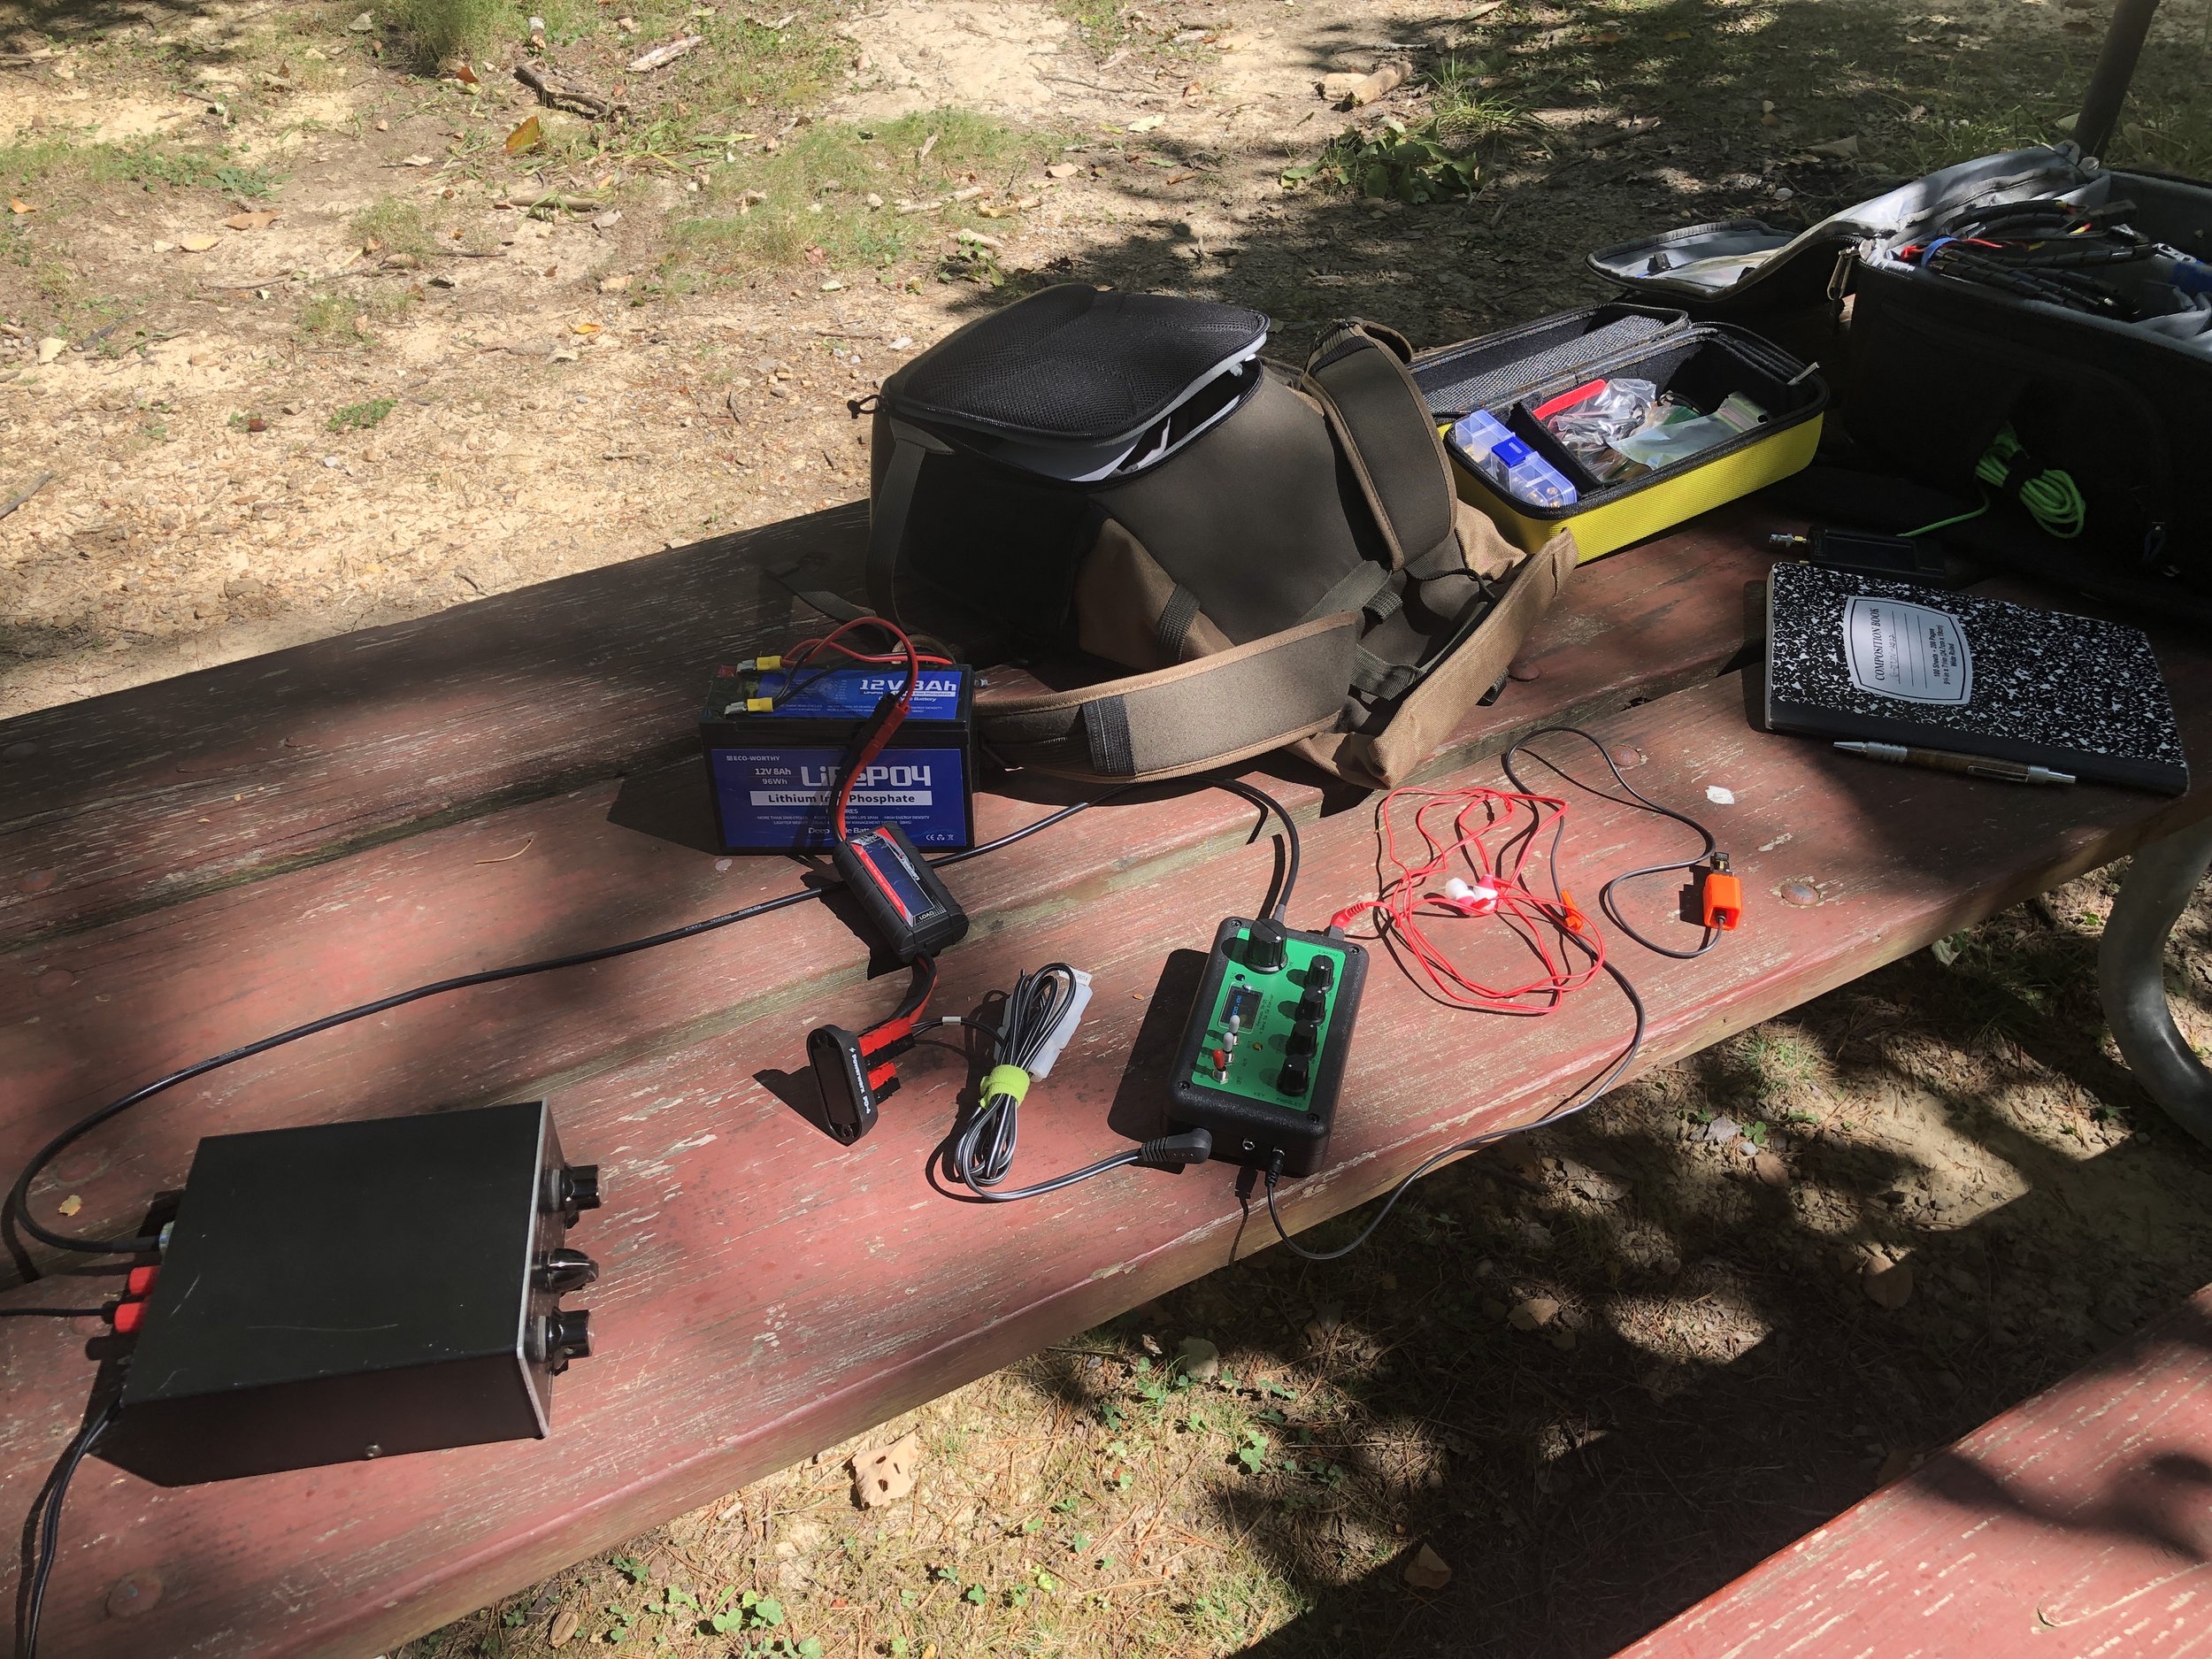
Here is what I took with me today… all those cases have different radios in them. The orange case is the sBitx (my goto FT8 rig in the field) the green case is the Ten Tec Argonaut 5 and the tan case is the Ten Tec Scout. I was loaded for bear. Lol. I was going to use the Scout for CW and SSB and then switch to the sBitx for FT8. Then why did I bring the Argonaut 5 out? Because the keyer and paddle are in that case that I wanted to use. HaHa. I also used the tuner and some cabling out of that kit as well.

Let’s talk about the Scout for a minute. This is a unique radio in that to change bands you change these modules that plug into the front of the radio. I have the whole set of band modules for my Scout and keep them in the hard case with the radio. It is an interesting little radio that also has a unique tuning device. The radio has a PTO instead of a VFO. So the knob has a distinctive resistance when you turn it as it is a mechanical screw driving a core into an inductor. This also means it remembers the frequency you are on without the need for a memory battery.

I kept the nanoVNA on the table for tuning when switching bands and I elevated the tuner on a pair of lineman pliers to make tuning a little easier. My Scout is unmodified from original and works really well. It does have some quirks but nothing that is a deal breaker.


The station as operated today. I like this spot as it is also in the public view and can sometimes spark conversations with passerbys. I had a conversation with a man and his wife on this day and he was in the signal corps in Korea and was copying the code as they walked by. He waxed nostalgic for a few minutes and we had a wonderful conversation and then they were gone…
The below photo shows the tree where I strung my antenna up to and you can see the table in the background it went down to. I like to string up a huge 65’ wire most of the time but today I just used my 41’ random wire since it was already in the kit.
These new LiFePO3 batteries are truly amazing to me. They weigh almost nothing and I operated for two straight hours at 50 watts and the battery was still at 13.26VDC. This blows my mind. I can pick this battery up with two fingers! I also ran it through my fuse distribution block so everything was fused.


This log shows how awesome the band was on this day. I started on 10 meters CW as I was listening around and the first call I copied was England! That was when I knew it was going to be good. I didn’t get him, but shortly after I started calling CQ and 6 out of the next 10 contacts were DX!!! The first one was Chile and I am pretty sure that is the first Chilean I have ever worked.
After that I noticed the rest were from the European area of the world which is still awesome! The other domestic callsigns were still very far away and I was stoked to mess with other bands as well to see what I could hear. After these initial 10 QSOs, I found that the band was fading so I figured I had hopped on the air at just the right time and caught a wave. At this realisation, I figured I would give 17 meters a try and see what happens. It was much more difficult for some reason, not much activity at all… I guess everyone was up on 10 meters… haha.
So after that, I figured I would just test 15 meters before calling it quits for the day. Well, I must have hit a band opening on 15 meters as well. The calls started coming in and as you can see below I got South Africa! That is also a first for me!!! I normally cant hear Africa since I use less than ideal antennas. I had a blast on 15 meters and the logbook reflects that. I even worked two “regulars” that I know by name but have never met in person! KJ7DT - Paul in Idaho and K9IS (who I have written about before) - Steven in Wisconsin. Both of these men have worked me well over 50 times and I am pretty sure Paul is over 100!
It is really cool to get “Z” calls in the log though as I rarely hear this call letter on the air. I always think it is way off, and sometimes it is, like the South African station but then I get one and it next door in the Caymen Islands too…lol.

This was an awesome day and I am glad you followed along in the story with me. Until next time, I hope to work you on the air!
WK4DS - David
73
Eagles nest activation

Here it is, out in the rocks and weeds. This…this is a POTA activation. Take your radio out into the park, string up an antenna and connect a battery. See who is on the air and make some contacts. Today I decided to simply use CW and use my Ten Tec Argonaut 5 with a speaker wire antenna and my little MFJ 941 antenna tuner.

The kit also includes my N3ZN CW key and my Hamgadgets Picokeyer. These make the Argonaut one of my favorite POTA radios and for good reason, it is a perfect kit. I also have made up a cable that my keyer can connect to the microphone jack on the front of the radio, this is a lot easier than the tiny little port on the back of the radio.
I got the antenna strung up, with my throw-line kit, over the tree next to me as the tuner has the random wire connectors on the back of it. The wire was about 25” long and the two radials were some random length about 15’ or so and it tuned up on 20 meters just fine. It had enough bandwidth that I didn’t need to touch it after the initial tune with the nanoVNA.


I connected the nanoVNA and was able to tune the system fairly quickly without too much fuss. What I like about use the VNA in this application is that the transmitted signal is minimal and I can adjust what part of the spectrum I am looking at so I can find the resonant point and then make adjustments from there and walk it into band easily and visually. As I get closer to where I want it, I simply reconfigure the amount of bandwidth I am looking at and narrow it in. This is only needed if I am using something like this random wire that I have no idea where to start with for it. If it is a resonant antenna, then is is much simpler. Now, to be fair, the old method of keying on empty band space and tuning based on the SWR meter still works fine, but not all of my field radios have SWR meters on them so it is kinda tough to use from time to time like that. This method eliminates the need for a radio with a meter since it IS a meter and can see way more than the simple SWR value. I am once again going to recommend you pick up a nanoVNA and learn a couple of uses for it. Once you do, you will never go back to regular antenna analyzers (which are simple VNA circuits if I had to guess). On top of all that, they are crazy cheap these days too…it is hard to beat in my book.

The N3ZN CW Paddle (This is his little travel paddle with a base plate) and the Picokeyer are a match made in POTA heaven and are now a permanent part of my “POTA Shack” that I travel around with all the time. I take this little key and keyer with me everywhere just in case I have time to activate a park. You know, just in case…lol.


There are two things I really like about the Argonaut 5 in particular. One is that you can key the radio from the front as well as the back for CW. They list the PTT switch as a key input for CW, this is a straight key input only but it is a way to key the radio none the less. I have made up a cable that plugs into my Picokeyer so that I don’t have to use the tiny port on the back that is right next to the heat sink. I also have a RF choke on the line to help prevent stray RF from getting into the radio as well. This does seem to help to be honest about it.If the coax is near this cable it will key the transmitter and add unwanted characters to the CW without the choke inline. That is how I know it works…
The other thing is that the multi-function knob shown above does two jobs at once. So you use one knob to control two different things. The RIT and the Filter Bandwidth are both controlled from here. I normally leave it on RIT once I set the filter to what I want to listen to…usually 500 to 700hz if the band is quiet and 300 to 400 if it is crowded. Notice how well the buttons and knob are organized and even the information that they are displaying is located well, it is literally right above the control so it is in one cohesive place. This is superior engineering in my opinion and is a dying art…

In the photo below I am pointing at the truck where I normally setup to do POTA. That tiny, little, one car parking lot is a great spot if you are in a time crunch and want to play radio for a little bit, but it is really noisy with cars passing by and occasionally one of them is emitting RF noise to boot. This is the reason why I trekked all the gear 200 yards to this shady spot and setup with a battery instead today.


As you can see from the log above, the bands were strange today. At one point I have AE1ZR just vanish and never return… As you can see, I spent several minutes trying to raise him to complete the exchange and he just never returned to my receiver. Several stations took more than one try to get the data through at this time frame actually and I noted it in the log. But when it was open, I was able to work several Canadians as well as Minnesota. Not a bad day in the field with a random piece of speaker wire and a few watts of RF energy…
73
WK4ds
The Penntek TR-35 activates POTA K-2169 gloriously!

Click on the image to goto the WA3RNC website to get your very own TR-35 in either kit or factory built versions.
Today started off like most others with some time at work in the morning and then I had a few hours around lunch to do an activation. In addition to the usual activities, I have been using a variety of radios lately to see what I like about each one. Since I had activated most recently with the IC705 (by far my most favorite POTA machine) and so I wanted to use a different radio. I have been using the TR-35 lately in the shack, but wanted more field time with it to see how easy it would be to work with.

33’ wire radiator and two 10’ counterpoises bundles for storage. I love these velcro tie back straps.
So on this outing, I used a 33’ wire “vertical” antenna that I pulled into the tree with my throwline. Once the vertical was up, I laid out both of my counter poise wires (I think they are 10’ each) and for good measure I spaced them into a v pattern for kicks… On my next trip out I plan to see if putting them at 90 degrees to the radiator and 180 degrees from each other helps, it probably does and I have been paying the price all along with my silly V setup I have been using… lol…anyway…

This is a great antenna tuner and still happens to be in production! The new version is a little more streamlined but it is the same internally as this older one.

Back of the antenna tuner is just as busy as the front!
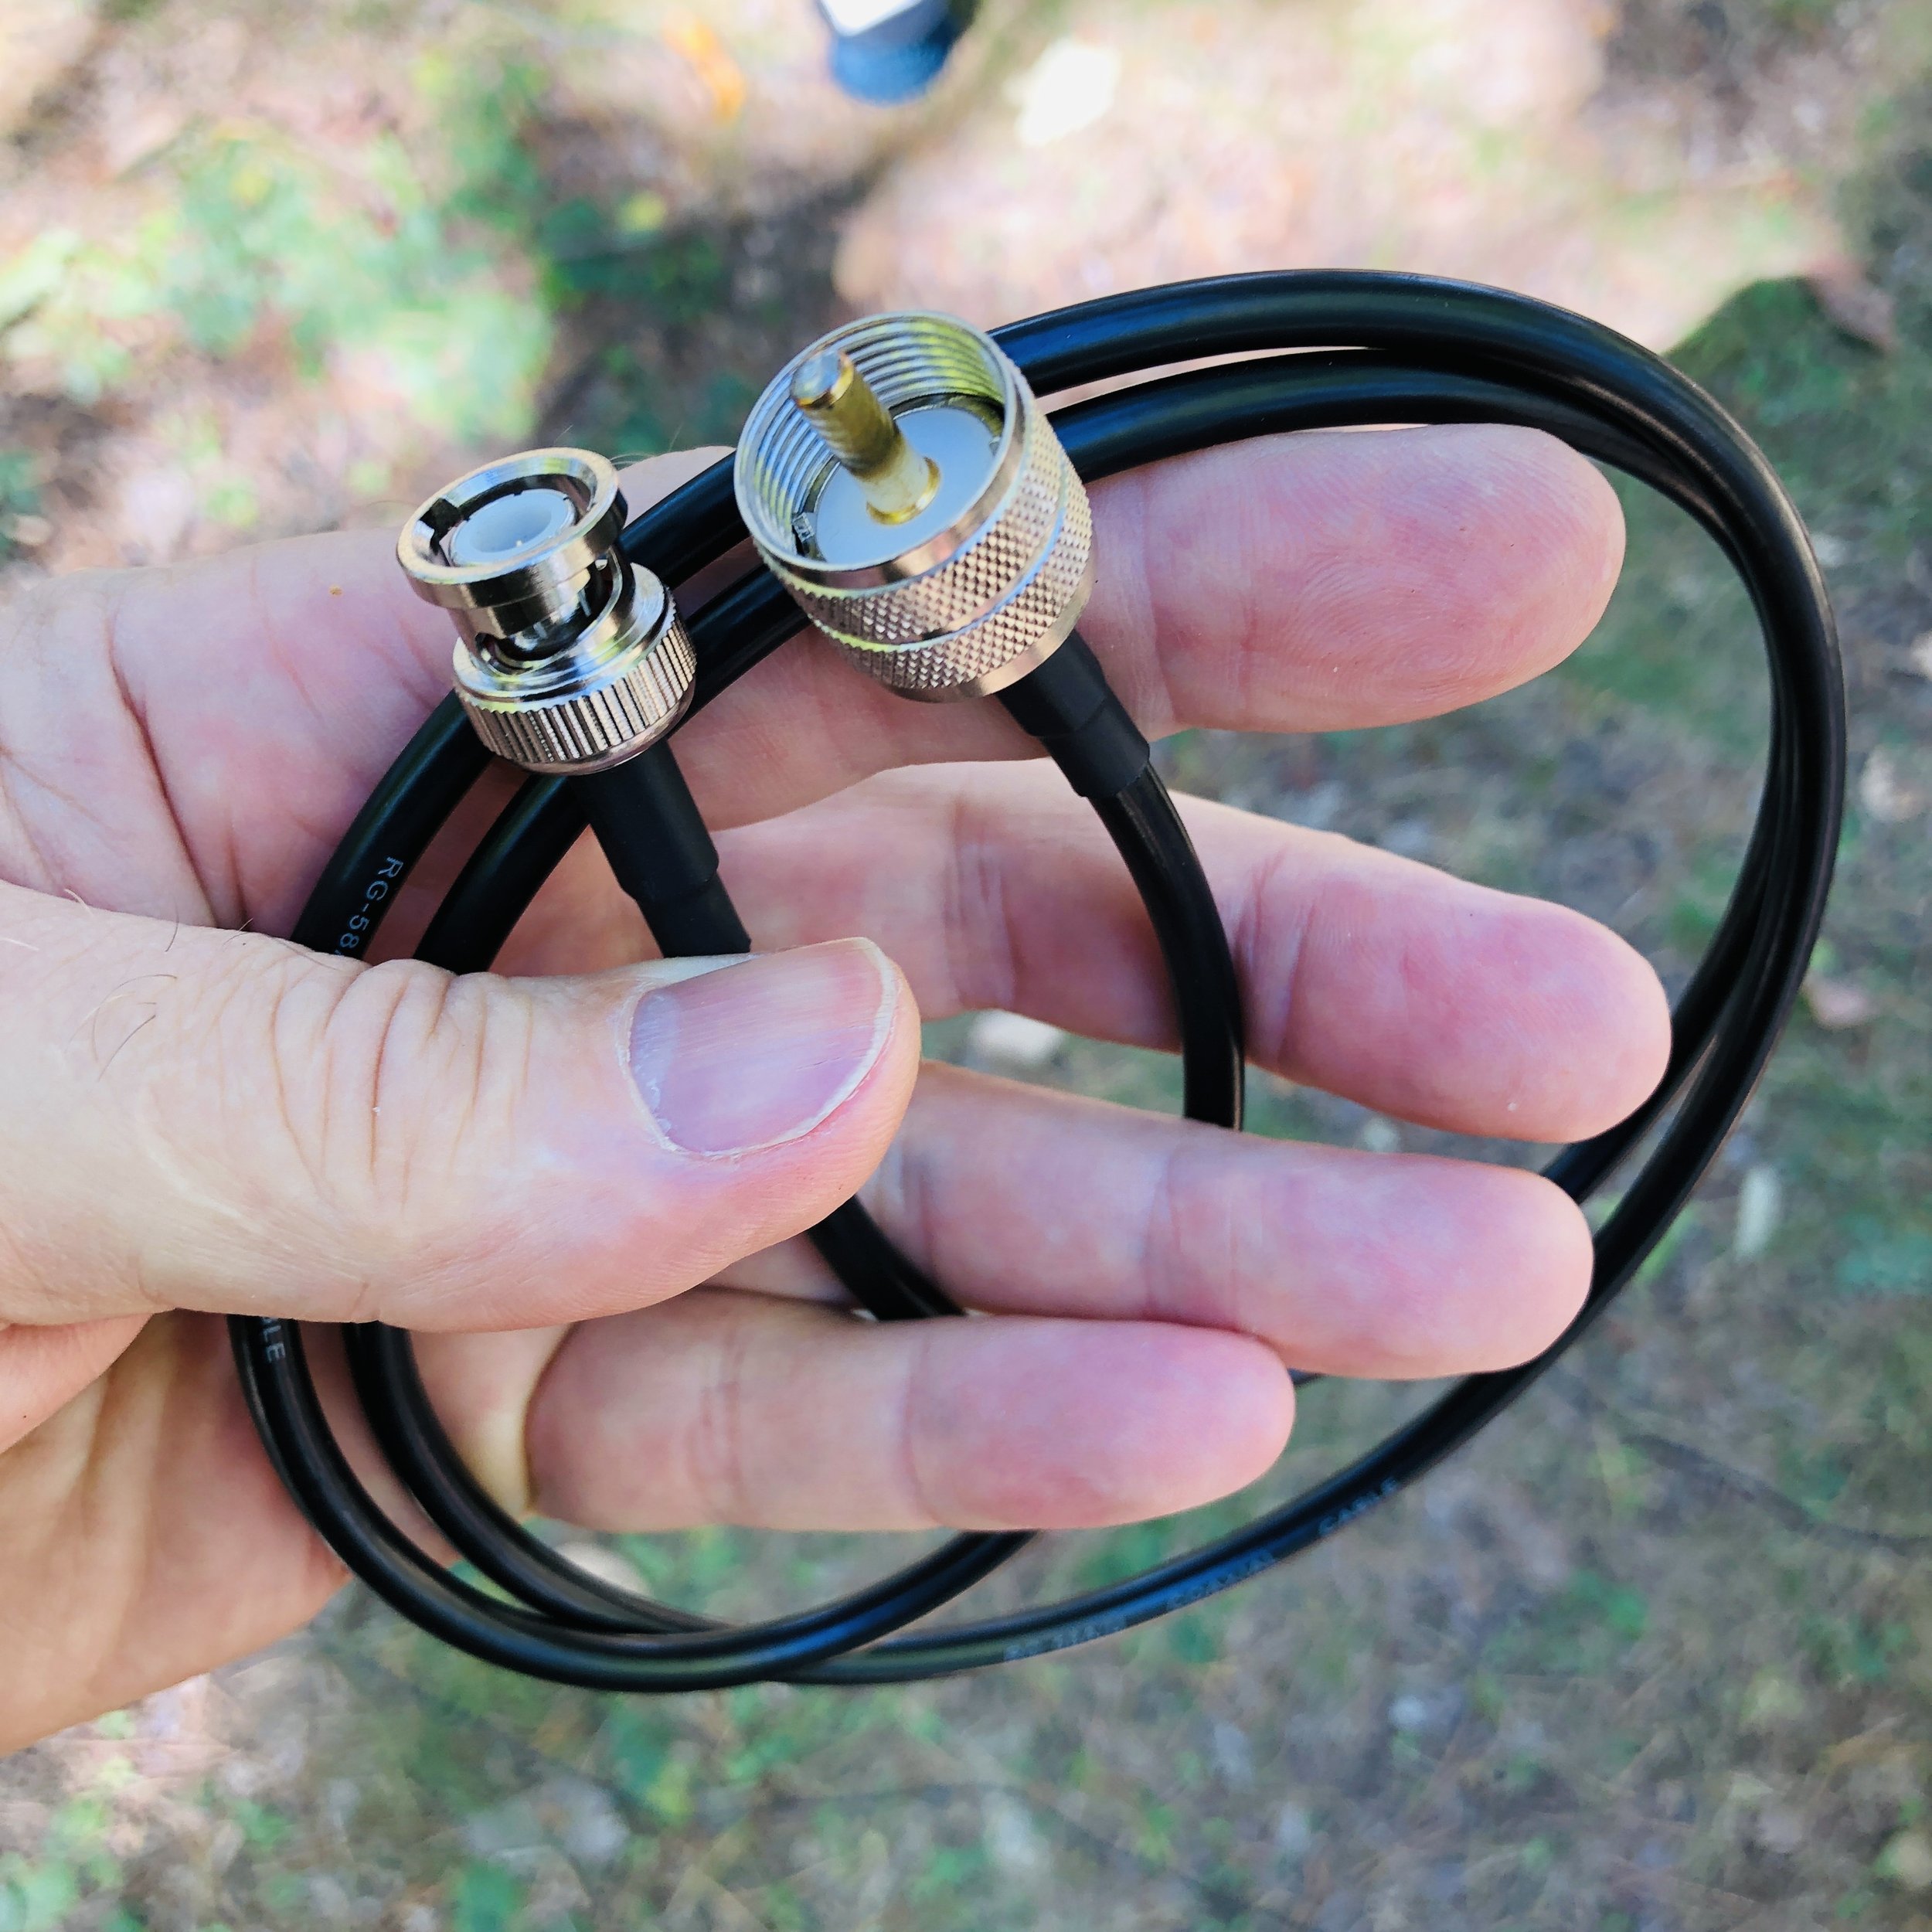
Once the antenna was up, I connected it to my MFJ travel tuner to the random wire lugs on the back of the unit. Then I use a special coaxial cable I bought from Amazon that has a BNC on one end and a PL259 on the other. The antenna tuner uses SO 239 mounts on it so the PL259 couples that end and the other end is natively a BNC on the TR-35, but I have also adapted my nanoVNA to BNC as well for simple tuning. Since my Ten Tec Argonaut 5 is SO 239, I have bought an adapter to convert it to this same system so I can tune the antenna easily on it as well.
This is not my idea, my late friend K4GC Brian was the person that taught me and Roger how to do this. It makes perfect sense when you think about it though so I started doing it once I got the VNA. Otherwise it is this trick of tuning till you hear the noise level peak and that is the best you get. This way works but it is possibly not centered where you need to be. Since the TR-35 doesn’t have an SWR meter, it has lots of protection circuits built in to prevent you from damaging the transmitter from tuning or operating at full power with poorly matched antennas. It has a current protection circuit as well as a thermal protection circuit, if either one activates, you really should check the antenna and see what is wrong, then reset the radio and try again. Alternatively, you could bring an SWR meter with you to get the tuner set as well if you don’t have a nanoVNA…
Amazon is a great place to find these sorts of oddball parts, several of the items in this blog today came from them.
Since everything is now BNC connected, I can quickly pull the cable from the radio, then connect it to the nanoVNA and see the tune on the tuner visually! I run a trace with the smith chart and a trace with a SWR line graph as well, with both of these running at once, it is pretty simple to get the SWR and the impedance really close to what the transmitter likes. Once I get the tuner adjusted to the band I want to use, I simply move the coax back over to the radio and off I go…

BNC is where it’s at with this system…

Here I am tuning for the 17m band, note that the VNA is showing the SWR of 1.541:1 and the impedance is 54.8 ohms and slightly inductive at 18.096mhz. I could dial some more of this out with the tuner, but it becomes a law of diminishing returns at some point with the tuning and this worked just fine. Note also that the SWR is fairly flat in the range I planned to work in also. (the yellow line represents SWR vs. Frequency)
Some things to note about the TR-35 that I noticed. The first one is that the headphone jack is wired from the factory for a mono plug, not the stereo plug that every set of headphone made in the last 30 years uses…why? So you go to Amazon once again and buy this little adapter to convert your normal headphones to a mono plug… You can go into the radio and change this on the circuit board, and the instructions even detail this mod, but you have to risk damage to the radio and it is a lengthy tear down and assembly process to get the board out of the case. Lot’s of chances to break something important if you asked me…so the adapter it is… Another thing I cant seem to master is the keyer programming. It is a simple operation to input the message into the keyer, but upon playback, it has odd spacing and sounds disjointed for some reason, I have tried slowing down the keyer speed to no avail, I will figure it out at some point, but for now, I don’t have that one working right. To put it plainly, it just sounds wrong on playback, like I was saying, it could be my sending is causing it, but I have not figured it out as of this writing. I have seen videos of it working as advertised so I am confident I can get it to work…eventually.

Amazon…they have literally everything at this point.
I powered it with my battery I use for my 705 activations, actually lots of the accessories I used came out of the 705 kit today for this activation. But I found this battery is way overkill for the TR-35, so I plan to get a smaller one for the travel battery to build the kit with. Probably something in the 4 or 5Ah range instead will be fine. I am also going to eliminate the voltmeter inline for the travel rig too, just a cable with power-poles on one end, the 2.1mm plug on the other and a fuse in line with the power. It pulls 5 watts wide open, does it really need 14 gauge wire??? Lol. I actually used the power cord for my IC-705 to power this radio today, the connector worked just fine. But I will make a cord just for this rig to go in the kit.

I am also still using the N6ARA tiny 3D printed paddle that I bought a while back(also from the 705 kit today) this is a device that although I like it, it has some problems that I have found. For one, it is really small and I didn’t take that into account when I bought it. It is available in a couple bigger sizes and I should have gotten one of those. This one is in my mind, one that should be a backup or a SOTA paddle or something like that as it’s main advantages are that it is light and small. What I have found from using it regularly is that is gets dirty contacts and you have to mess with it some and clean the contacts before it will send right once it gets some age on it. This is because it is plain copper/brass contacts (pc board with a brass arm on the “levers”) and they tarnish in a matter of days to the point it wont send properly till I clean them. I am looking into three solutions here, a nice travel key like the Begali travel paddle, make my own travel key, or buy a used small foot print paddle off the boards. I am actually leaning towards the Begali for now to give me time to design a key I can share with the world as well as for my personal use. Anyway, who doesn’t like a nice Begali key?

My N6ARA tiny paddle… I love this little key.
I have an alternative reason for working with this radio so much as well. I am going to be doing some traveling in the coming weeks and months and I want to take a radio that is not too large so it is easy to pack and carry around and such. This means smaller is better and the TR-35 is my physically smallest radio. This means it gets the nod based on size and now it also gets points for performance. Even if I cant figure out how to program the memory right. 😂
The kit will fit into one of several of my camera bags that I currently have so I don’t have to purchase a new bag to carry it in. I have found that camera bags work really well for QRP radios too, they just fit really well into old camera bags for some reason. By the way, I didn’t think of this idea either. I got this idea from my cohort KV9L who did this for his FT8 rig and I straight stole the idea from him. LOL.
Parts everywhere today! I took the IC-705 bag to “rob” all the support gear from so it would be a simple deployment and I have not built out the TR-35 go bag kit as of yet either…

I really like the aesthetic of the TR-35 as it has everything you need and nothing you dont. It really is an incredible little radio. I didnt build mine from a kit, I bought mine factory built and aligned so I could get on the air sooner.

1 hour on the air netted two pages of QSOs! That is awesome for me!
Logbook looks good with a good spread of contacts today with several from Canada in the log for a change. I usually only get one or maybe two Canadians and today I think there are at least four! This was with only about an hour on the air too. That is really good for me since I run QRP power. The map below shows how far 5 watts into a wire vertical will reach with a little understanding of how to use it. All in all I really like the TR-35 from Penntek, it a great little QRP radio that fits into what I enjoy doing in amateur radio, low power CW operating…

So if you have not done it yet, please like this blog post and if you have a RSS feed, you can sign up there too. I really appreciate your reading along today and if you have not done it yet, get your gear out!!!
Thanks and 73
David - WK4DS