Belize … part duex

To get a feel for a country, you have to step aware from the glitz and glamour of the tourist areas (isn’t that true for all tourist destinations though). In some places this can be life threatening but in others it can very rewarding. Belize seems to be a lot like Costa Rica in this regard. Just about anywhere you go the people are nice and helpful from what I have seen.

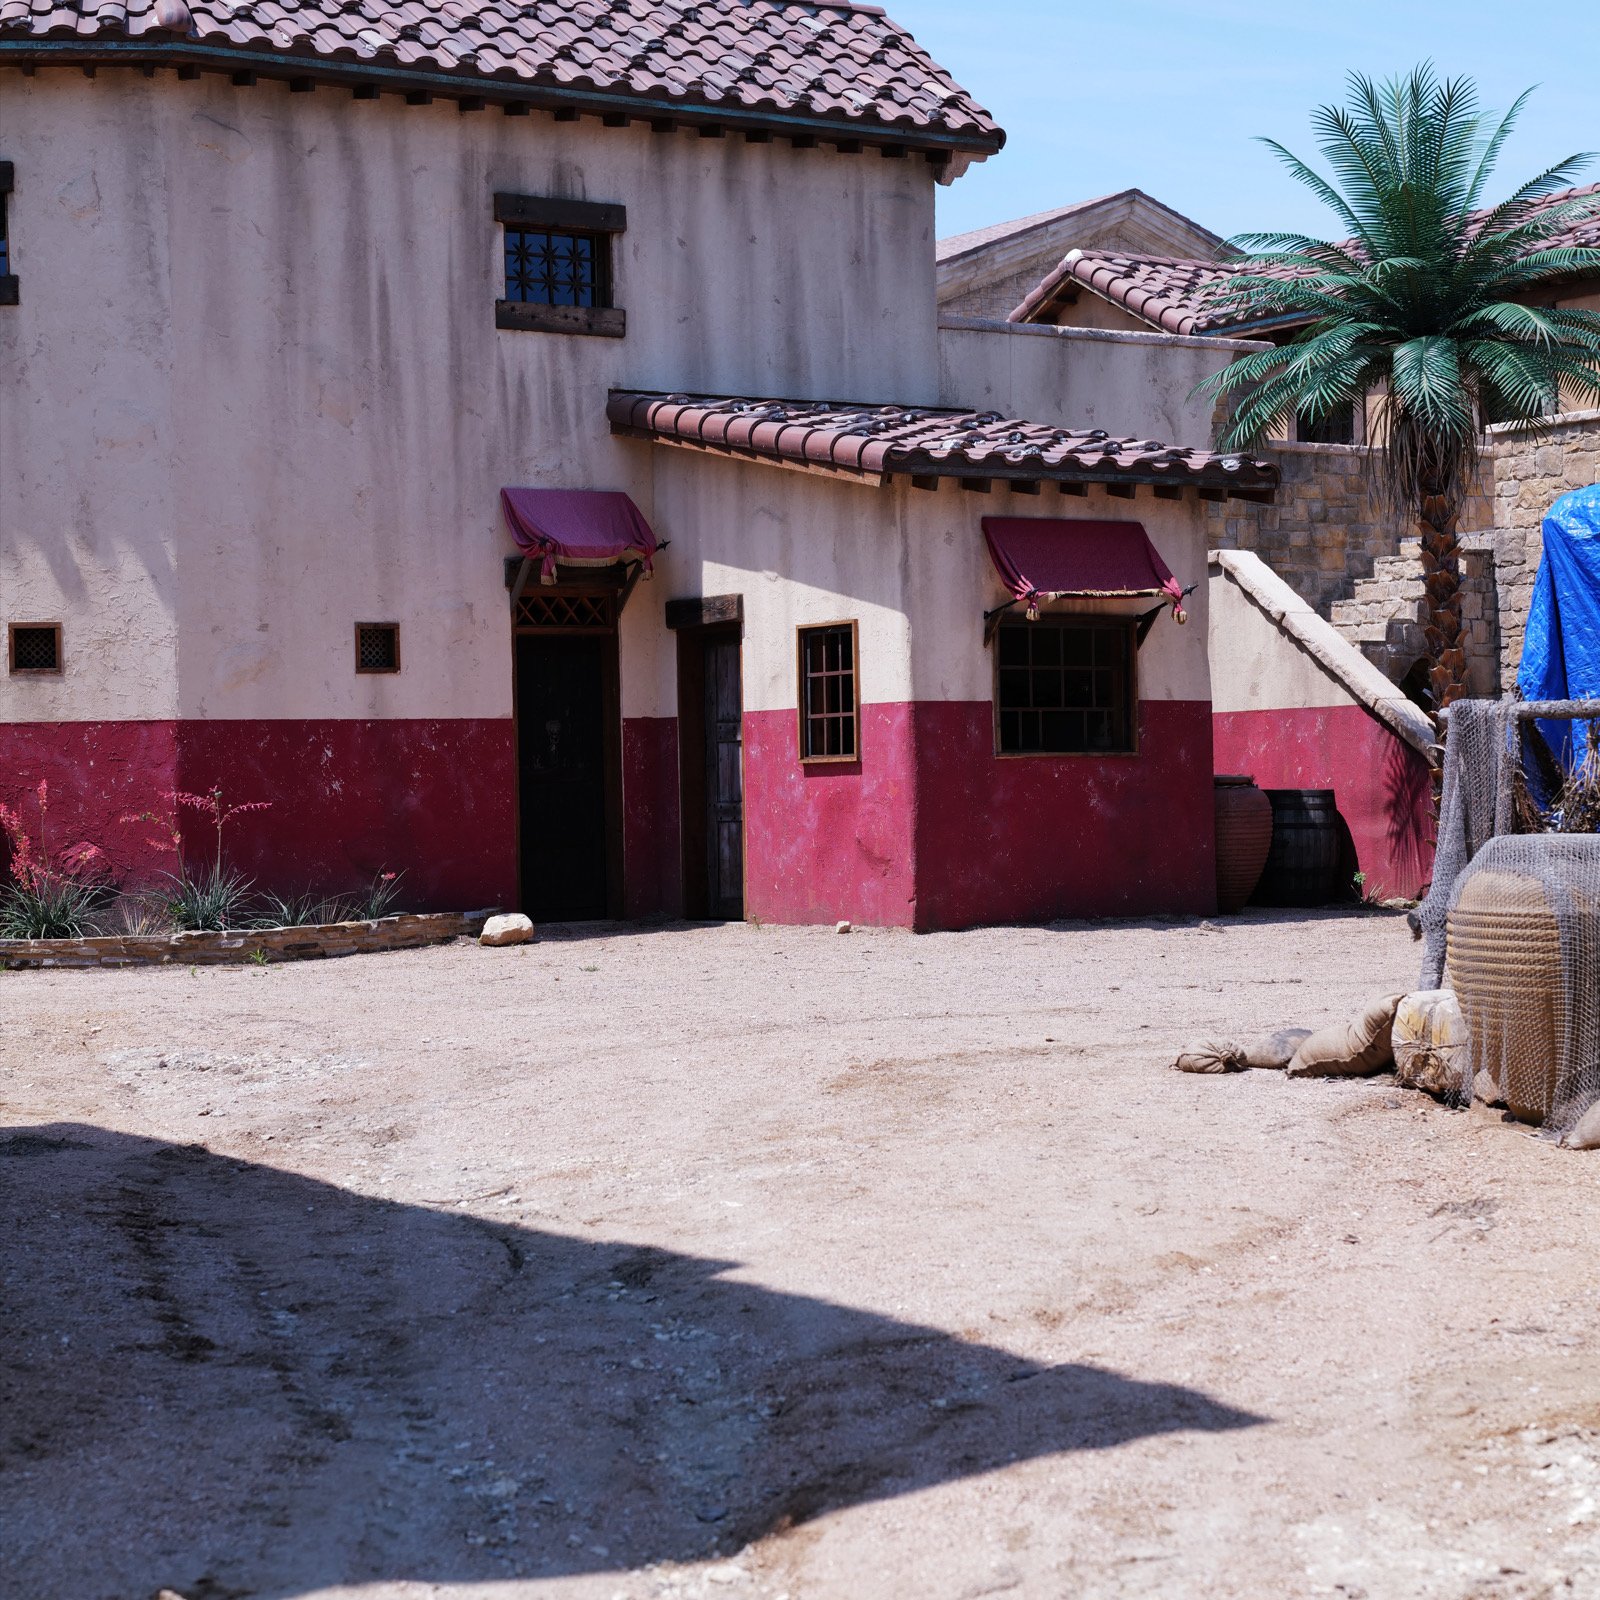
We saddled up and headed first to the Mayan ruins (it is an active archaeological site) and we got a wonderful “tour” of the rural part of southern Belize on the way over including things like the main modes of transportation being motorcycles and buses as well as seeing many traditional homes made with thatch roof construction. Many of these homes had no electricity or water service to them that I could see while others did. It is always interesting to learn how other parts of the world live.

We arrived at the Nim Li Punit site and get a class on decoding some of the Mayan glyphs that were carved into several stela that were found on the site. We learned how they counted and their numbering systems and how they marked their calendars as well. It was really awesome to see how all this worked on an actual artifact that you can touch.

This site is a smaller site that is easier to access with less crowds and therefore more freedom to navigate yourself without the pressures of large tour groups moving through . There were some tour groups but they were much smaller and didn’t choke off the entire area while there.

I am not sure if the remains that were intact were originall or if they were reconstructed for tourism, but it was really interesting to see it nonetheless. I know some was reconstructed as there was mortar in places holding a couple of stones together but the bulk looked original so I let my mind play that game.

On the return trip we stopped for lunch at a spice farm and toured the farm. It was incredibly interesting to see how many different spices they had at one place. Another thing that was interesting was seeing the spices in their natural form in nature. Things like black pepper vines and vanilla as well as other spices I had never heard of before. It was really informative as well as entertaining. After that it was a fairly long drive back to the accommodations for supper and a nap. Haha.

After our stay in Placencia we travelled to another small community called San Pedro on an island. You can get there by plane or ferry.

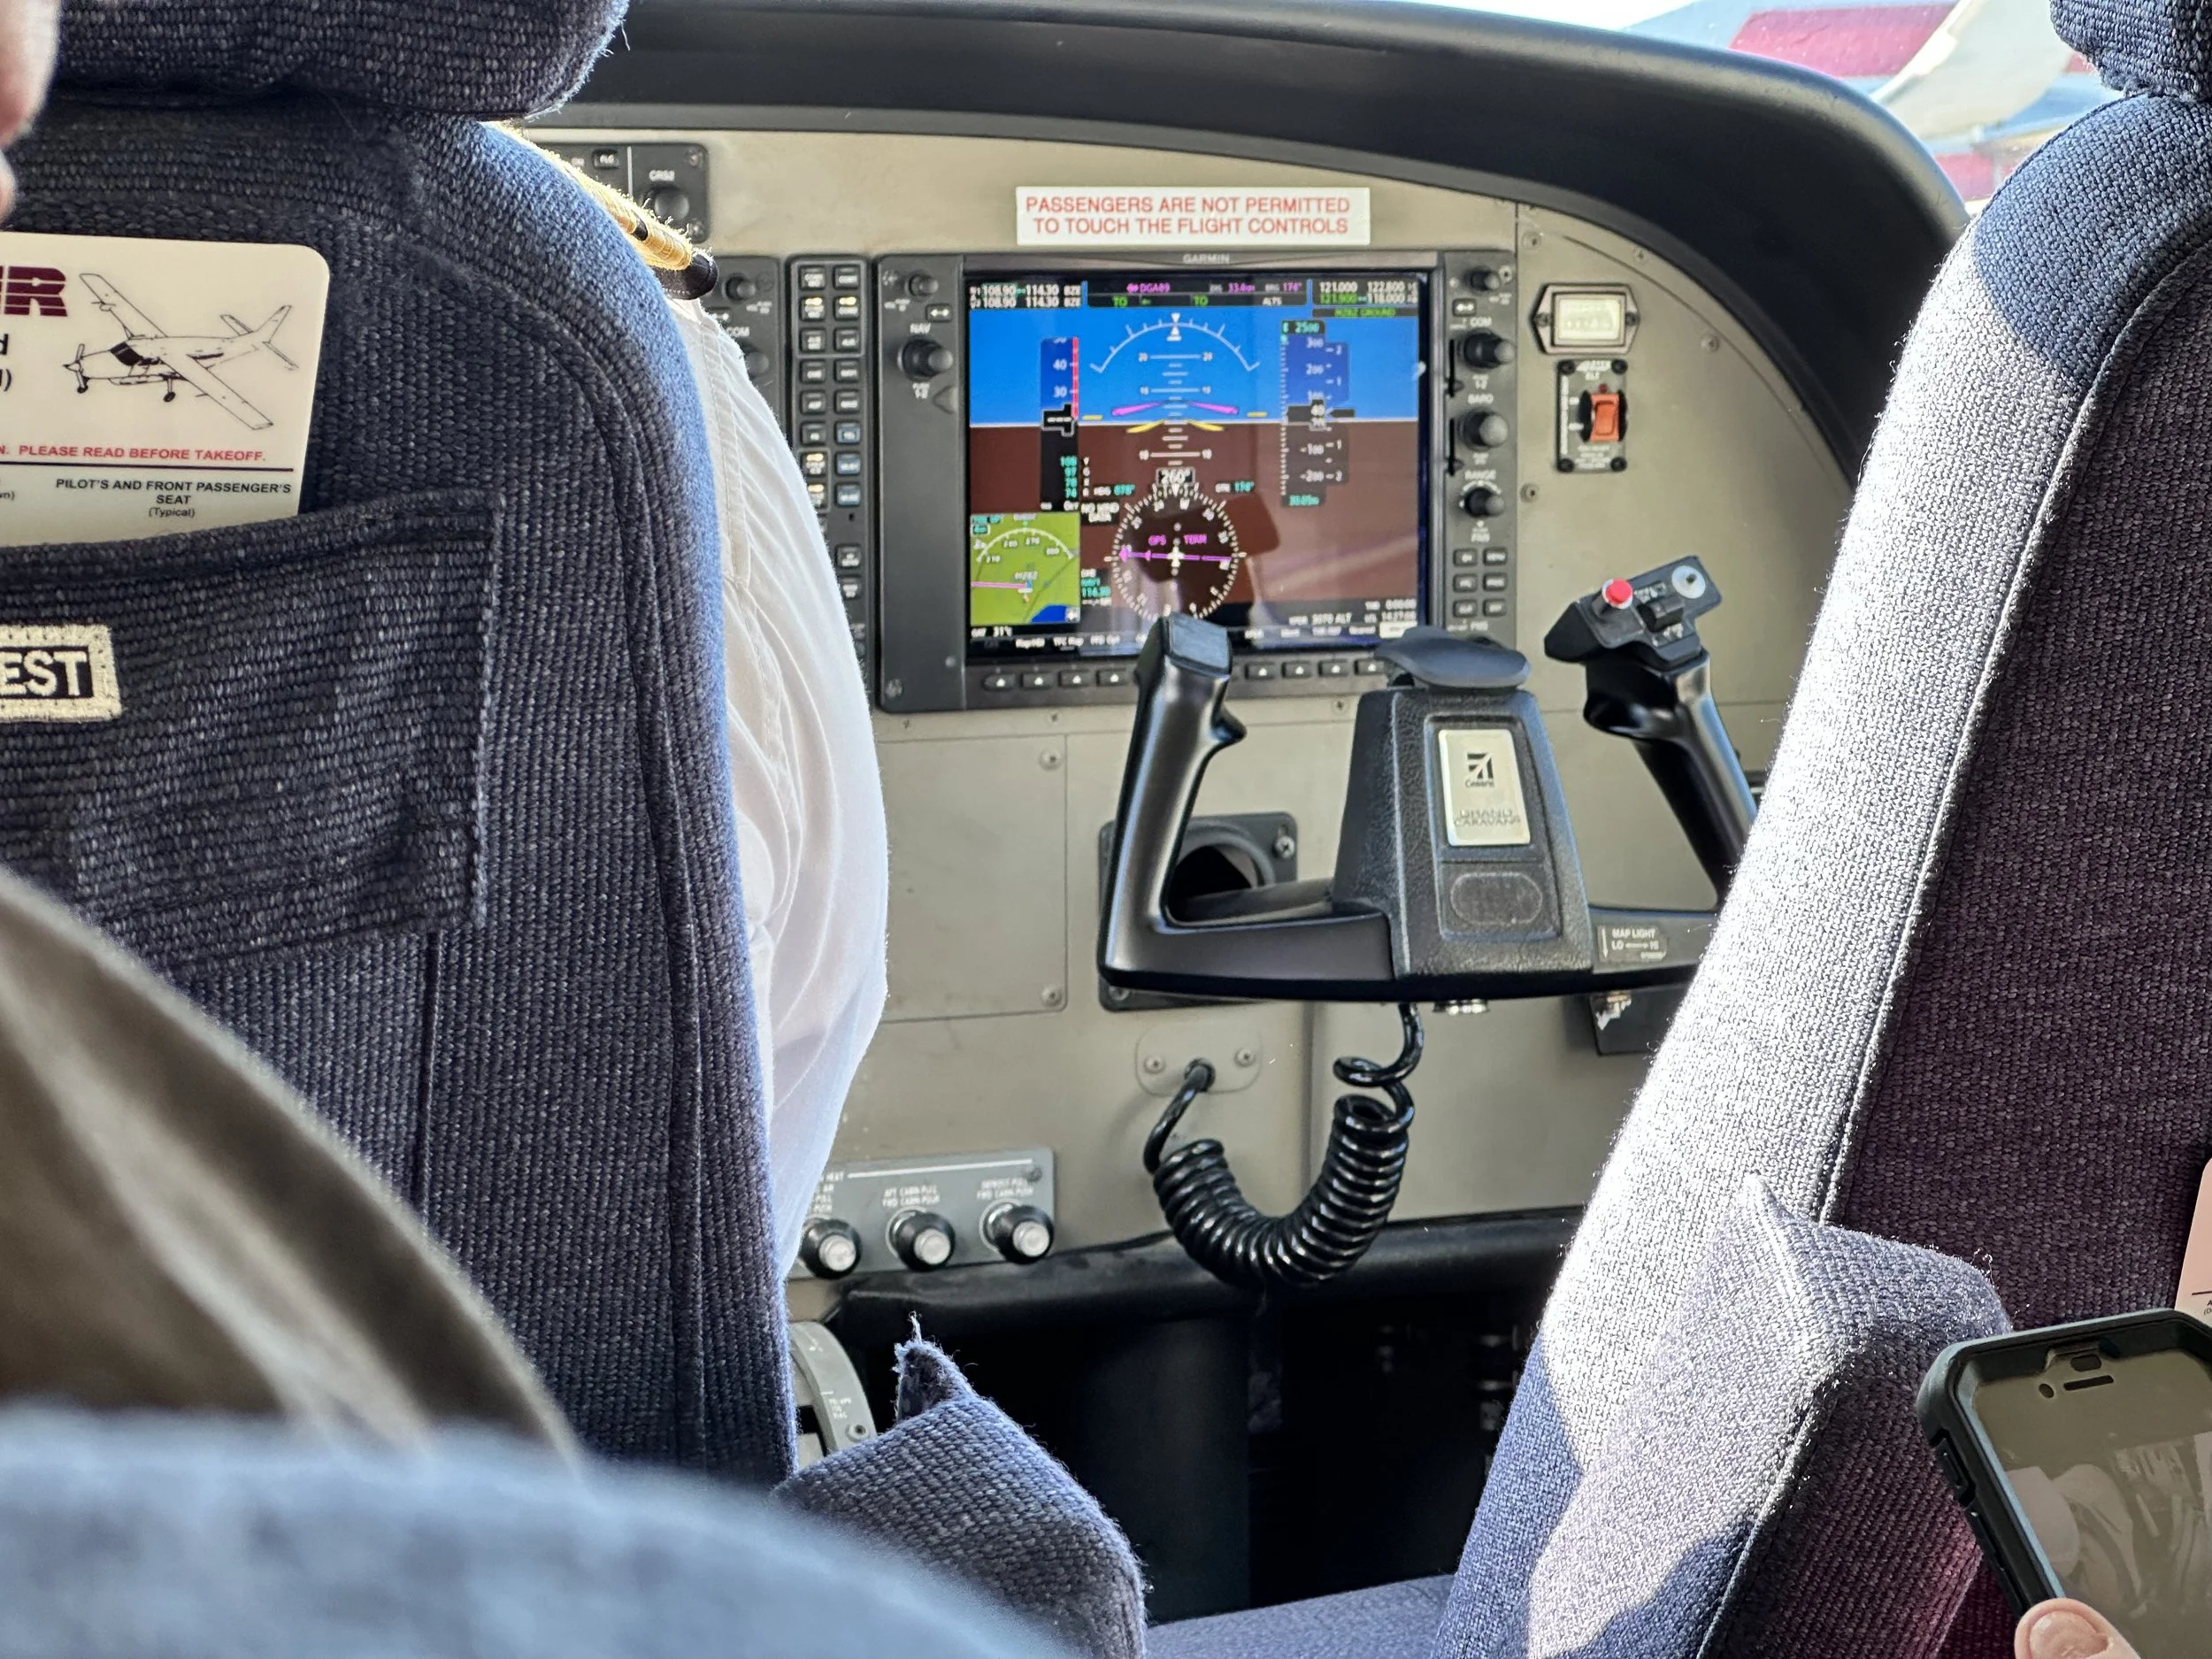
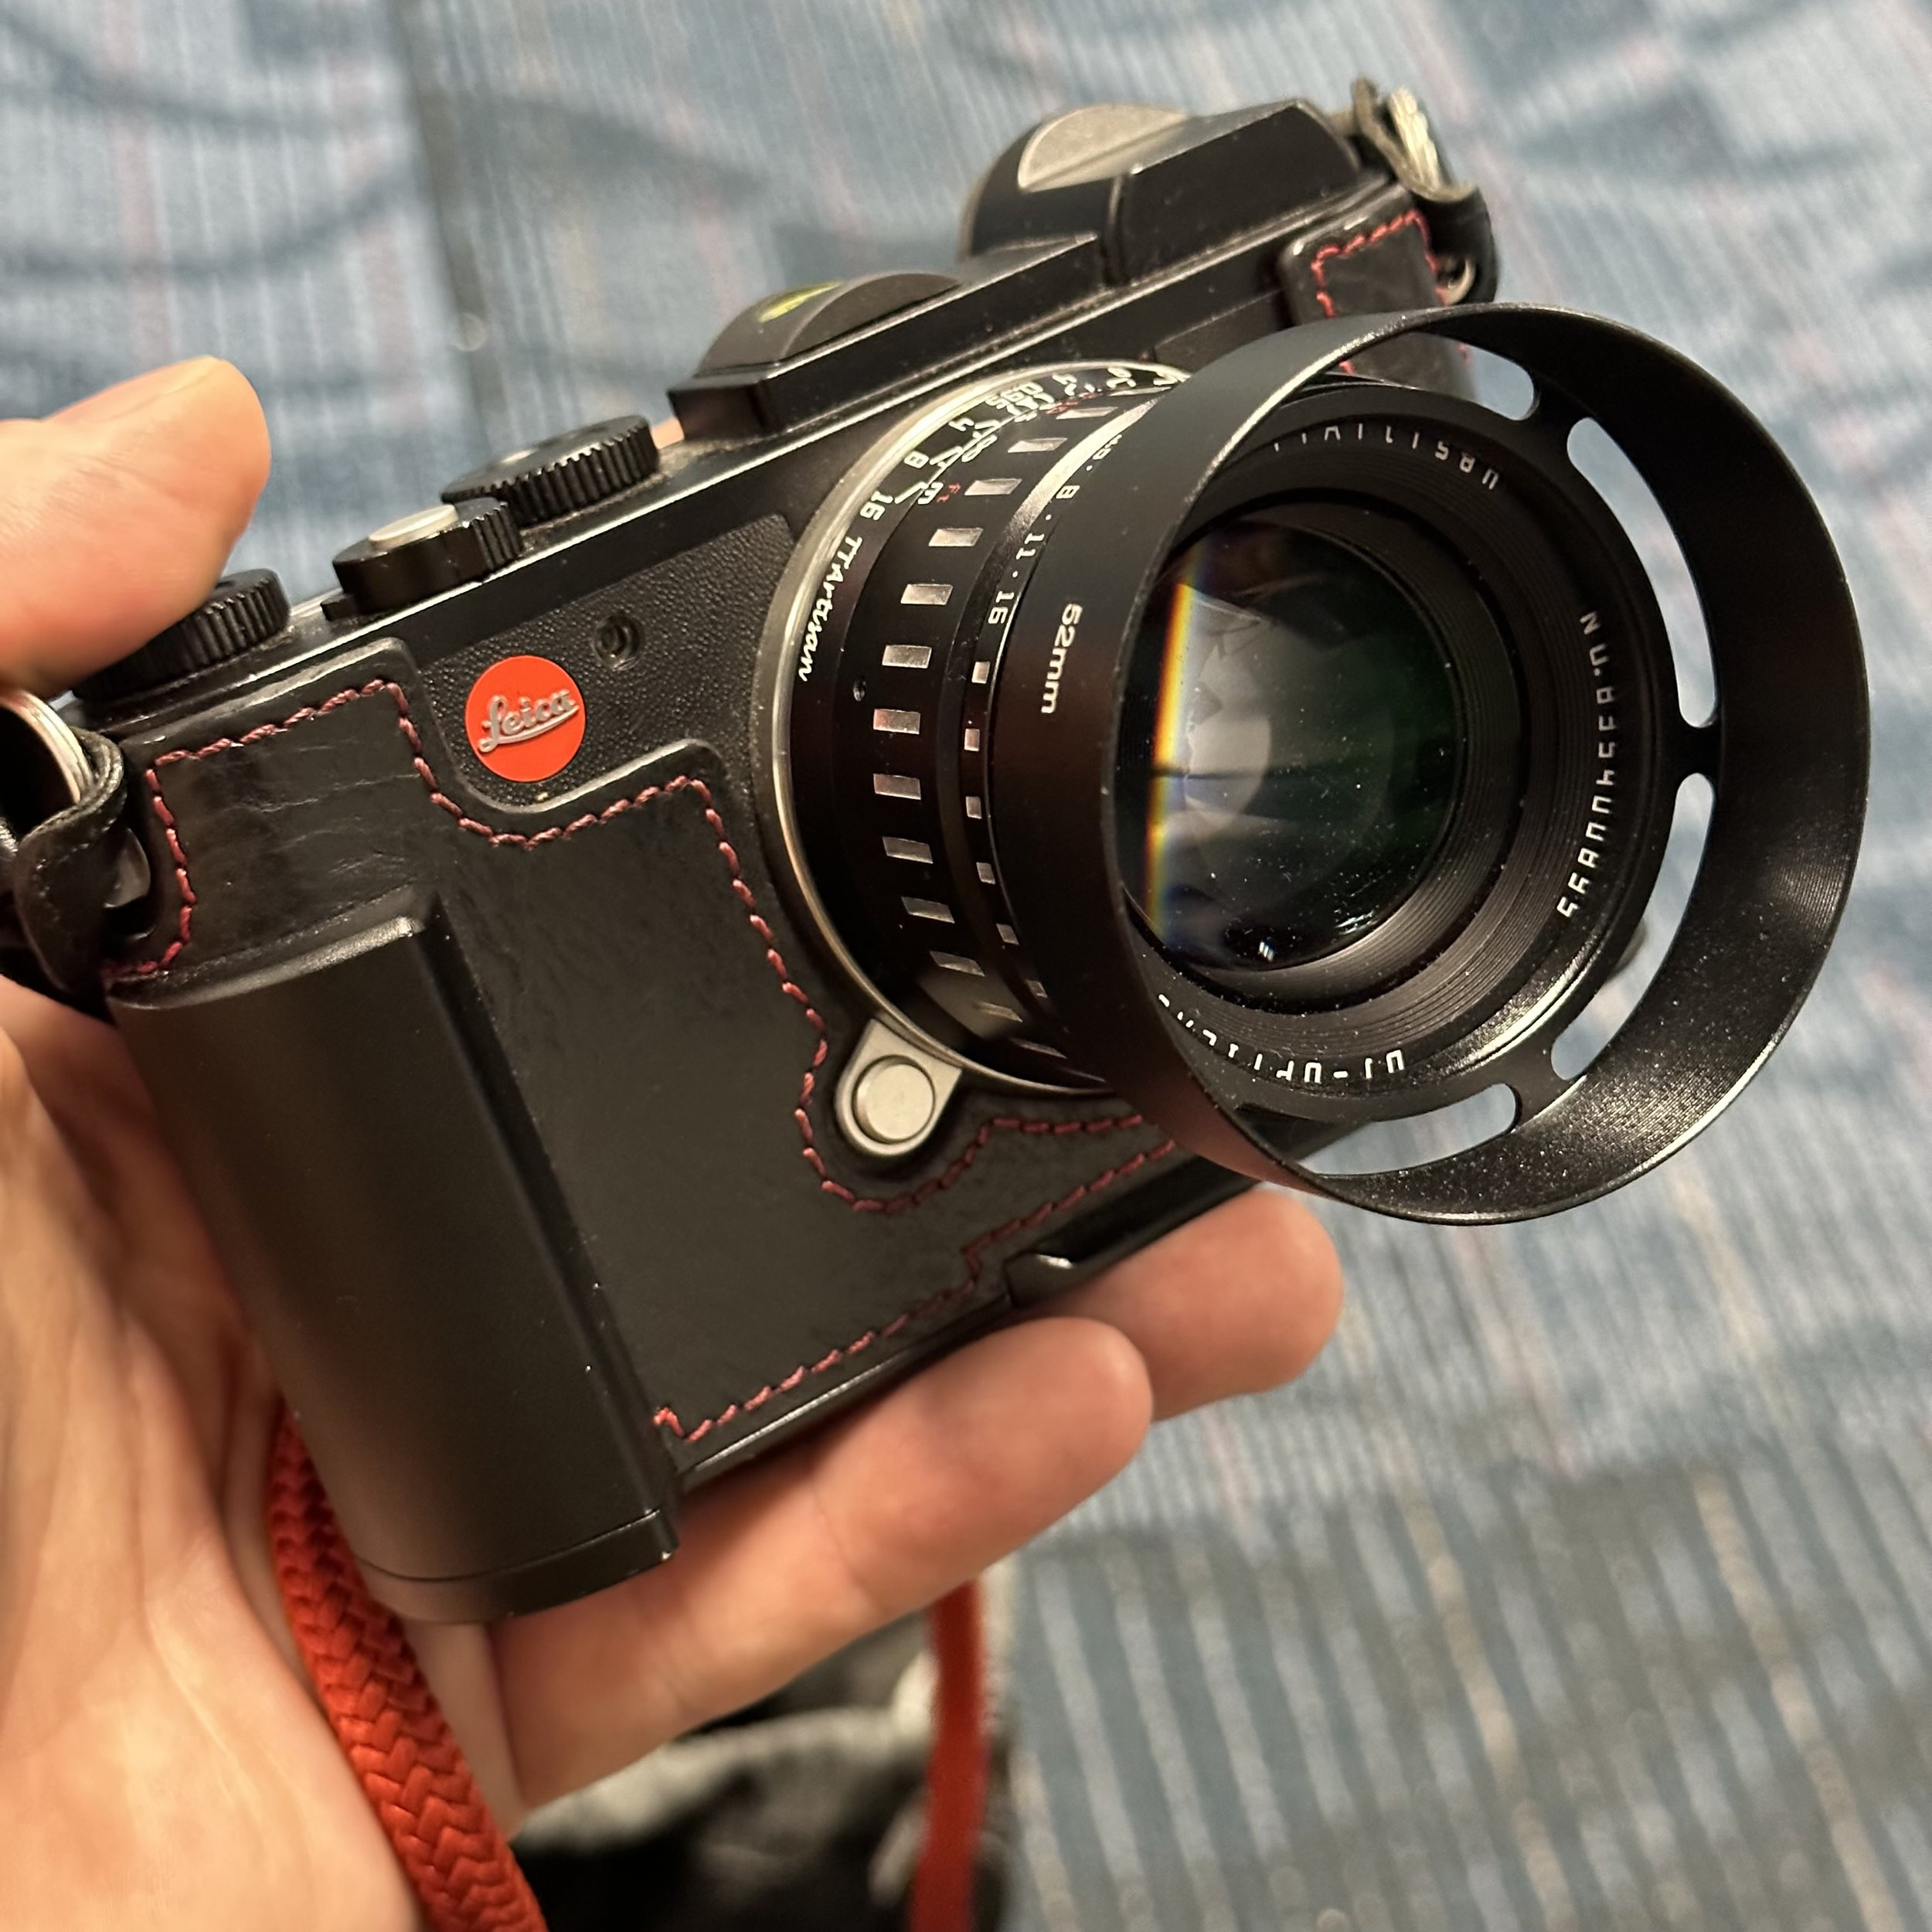
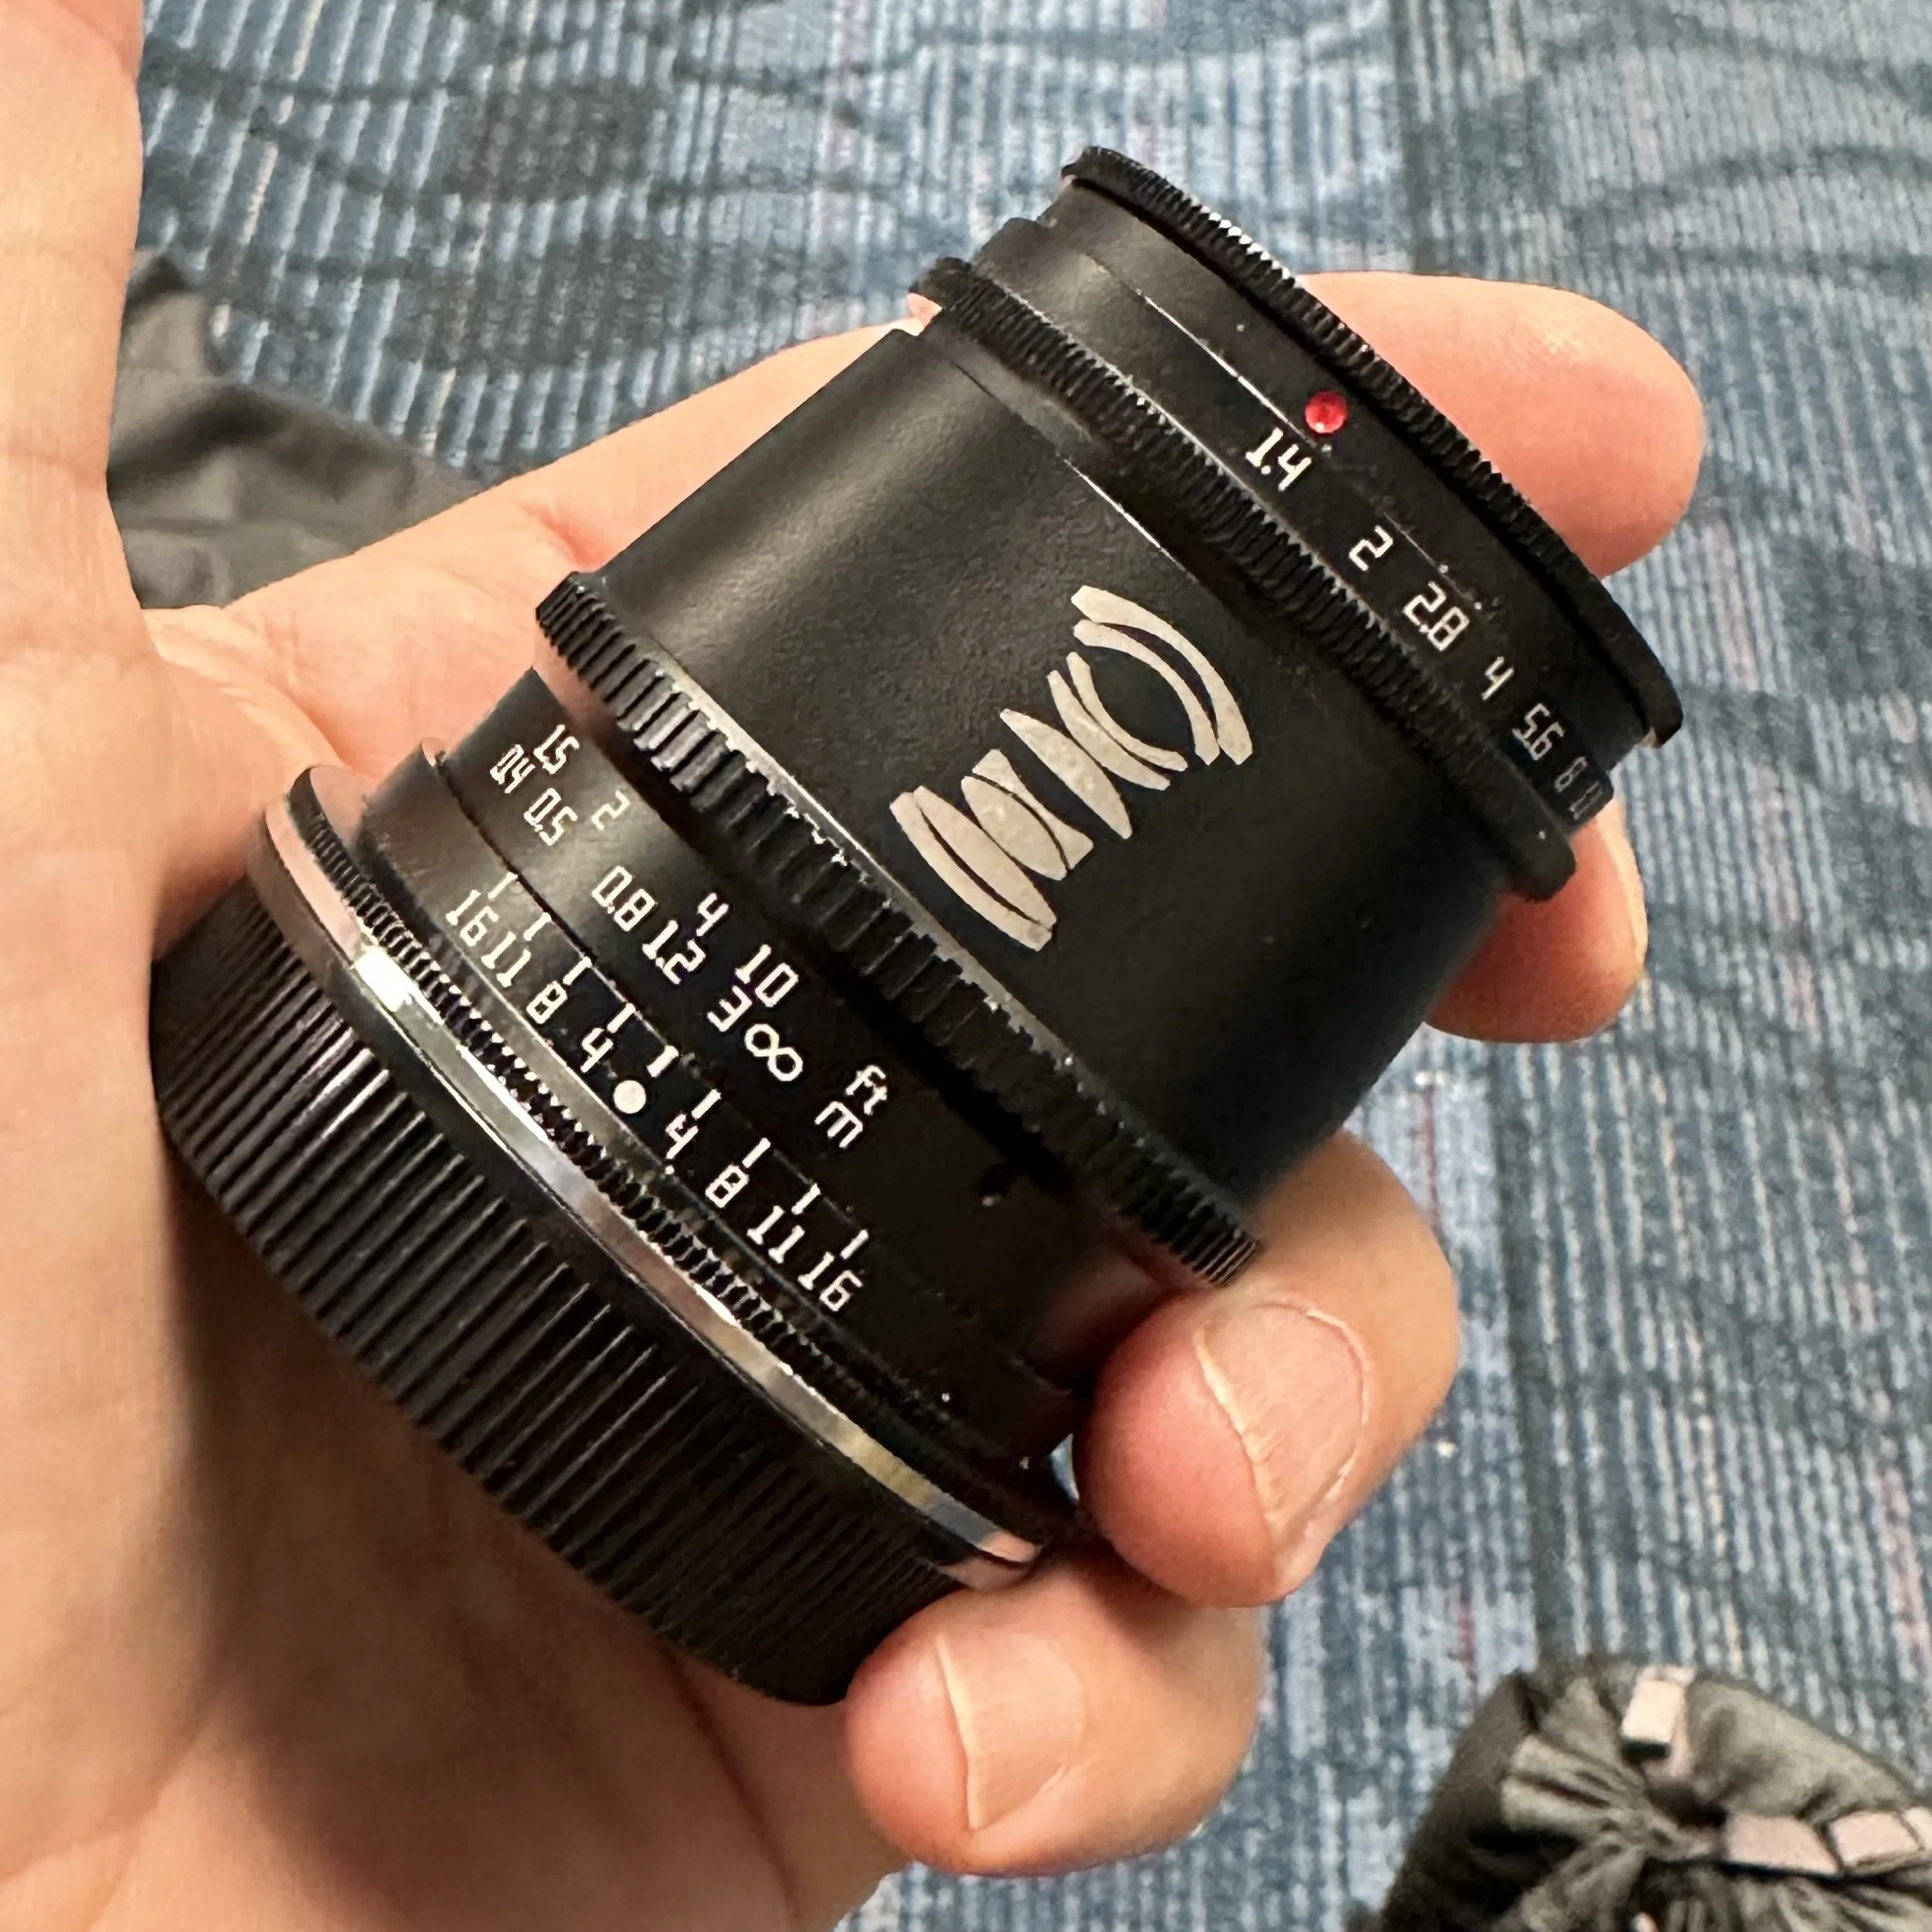
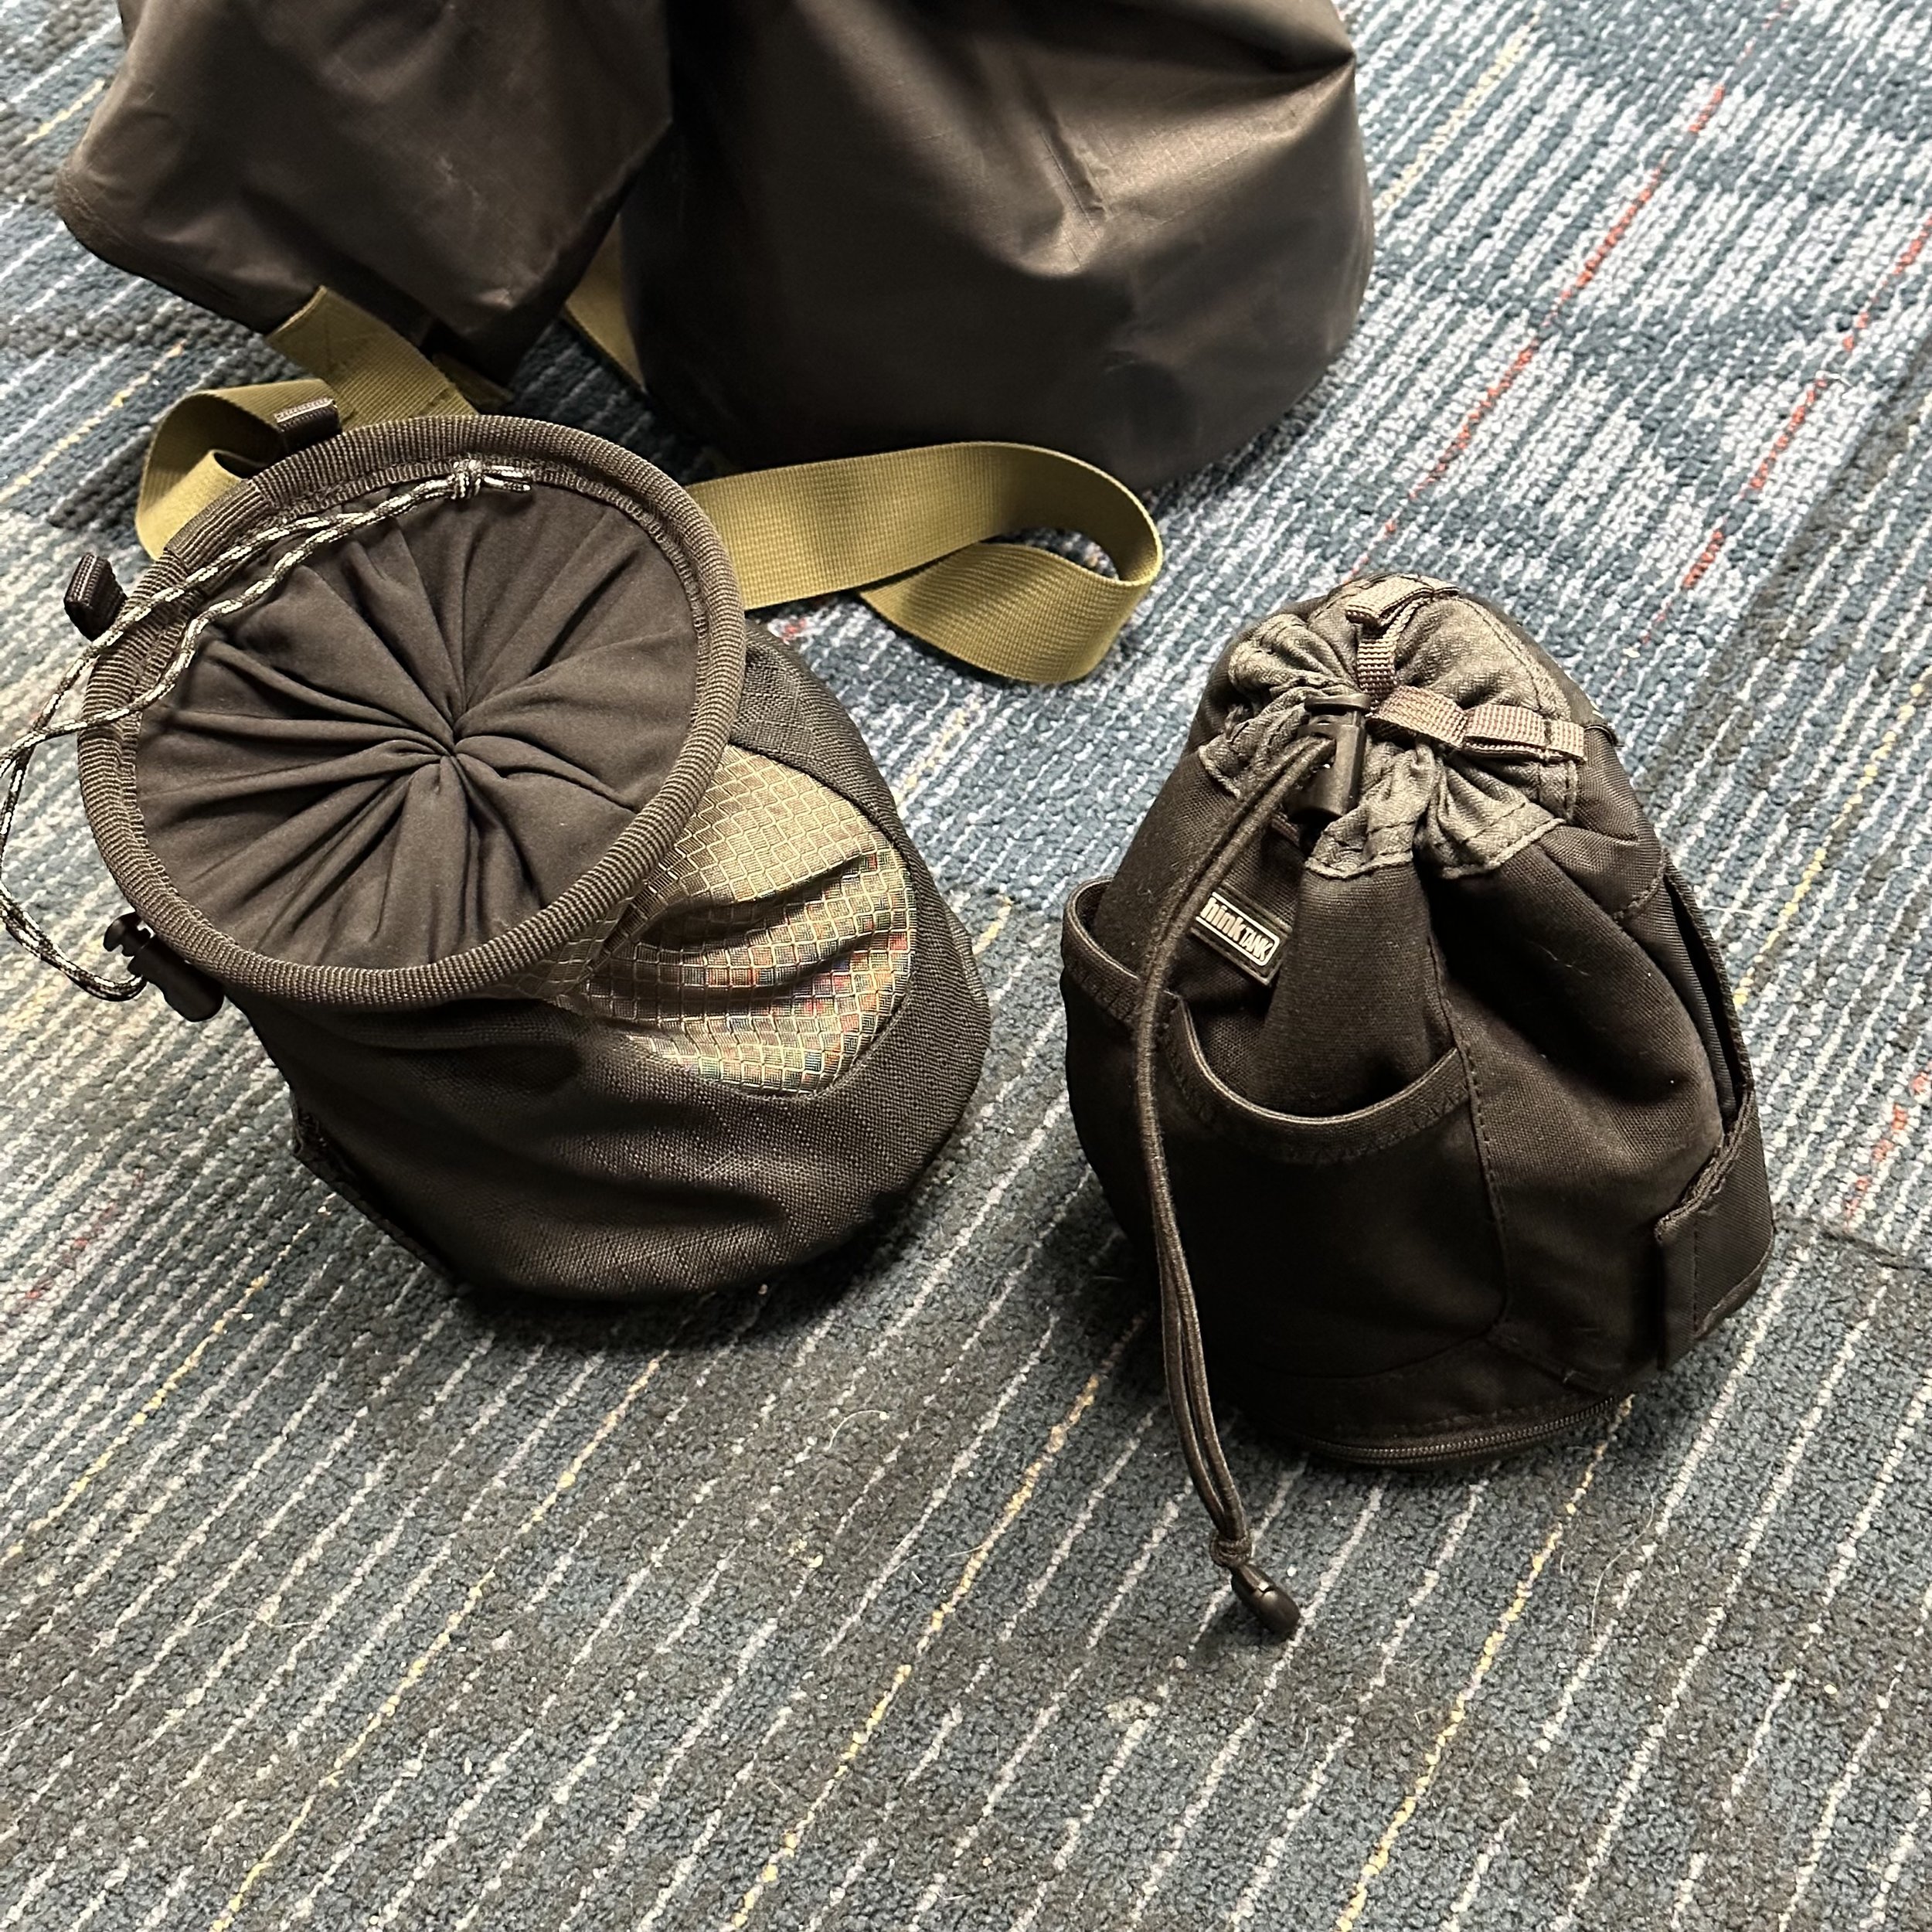
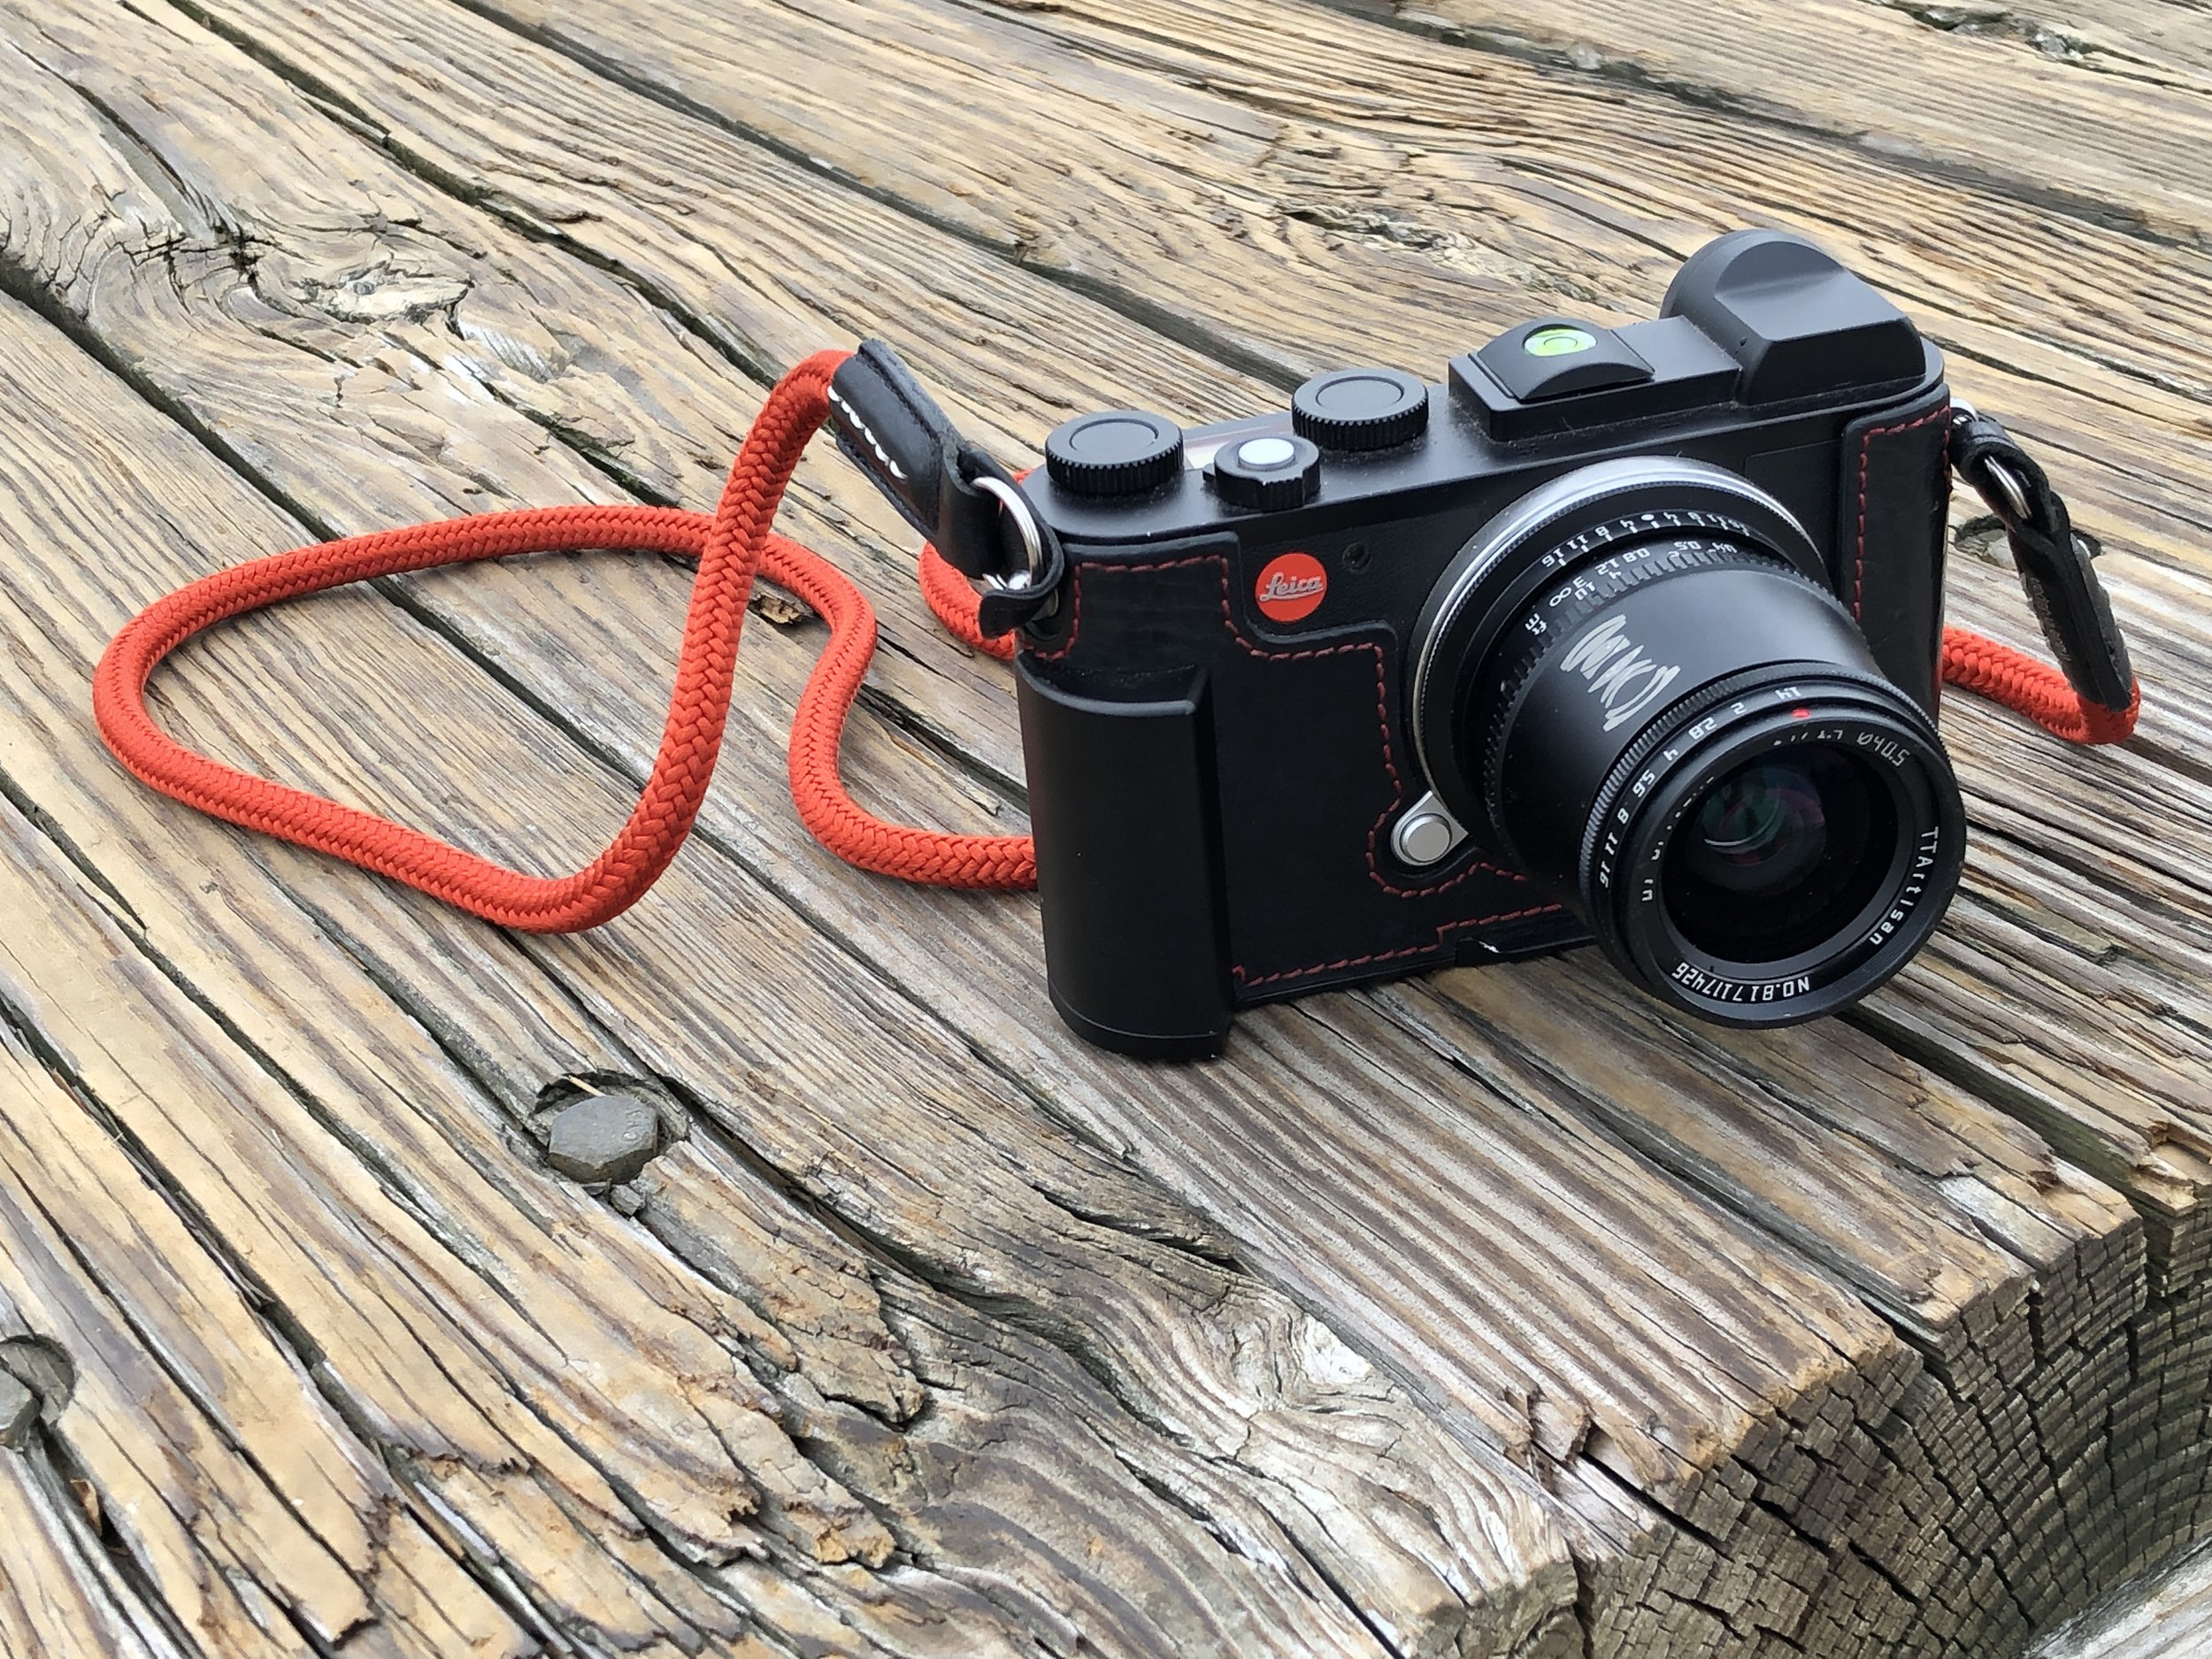
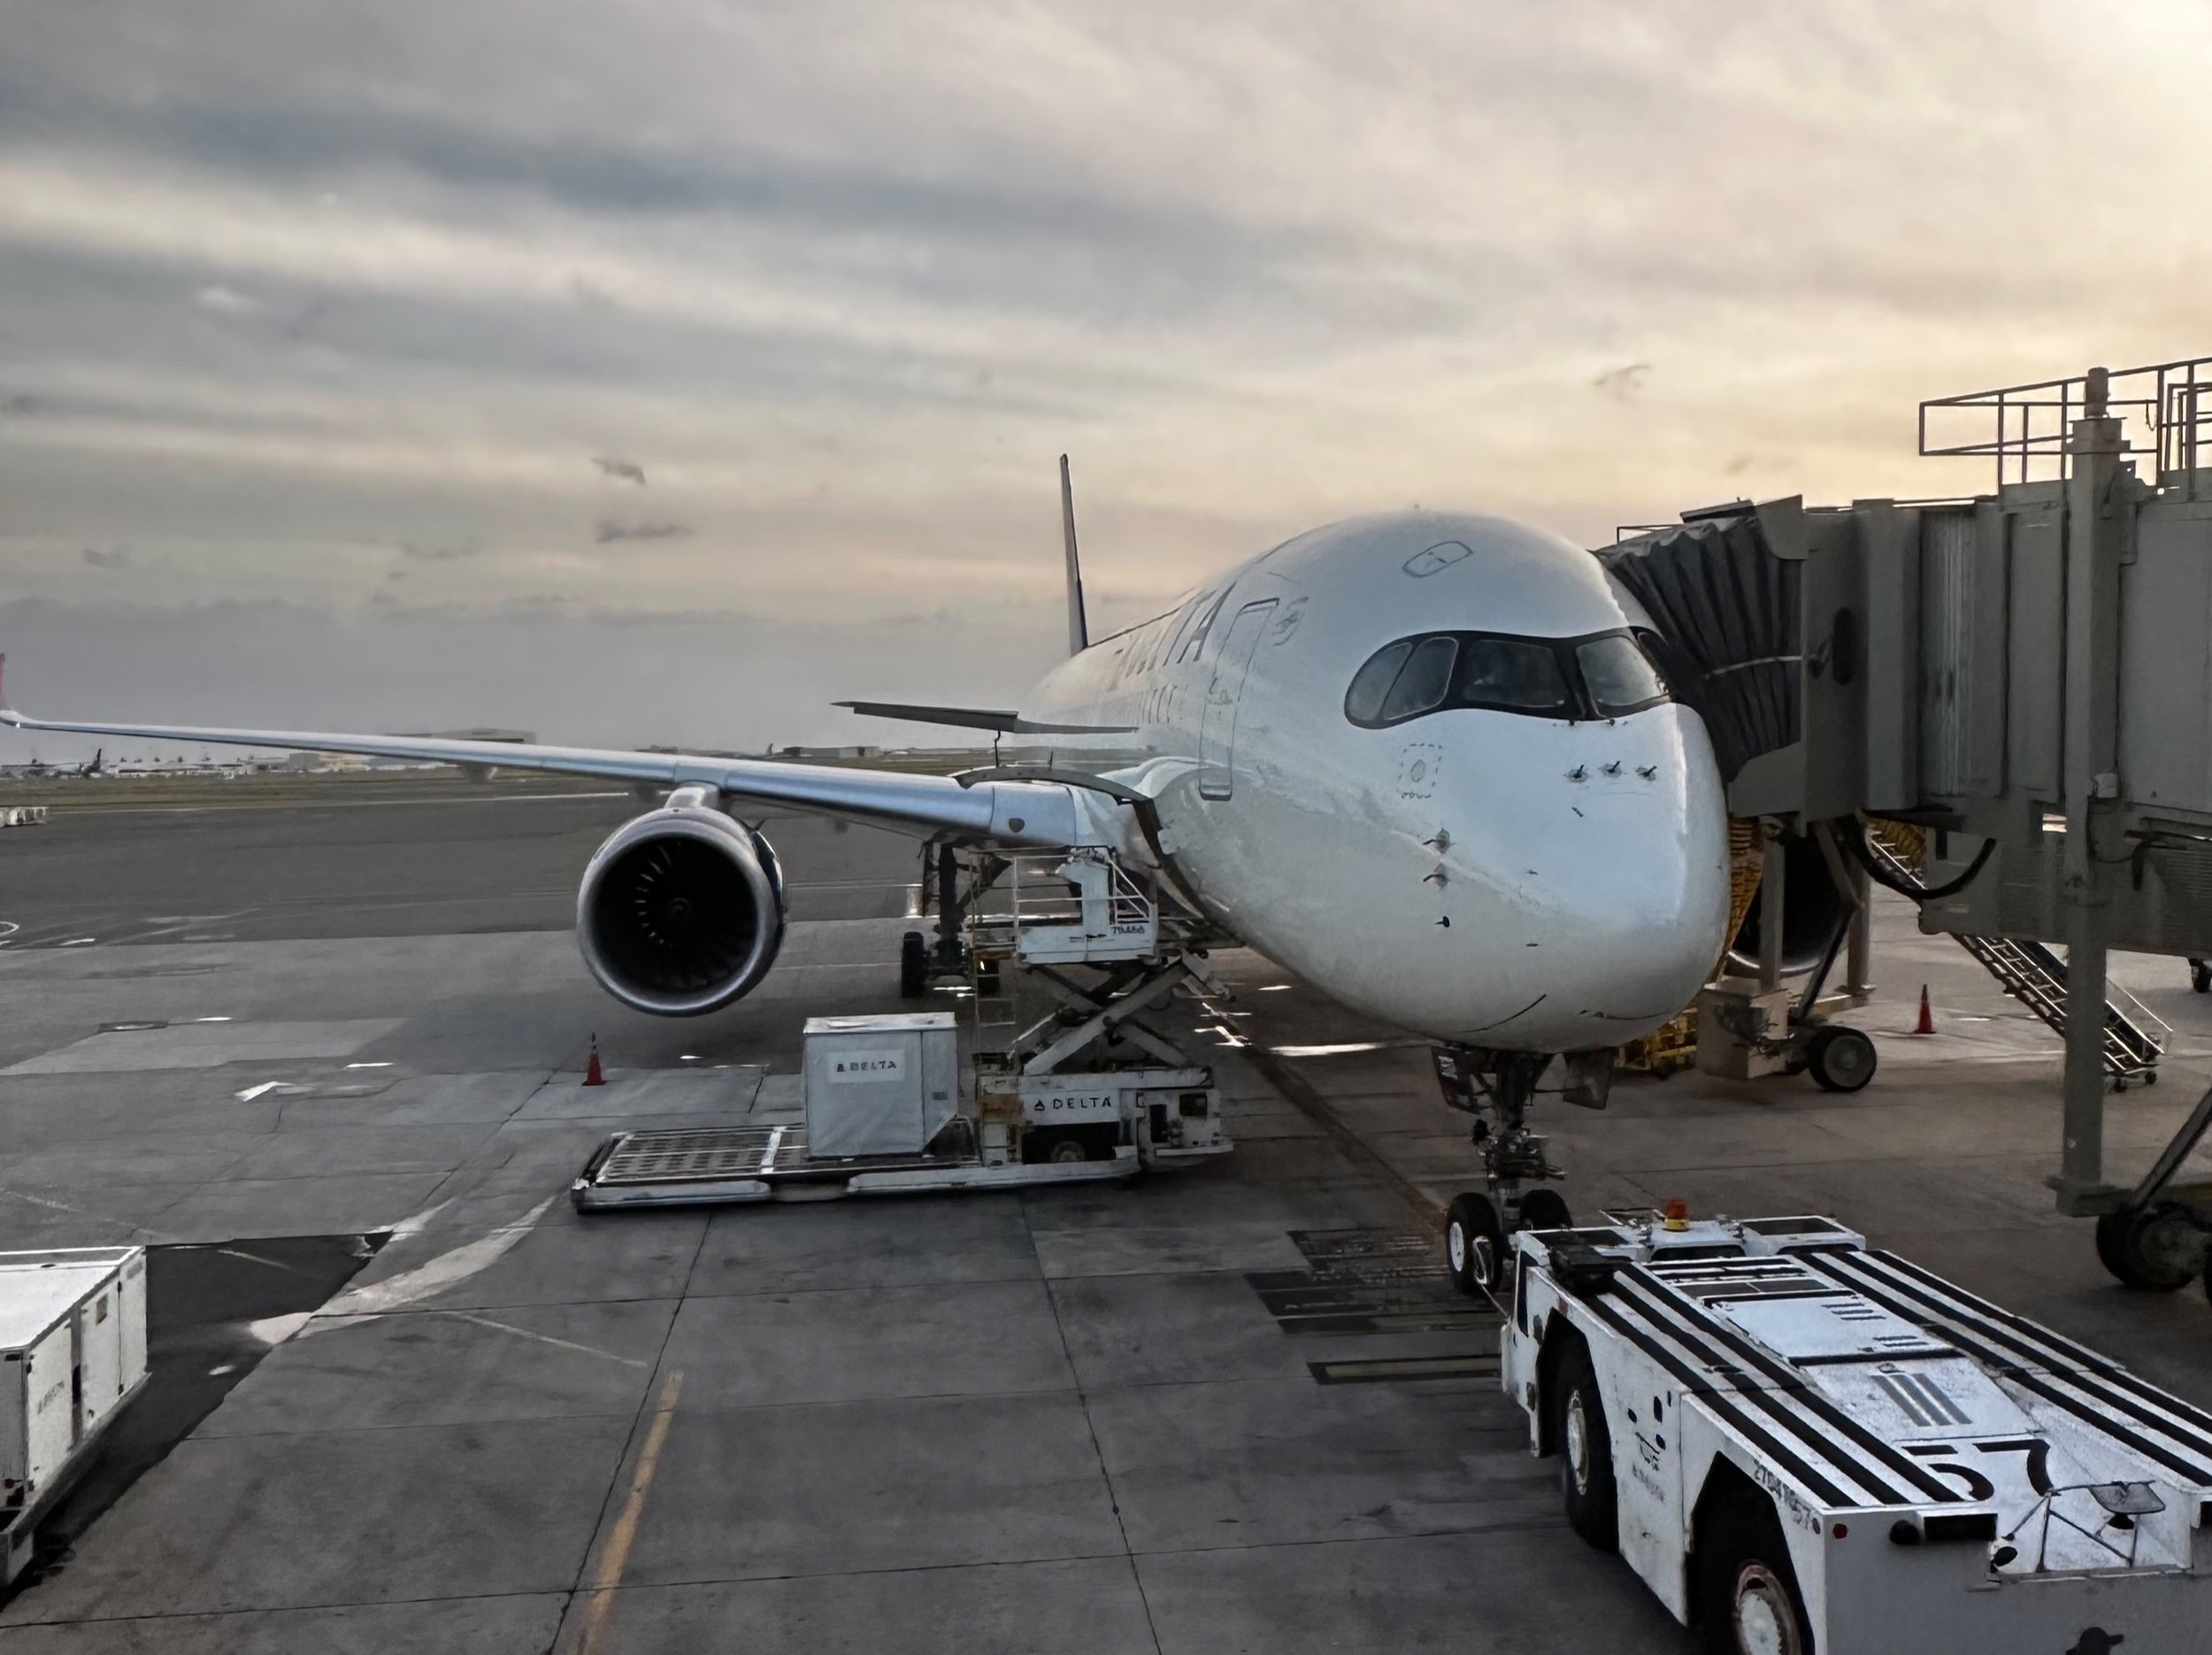
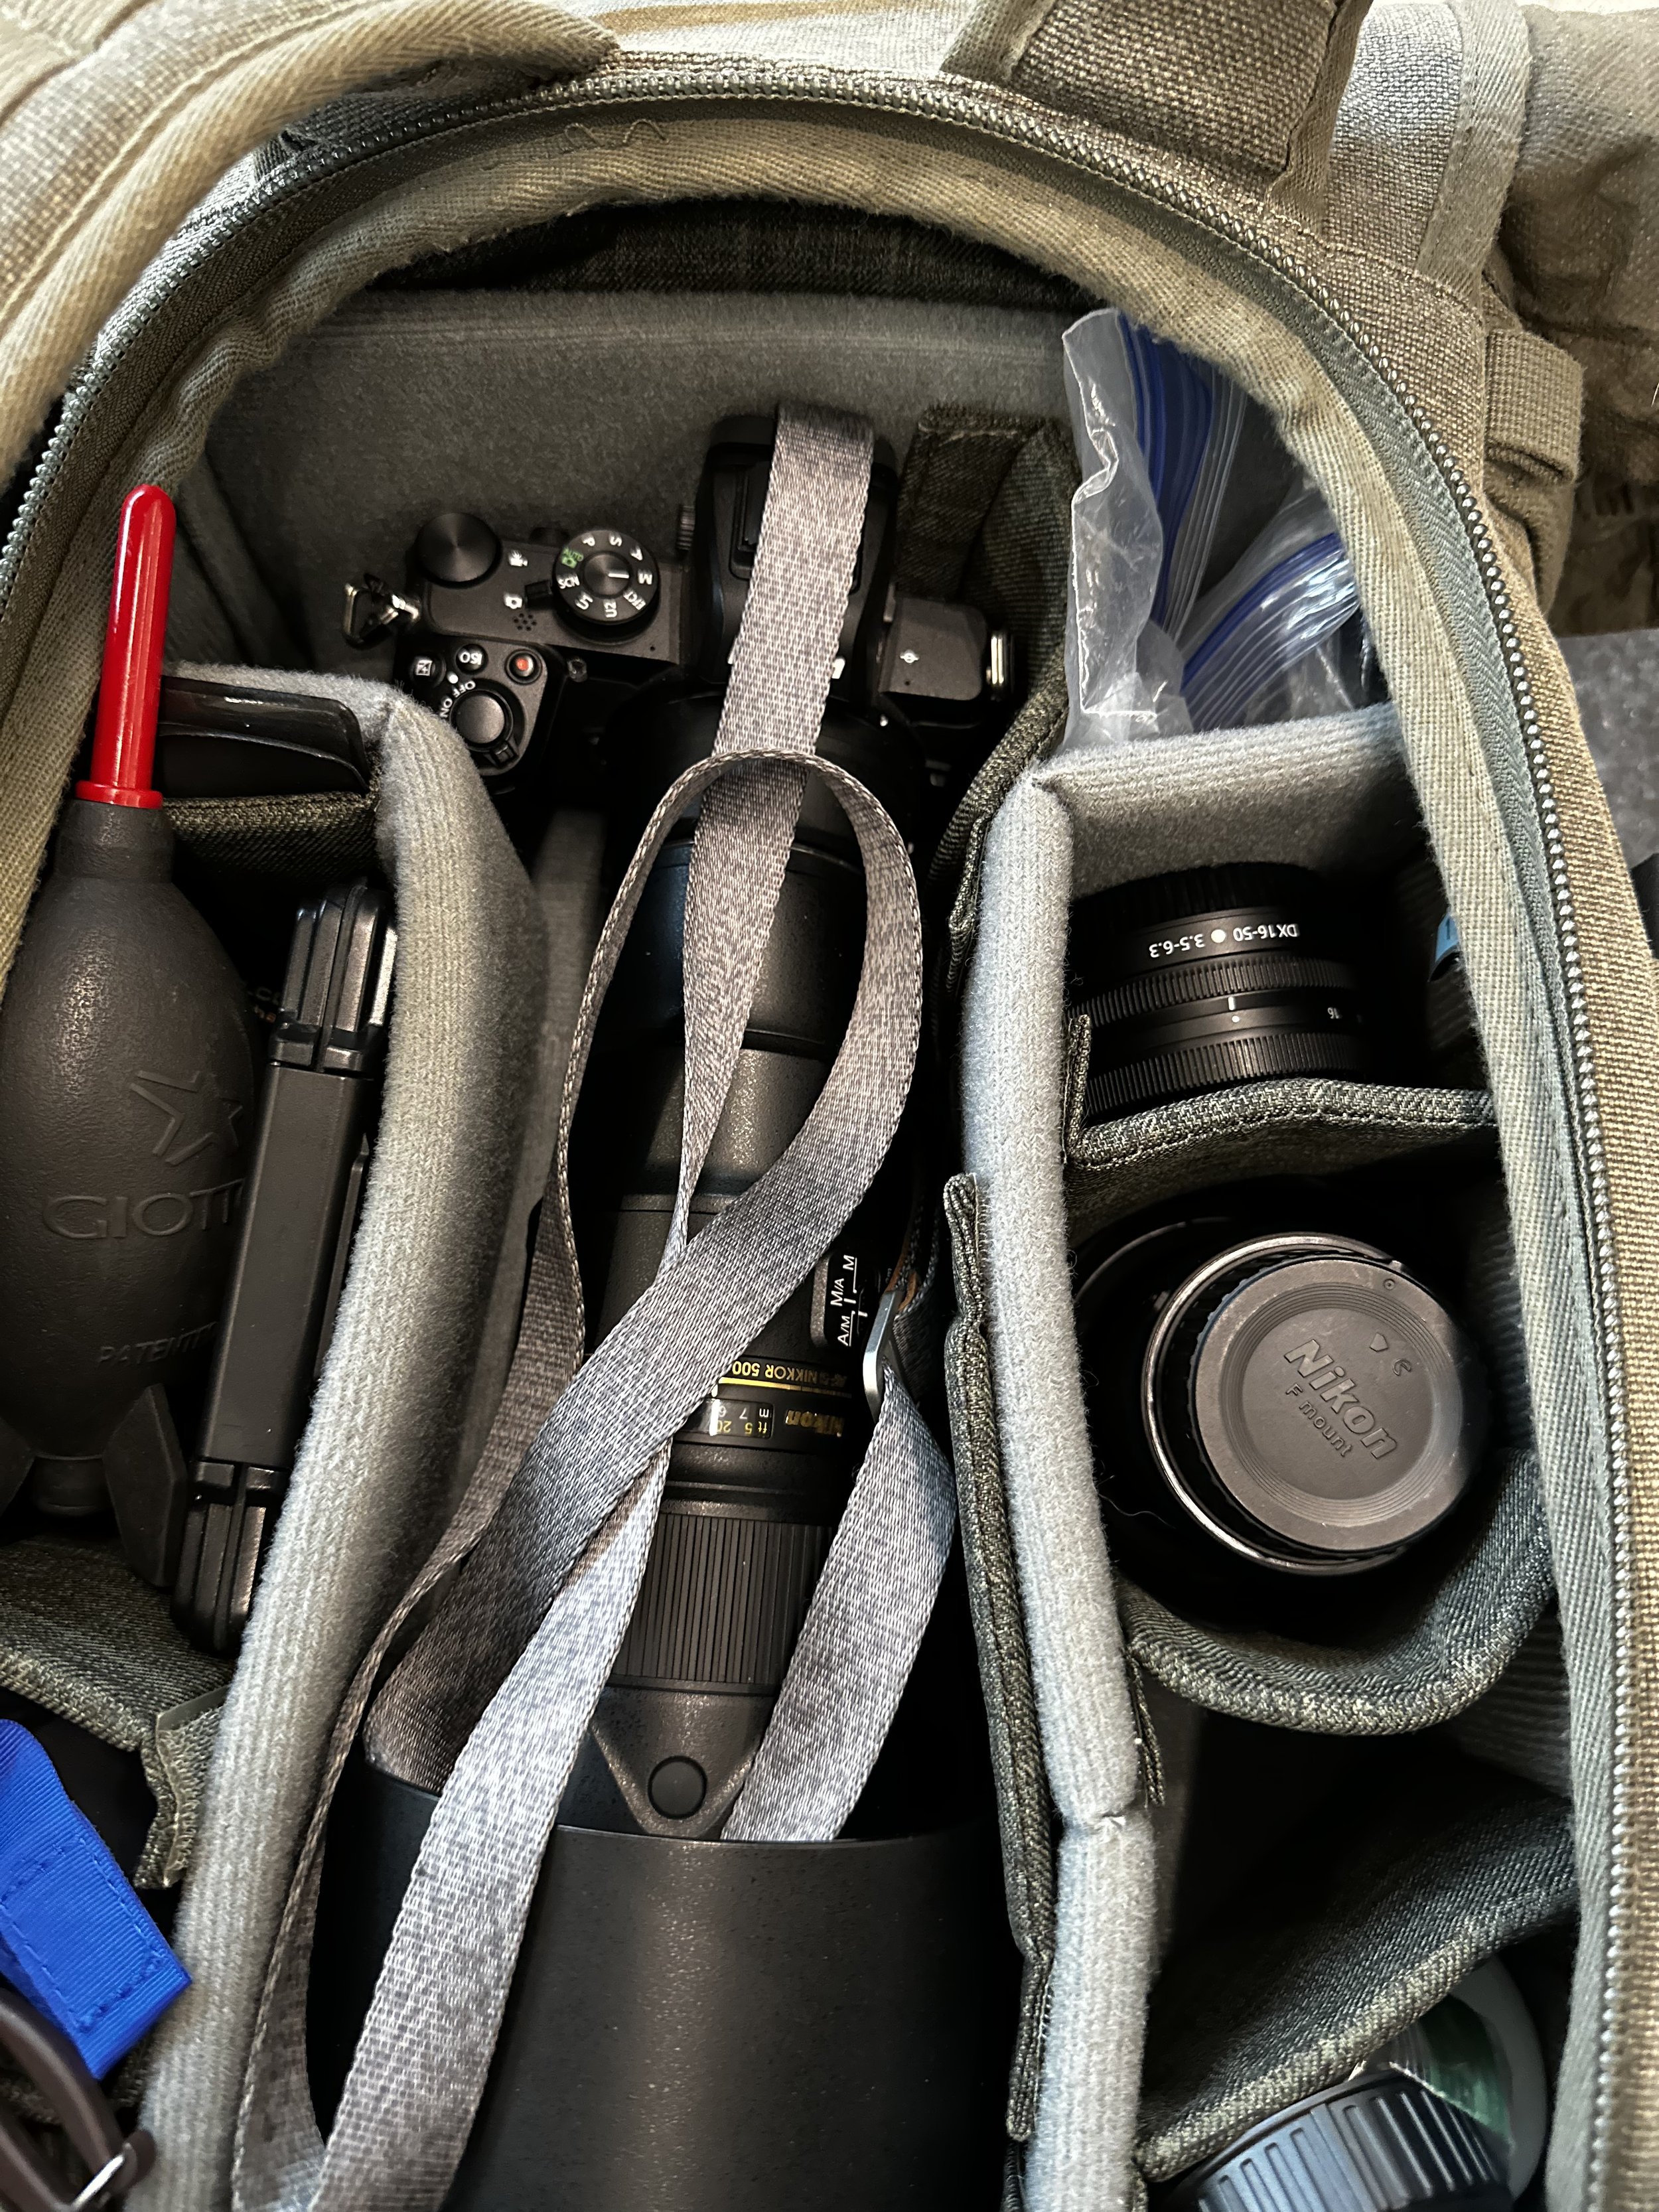
We flew Tropic Air which uses this fleet of 10 or 12 passenger planes as seen in the photo above. Every plane they have is this particular make and model as well as their competitor, Mayan Air. It is kinda neat to do low altitude flights from town to town. You can see a lot of things normally not within your view. I also pack my camera gear in my pack for travel and stow all of it except my action camera in my pack for safe keeping. This way I don’t leave something behind when changing locations. Another side effect though is that I get no high quality photos when the gear is in this condition so it isn’t a perfect system by no means… Once on the ground in San Pedro, I will recover it for the evening. I have high hopes that San Pedro will have more photography opportunities than where we stayed in Placencia. Actually, there was a ton of things I wanted to photograph but didn’t have time due to the schedule being so full. Lol.

Well, I really dont care for San Pedro to be perfectly honest about it. The whole atmosphere is geared towards liberating money from tourist’s wallets… this is not enjoyable at all to me. I dont mind paying a fair price for things that cost money but if you are not very careful, you will overpay significantly for the same activities offered just a few hundred meters away. I just want to be left alone to enjoy my time in peace. I really don’t know how I feel about this yet to be honest… one thing is I am here in their country kind of in the way and on the other hand the infrastructure is literally being built to support that attendance… tough call to be honest.

The first day we went into town for coffee as our villa doesn’t have any means to make coffee in it…(not cool)… but it did afford us an opportunity to see some stuff in the early morning that we would not normally see. Like the “Central Park” of San Pedro which is where they put up all the big Christmas and New Year’s decorations. It also has the giant sign at this park as well. It is common in Central American culture to have this kind of sign in each city for some reason. I kinda like it though as it is a cool photo opportunity.

The sheer number of golf carts on this island is staggering to say the least. Golf carts are the primary means of transportation here and really are convenient to be honest about it. We have a golf cart too so l can’t complain but wow, there are a lot of them. There are enough that they become a focal point of some photos.

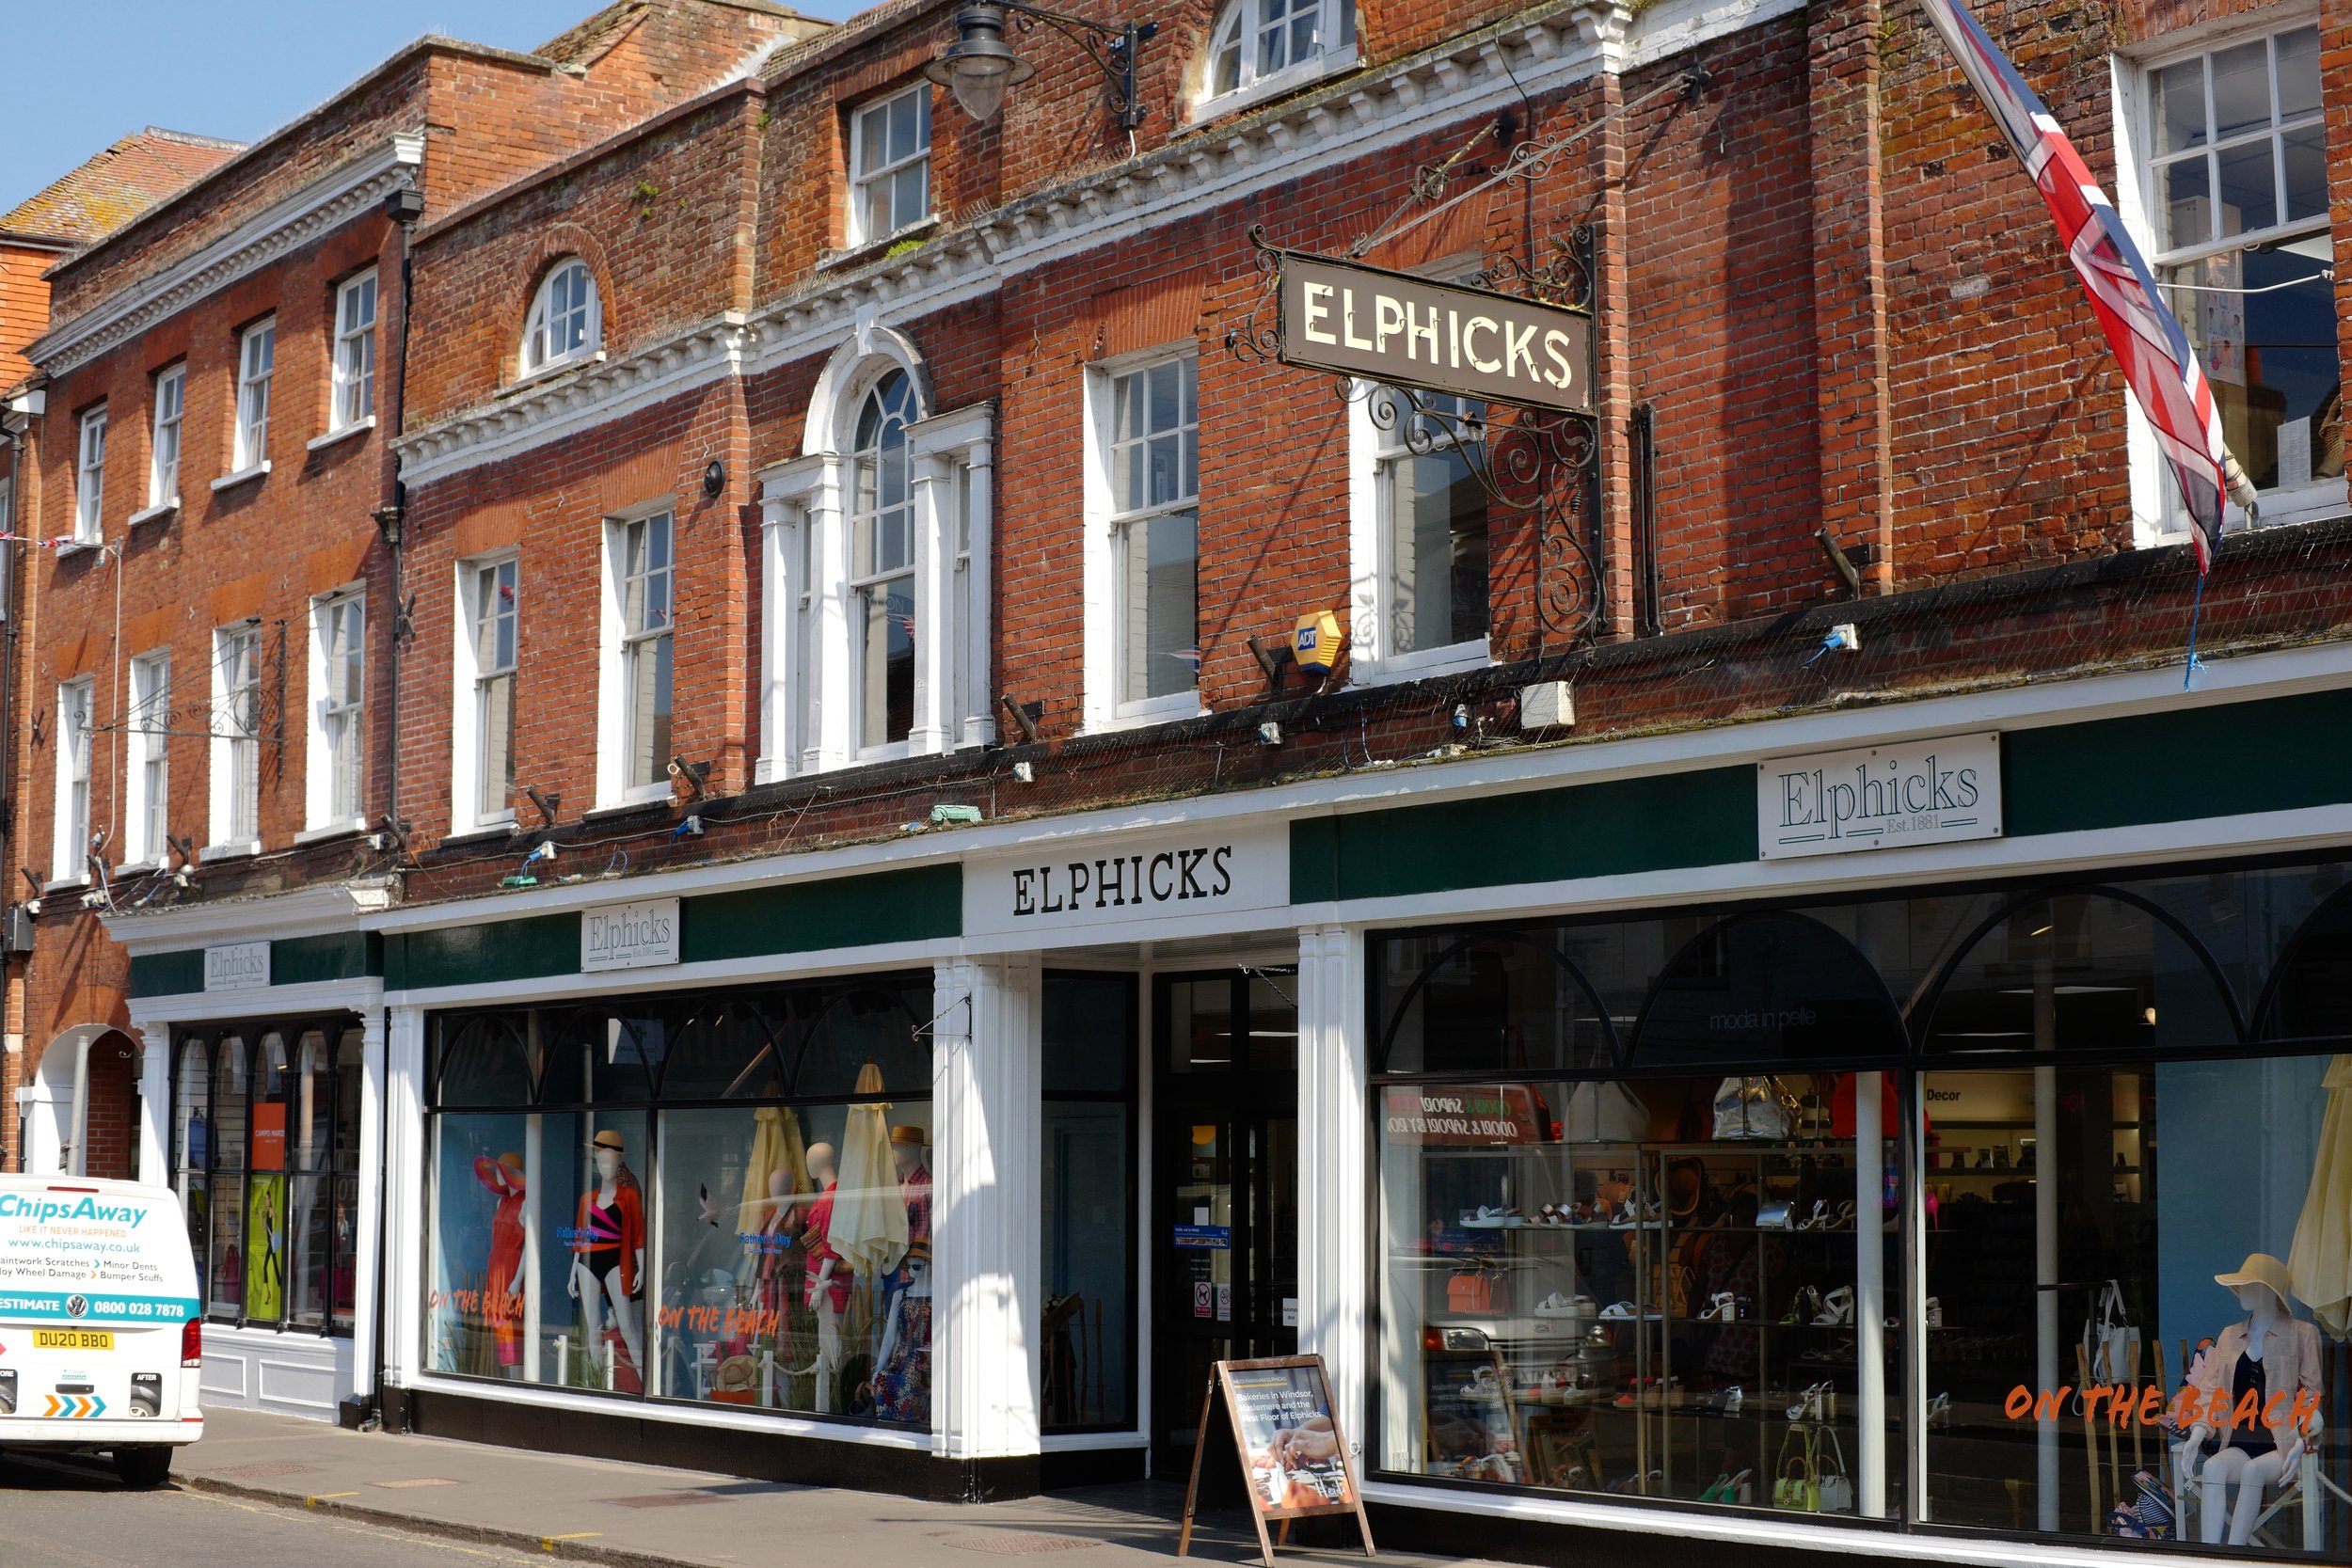
It was fairly interesting to me to see the Belizean people in their day to day lives more than to see all the tourists two streets over. I found them to be wonderful subjects for simple street photography and I saw several more that would have been great photos if I had been able to spend more time out with my camera.

Above are some photos from our 3 mile photowalk that I was able to capture. The locals are so much more interesting to me than the tourists for some reason. Almost the whole photowalk was shot at f11 and range focus so I simply composed the photo and pressed the shutter. This makes for fast photos if you are attempting to capture a fleeting moment. Another thing you will notice is how a lot of them are looking at me. This is the reason I don’t do more street photography in Chattanooga, I stick out like a sore thumb due to my physical stature. Here though, I play the tourist card and get away with it. I just photograph all the things and sort it out later since my time here is limited.

This was taken in Central Park at night…obviously, but it was neat to find these displays still setup and under power a week later. Lots of municipalities in the USA would already be taking all this down.

Below is a photo I captured while waiting on supper to come out of the kitchen at a beachside restaurant. I simply sat the camera on a rock wall and leveled it with my iPhone under one corner since it is a 20 second exposure. My goal here was to get ocean smoothed out some for a cool foreground element. I also had to level the image a little and also set it to 16:9 crop as there was a lot of black sky above the buildings. Would it be better at blue hour? Only if you wanted some color in the sky. I like what I got and I was there at this time too so it worked out well for me.

On our last day we just rode around and looked at the island in general and I found many things that were really interesting to me. The first photo below was interesting to me since I am American and in the USA you would never see this on an official construction site. These poles are locally cut sapling trees and they are holding up the concrete forms for the second floor of this building that is under construction. It was crazy, just how many poles were inside this building like this.

Thanks for tagging along here and I hope to share something new with you soon. Until then, get your camera out and take a picture with it.

Belize in a nutshell…(blogpost)

This is a trip log of sorts.

Day 1 - We wake up at 4:30 and get ready to leave and pack the last few items we think we will need and head off to the airport.

Something we learned from the trip to England last year that was a basic revelation to us was that we don’t need as much stuff as we think we do. This was because we had decided to hike the Canterbury trail in England. This forced us to leave everything behind that wasn’t essential for the hike since we had to carry everything we wanted in our backpack. Let me tell you, you can get brutally honest with yourself when it comes to hiking and weight in your pack. To the point of removing packaging from items to simply cull the dead weight.

This led me to also take a very hard look at my camera kit. I normally would take all sorts of lenses in the off chance I would get to do this or that kind of photography. I learned over the years though that I would end up carrying all this gear and never touch it.

Well, I looked at what we would be doing and what I figured I wanted to capture and I took just one camera and two small prime lenses. A crop sensor camera and a 17mm along with a 35mm lens is all I needed. This would cover 99% of what I would be shooting and I would be able to carry it easily in my backpack.

Now, I am on another trip out of the country and I am applying the same principle again. The kit is just as small as last time but with less charging gear. I only brought chargers for USB only this time. This may prove to have been a mistake but we will see. I am also carrying only the back pack again as well.

The reason I like to travel with a backpack now is that there is no baggage to check or pickup…or lose, since I have it with me at all times. Plus the airport maneuverings is also much easier too. Much easier since you just go in and get your boarding passes (we still haven’t transitioned to using our phones yet), pass through security ( which you still do even if you check a bag) and go straight to your gate. Easy. Not to mention that I dont have to drag my roller bag around with me AND both of my hands are free as well.

You see, I despise airports and air travel to be quite honest about it. That is a blog post all it’s own. Haha.

Flying out of Chattanooga is also better to me since it is a smaller airport, the whole vibe is just lower key. This also gets me past the long lines at the big airports at check in as well as the long lines at the TSA checkpoint too. I don’t normally bother with photos at the airport like others do but here are a couple for fun. All photos of travel are taken with my phone so I don’t have to break out the camera.  The below photo is of note though, this is what overcast skies looks like from the other side of the clouds. Looks almost looks like a desert somewhere, doesn’t it?

The camera kit is shown below. I didn’t bother with lots of items I normally carry to the point of probably a fault. Lol. No lens cloths, no rocket air, no card wallet, no spare lens caps, no tripod plates (or tripods either for that matter), not even a camera bag… officially. The bag you see is actually a lens “dump pouch” that goes on your belt. It happens to be big enough to hold almost all of the camera equipment I brought. What doesn’t fit is in a ziplock bag, like the battery charger and cable and the DJI Osmo Action that I usually vlog with. I didn’t even bring all of my spare batteries as I only used two a day at the most so I brought three. Lol…couldn’t help myself.

I didn’t bother with a spare battery for the Osmo as I never ran one down on my normal days anyways and it USB charges so the same cable will charge the action camera as my camera charger.

The inventory is longer than I had originally planned with me adding the DJI Osmo Action and the Lume Cube Panel Mini (fill light) was a couple of luxuries I really wanted for vlogging but fit in the pack easily enough. I have almost decided that I can vlog on my phone just about as good as the Osmo Action…almost.

Once on the ground in Belize we pass through customs and then board a smaller plane to Placencia where we will be staying for a couple of days.

You can also tell that they play by different rules in Belize. Notice how there is no copilot, I wonder what the protocol is for a incapacitated pilot? Makes you wonder… anyway, he did just fine and we arrived in fine order. It was actually kind of nice to take the little plane down to Placencia as it flies at a much lower altitude and I could see the towns along the way really well.

I also noticed that our plane had a copy of Microsoft Flight Simulator installed…haha. It is actually neat how technical the instruments have become but still display like the old ones did. It displayed EXACTLY like the old instruments but just on a digital display. I just thought it was really neat to see that.

After we arrived and got settled in, we went to the beach and walked in the ocean. It was really surreal to wake up and the outside temperature be 29 degrees and that evening it be almost 80 degrees.

Once settled in, we went to the beach for a bit the relax a little and for this I took my 17mm f1.4 lens on the Leica CL. This is a great focal length for general photography as well as some landscapes. After our beach excursion it was time for some great food and fellowship.

We ate a wonderful meal for supper and hung out a while then it was off to bed. I used the 35mm at f0.95 for a change just to see if I could get some photos in focus at f0.95 and it was a success! Day 2 was an off day from photo and video collection as I wanted to just be in the moment. This meant no camera gear of any kind. It was really nice to “unplug” for a while. Next installment will be the “ruins”…I DID take my camera this time…

Using the Micro Nikkor 55mm f3.5 lens on my Leica SL2 camera for general photography

When you think of a general purpose lens, your mind normally doesn’t wander to a macro lens.

I have found over the years that there are a couple of Nikkor lenses in this family that work really well for the task of general purpose photography lens and this is one of them. This particular copy is an Ai variant made somewhere in the late 1976 to early 1977 time frame so this lens is almost 50 years old and just look at the image quality it produces… Lens manufactures were on their A game at this point and Nikon was a force to be reckoned with in this area. This lens isn’t even their best macro lens either… That is something that to this day surprises me a little. It has an external aperture ring that is detented in whole stops…except the very first one where it goes from f3.5 to f4 for some reason… Who knows why they did this, but they did so it is there if you want to use it.

Minimum focus distance is a surprising 9 1/2” from the image plane. So this is right at 4.25 inches in front of the lens when mounted on my Leica SL2 camera. This also gives you a preproduction ratio of 1:2 on the image sensor, that is to say that if you have an object that is 1 inch across in reality, it will be 1/2 inch across the sensor. To get to 1:1 reproduction ratio you need help… The PK-3 extension ring will get you half that distance and to the true 1:1 reproduction ratio at minimum focus distance. All of this is conveniently engraved on the lens barrel for you should you need to look it up in the field… Also notice in these two images that the lens “pumps” air which means it has external focus movement, the lens grows and shrinks when you adjust focus, it is common belief that this is where dust gets into the lens from, when you open the lens fully to minimum focus distance the lens intakes a full charge of air and doesn’t have dust seals to prevent dust from entering the lens mechanism, so you get a little internal dust…

One last thing to note about this focus mechanism is that the reason I like using these lenses for general purpose photography like travel and such is that as you can see in the above photo, the focus throw from infinity to less than 1 meter is short, so focus is fast with this lens. It also has a range focus scale, but since it is 55mm, the scale is rather small and not easy to use, it will give you rough numbers to work with but that is all.

Enough with all this tech talk, let’s take it for a spin and see what the photos look like on my Leica SL2 mirrorless camera since it has IBIS on the sensor and I can hand hold photos at unheard of shutter speeds with it.

First thing I notice when using this lens is how good it feels in the hand. The location and feel of the controls are literally in the perfect location.

Another thing I noticed was that it is sharp, like incredibly sharp. To this point, it makes sense that is would be this good due to the design intent of the lens but it has a really nice general purpose focus throw too. This lends itself to being a wonderful walk about lens. The following photos were shot on my Leica SL2 using this lens as a walkable lens. I have used another Nikon macro lens before in this same capacity, the 60mm Micro Nikkor once lived on my D810 as a general purpose lens. It works flawlessly in this capacity.

In the above photo you can see what I love about a camera with stabilization in it. The camera sensor is rock steady so I can capture shutter speeds like in the photo above where I was running something like 1/30 second and some of my water blur shots were 1/4 second!!! Like the one below is a 1/4 second handheld exposure and if you will look, the rocks are crisp and the water has a really nice blur to in. This is at f32 as well so there will be some diffraction in the image from that but all in all, it looks really nice.

Below is a crop from this image. As you can see, the spider webs are even visible and this is handheld no less! As long as you have some decent light this combination is really nice. When you move to a mirrorless camera body that has IBIS on the sensor, it unlocks so many possibilities with lens / camera combinations. I dont know why hobbyists dont see this sooner but a lot dont.

So in conclusion, I highly recommend this little guy if you need a macro lens on occasion and want a nice general purpose lens the rest of the time. The f3.5 maximum aperture also allows the glass to be smaller and lighter as well. This is also a huge perk to everyone except those people who shoot with big glass… until next time, get your camera out and take a picture with it!

It is the holiday season again!

When you live in the United States, you get to celebrate certain holidays and they seem to come once a month… In the winters we have Halloween, then a month later you have November and with it comes Thanksgiving where everyone literally over eats on one day and then eats the same meal everyday for the next week at lunch. HaHa.

It also brings colder weather so the photography is different too. I have, of late, been using my 28mm more than anything else it seems. The wider angle giving me more of a ”scene” than a specific subject. It also gives me a lot more depth of field so getting focus is a lot easier too. You see, I tend to shoot these days with vintage manual focus lenses more often than not. I do love my modern lenses with their aftofucus and light weight construction producing wonderful images, but sometimes I just want to use something from a simpler time. I have also found the lenses that work best for me applications too. Mostly Nikkor and Asahi Optical(Pentax) lenses with a sprinkling of some others like Voigtlander and Leica just to name a few.

I will also use these lenses for things like photo walks as well as general photography.

In the above photo, I was attempting to capture blue hour in downtown with a 25mm and this shows what I am talking about a little better. The wider angle allows me to get more of a scene and tell more of a story that a tighter lens like the 50mm or 75mm would do. I would have to back up a lot more if I wanted to include all of this in a 50mm lens photo as the field of view is a great deal narrower. Another thing that comes with longer focal lengths is a phenomenon called “compression”. This is where things in the background tend to look closer together than they are in reality from the effect the lens has on the subject. The photo below shows what I am talking about with compression…

Learning how to use these effects to your own personal advantage will open up so many possibilities for you. You couldn’t get this photo on a 20mm lens, it just wont work, you need the compression of a telephoto lens to be able to “stack” all those light displays together like that. This is why it is important to get out and shoot with different focal lengths at different times of day and also in different places, it is almost impossible to learn well without “doing”…

All this to say, the holidays as a wonderful time of the year to get out and practice your photography.

Fall color photos FINALLY!!!

Well, it sure took long enough, but I finally found a place local to me that had some beautiful fall color photo opportunities.

This is not something I normally have when it is as dry as it has been recently. Let me explain…

I am no scientist but I have stayed in a Holiday Inn before, so here goes. From what I have seen, there are three different scenarios that usually unfold around here in the fall.

The first event is like this, we get plenty of rain in the spring, it dries out a little in the mid summer months and then it starts to rain in late September or early October. This is actually the best possible scenario from what I can tell…

The second scenario is the same as the first one except the rain turns into a thunderstorm storm with heavy rain and usually high winds during peak color season, knocking all the leaves off of the trees.

Then there is option three, this one is where there is rain in the spring but then it is dry for the entirety of summer and fall. This is the type of season we are in now. There has not been enough rain to matter in two months…maybe more. It is so little water that the creek next to my house has no surface water in it as of this writing.

Of the three events, the first one is the preferred for fall color photos as there is sufficient water for the trees to transition normally to their dormant winter state and you get this incredible color display in the fall. This year though, we have event three where everything is a huge tinderbox and the leaves are simply drying out and turning brown then falling off of the trees without passing through their color phase at all…except…in the few places where there is still ground water to water the trees.

Enter North Chickamauga Creek WMA near Soddy Daisy Tennessee. This is a small WMA (Wildlife Management Area) situated in a gorge next to Mowbray mountain and is a popular spot for the locals to cool off in the summertime in the river. Well, the river is just a brook at this point and is barely moving at all, BUT it is there! If you watch my YouTube video on it you will see what I mean. Even so, there is still enough water to feed the trees so they had a fall color change.

Since I found some colors this year, I now had to figure out what I wanted to use to capture all this color with. I finally settled on my camera being the Leica SL2 as it has a high resolution sensor and several other features that lend itself to being a wonderful landscape photography camera. You see the Leica SL2 is a mirrorless camera so it can be adapted to various vintage lenses really easily and we all know how I love using vintage lenses! So today’s lens of choice for the Leica is the Nikkor 28mm f2.8 AiS. This is one of Nikon’s crowning achievements in lens design as it was as close to optical perfection as they had ever gotten to that point. So naturally I used this lens.

The magic of the Leica SL2 as well is that it has IBIS on the sensor. This basically turns all my vintage lenses into stabilized lenses. I know there are a ton of other cameras that also have these same features but I just like the Leica SL2 for some reason.

Now that the camera setup is settled, next is finding the photo I want. I started out looking for macro level images, vistas and scenes, then I moved in closer to get more detailed image ideas. The first one is shown above of the red maple tree in a sea of yellow. Then I moved to the river bed and found some wonderful colors out in the open.

This was literally what I was greeted with when I looked upstream from where I entered the river bottom. Not much water, but I got such a color splash from the trees that I didn’t even care. I would have liked for it to not be overcast, but you take what you can get and work with it. I really love this image too, so much texture and color in one image that is is almost overwhelming. I was really starting to embrace the look that the 28mm lens was giving me and then I decided to move upstream to that large boulder you see in the above photo and get a different perspective from that spot.

The little smidgen of sky showing the over cast clouds almost makes it otherworldly or something like that. I was blown away with this image when I got it into Lightroom and was able to see it better. It almost doesn’t look real back up in the valley next to the sky. The clouds were epic! This is also shot hand held with the 28mm lens. What is nice is that it allowed me to be very agile and not have the burden of the back pack and a tripod with me at all. There is something to be said for simplicity…

So in summary, if you want to find fall colors even when it has been really dry, find the water. Where ever there is water, there will be fall colors. At least that is what I have seen, your mileage may vary.

Charit Creek Lodge Off Grid Retreat


Charit Creek Lodge Off Grid Retreat

We decided to spend the night at this wonderful little place and this time, we came when it wasn’t scorching hot like last time.

Yes, we have been here before. This is why we like it. The quiet and serenity makes this place wonderful to get away to on occasion. I did charge my phone prior to leaving the parking area (which is a .8 mile hike from the lodge) so I could take pictures and write some thoughts about this article.

The hike into the grounds is a beautiful walk down into a valley…just remember that all things that go down must also go back up…to get to the card.

This was also an exercise in minimalism as I was planning on bringing a bunch of camera gear but then decided that I wanted to see if I could get good photos with only my iPhone.

The iPhone 14 Pro Max is a wonder of modern engineering and has so many capabilities that it will do a great job as a snapshot camera for trips like this.

The normal rig for forays such as this would normally be my Leica CL and the 35mm lens and possibly the 17mm as well to give me two options for field of view. This worked well in England to be quite honest and I really didn’t need any of the hot rod gear like my full frame Leica SL2 or the host of lenses for it. The little Leica CL has a more than capable 24 megapixel sensor that produces wonderful images. The larger Leica SL2 having a 47 megapixel sensor does give you more to work with as well as allowing you to print larger but at the end of the day I had to be honest with myself. I rarely print my photos and when I do they are in a photo book which isn’t more than 12 inches on the longest side. So I have started downsizing my load outs for trips like this.

Here is the hard facts. The iPhone captures snapshots so well with its measly 12 megapixels that you can print 8x10 just fine and no one will ever be the wiser. So this little overnight trip is a chance to test that as I will be stopping by a Walgreens and making some 4x6 prints as well as maybe even some 8x10 prints as well just to test the idea.

Back to Charit Creek a little. It is in Big South Fork Forest. This is either a state or federal forest, I am not sure which, but it is a huge tract of protected land and Charit Creek is in the middle of it. Hence the “unplugged” nature of the operation.

When you get here, you quickly notice the lack of electricity. Even the kitchen that cooks the huge communal meals doesn’t have much more than some solar power. All of the cabins are rustic styled with wood burning stoves for heat and screen windows for AC.  They are more akin to bunk houses than cabins actually but they are nice nonetheless.

There is a plethora of games and outside activities to do (even though I wrote this blog using my well charged iPhone)… There are also copious fire rings and PLENTY of firewood is on hand for all the lodges needs. The firewood does cost you money but it isn’t that much and you get way more than you really need for what you pay. For details like that, contact the lodge as I don’t know when you are reading this and prices could have changed between now and your current time. Suffice it to say that prices are not extreme in any way.

There is also a bathhouse with showers should you want to bring shower gear with you. (I didn’t since I will be home tomorrow afternoon and can just bathe when I get home). The main lodge has the dining hall as well as guest rooms on one end and plenty of porch space containing a metric ton of rocking chairs.

The provided meals are supper and breakfast with lunch being left to you to figure out (with a few exceptions). The meals are huge though so you can probably make it from one to the next easily enough. There is a copious amount of hiking around the lodge with one trail going to a waterfall.

Happened to catch Venus the next morning while stoking the campfire.

Another thing the lodge specializes in is accommodating horseback riders. Complete with hitching posts and a horse barn with stables near the lodge. There are numerous horse back riding trails in the surrounding area as well and there is even a sectioned off parking lot just for equestrian rigs where you leave your vehicle while at Charit Creek Lodge.

I do not know the history of the lodge but the whole property makes me think that this was a homestead at some point in the 19th century what with the construction techniques used to build the buildings. I could be wrong and they could be newer but these logs look period correct for the late 1800s.

The buildings make for really interesting photography subject matter so once we got here and stowed our gear, I made my way around and grabbed some photos of everything. The whole time I was doing this, I was attempting to capture the “feel” of the whole place. I have come to do this more and more as time goes on. There is already a metric ton of photos of Charit Creek Lodge floating around on the web, so I need to do something different if I want something unique and interesting that stands out from the ordinary.

Side note: I found out that I really should have brought my camera as I was informed that the milky way has been visible the last few nights…. Lol. You never know what to expect.  I don’t regret not bringing my cameras though as it defeats the purpose of traveling light weight. Sometimes you just need to enjoy the event instead of worrying about documenting it for others.

I saw the following tonight:

  • The Milky Way

  • The starlink satellite train

  • Many other satellites

  • The glow worms in the grass

  • We heard the great horned owls calling each other

  • The barn cat (trust me on this one)

I also learned that the iPhone has a low light mode where it will do a long exposure and get great photos in super low light. I was blown away by what it could do when photographing the campfire. Just take a look!

These are 1/5 second exposures! Yeah, that is cool. They are also ISO 10,000 but it does some sort of noise reduction and it looks good.

Sometimes you don’t have to plan out this huge package of gear for a trip to be successful for photography, you just need to be creative with your smartphone and go have a good time. We as photographers want to over complicate what we need to get good photos. Most people don’t even care what camera was used to get the picture or honestly will assume you used your smartphone anyway.

Isn’t it interesting how we will do that? HaHaHa… Anyway, back to Charit Creek Lodge for a little longer. When you leave you have to return back to your car out on the same trail you came in on, the difference this time is that it is uphill almost the entire way so if your fitness level isn’t high I would suggest taking your time so you don’t over exert yourself.

Once back at the truck you can “reconnect” to the internet via cellular data and get back to the world. That is how I am able to share this story with you. Ironic isnt it? I use the internet to communicate how NOT being on the internet is a good thing. Anyway, I hope you enjoyed the photos and the story and if you want to look into Charit Creek Lodge, follow the links provided. Thank you for following along and I hope to see you in the next one.

Reviewing the 58mm f2 Carl Zeiss Jena Biotar M42 mount lens

When Aaron offered to loan me his 58mm, I had no idea that it was a Zeiss and over 60 years old.

Well, it didn’t take long to figure that out and to round up a simple M42 to Leica L mount adapter so I could get this lens on my Leica SL2.

The next thing I did was look the lens over really closely. The usual controls are there of aperture and focus but it has a third ring as well. This ring is spring loaded and is some sort of adjustable stop for the minimum aperture. This is how it works, you pull the ring towards the camera, compressing the spring. While the spring is compressed, you rotate the ring and align a mark on it with the aperture you want it to stop at. Once here, release the spring and it will seat in this position stopping the aperture ring from stopping down past this point. This was for cameras back in the day as you had to meter the scene manually then set the aperture for the meter value. To compose though, you needed all the light you could get so you set the ring for the aperture you plan to shoot the photo at then you would open the aperture all the way to see good and get good focus. Once this was done, you could simply spin the aperture ring to the stop and it was set to the metered value and you didnt even have to come off the camera to do it. Pretty slick if you ask me.

Another item of note is that the aperture ring is ”clickless” or in other words, it simply turns smoothly through the range without any detents to locate it at specific settings.

The next thing I noticed is that the machine work is impeccable…which I have grown to expect no less from the German people. The focus ring is smooth as silk even with its advanced years. Quite the opposite of some of my other lenses to be quite honest.

Something else I noticed is that the lens has incredible close focus with about 330 degrees of focus throw. Of that 330 degrees it devotes probably 250 degrees to close focus. Crazy precise focus for a lens this old. The first 1/4 turn though is the normal use range so it will go from infinity to 2.5 meters in that 1/4 turn and then the rest of the throw is for close range work. Pretty neat how the normal range stuff is in such a short throw so you can get focus fast with it. Just a little practice and you a can get street photos of moving subjects and fairly large apertures in focus. You just learn how to use it with some time.

It is not a bad lens in any way either, just look at the photo of Teresa I got at the local state park one day with it. Razor sharp and great rendition too. This is what makes vintage lenses so cool, they still got it…

It also works great for a general purpose walk around lens too. I liked using it for my photowalks where I would jus grab a photo here and there of things that caught my eye and it would render these scenes really well.

So if you are into the vintage glass “look” then I might suggest grabbing one of these old girls if you can find one and adapting it to your mirrorless camera to see what you can get with it. I think you will be pleasantly surprised.

Fulaim X5 Wireless Microphone System Review

So a company reached out to me and asked if I wanted to take a look at their wireless microphone system and I agreed. I am really glad I did too. They sent me a review sample for free and I am happy to say it works exactly as advertised…at least it does from what I tested.

Fulaim X5 Webpage

You see these kinds of products usually have some sort of glaring issue that makes them basically unusable for the most part, but this one is different. It actually works as advertised.

So Fulaim sent me the X5 kit to test and write a review on and when it came in I noticed right away that they were really wanting this to have a great presentation. The box is the kind you normally associate with Apple products, the really nice heavy type of card board. So once everything is out of that box, the first thing I noticed was that the charge case is setup for just the microphones and receiver, but the receiver is normally used with the mic cable and there is nowhere to store this cable… Small detail, but frustrating as on the very first outing to test the mics, I forgot this very cable…I attempted to use a AUX cable I had in the truck but it was apparently bad and introduced a ton of noise into the audio, lesson here, check your kit before you leave…

So once I get a good cable and go back out, I tested the Fulaim X5 microphone on my Leica SL2, this camera actually records great video and will record 4k video as well, so I figured I would experiment with the microphones on this camera and also shoot in 4k for a change too.

The charge case is a cool device, when you put the mics and receiver in it and close the lid, it turns them off and starts charging them, when you open the lid, it wakes all three of them up and sets them in motion communicating. That is nice. The battery life on the Fulaim X5 mics and receiver is supposed to be on the order of 9 hours, I would say it is probably closer to 4 or 5 in reality as the 9 hour claim is said for offline recording so if it is powering the radios, then it will be less. But still I have used it for several hours on two different occasions and have not have one die yet in a normal session. The charge case will charge them from dead to full charge twice before needing recharging itself too. This is nice as you are not hunting an outlet after juicing up the mics one time.

In the video above, I test the main factors that matter to me for a microphone I use to make YouTube videos. Distance from the camera that the audio is still good on, extreme distance function, audio fidelity, and offline recording for getting simple audio like wild sounds or when you need dialog for voice over but don’t need video with it too. It passed all of these tests with ease and done very well to be honest. The audio quality is first rate and I couldn’t tell if it was the Zoom F2 (which I have to sync in post) or the Fulaim X5 (which I do not have to sync in post)

There are so many little Easter egg type features built into them that it is hard to keep up, like the spring clip on the mics is made of steel from what I can figure and there is a round rare earth magnet with one so you can magnetically stick it to the lapel of a jacket and hide the mic behind the lapel with only the little black magnet showing. This is brilliant. The spring clips are sized so they will slip directly into a camera hot shoe, so you don’t need a hot shoe adapter at all. There is a port for a lav mic on each transmitter, there is also a port on the receiver for headphones to monitor the audio with, the wind muffs are made with little locks to keep them from falling off the mics, the mics will record in offline mode without the need for memory cards as there is 4GB of internal storage in each mic, You can USB charge them so if the charge case is dead, they can still be charged, they are compatible with smart phones and can be USB connected to laptop computers so you can have wireless mic support for things like zoom meetings…the list goes on but you get the point.

Can I recommend this microphone? Absolutely, the copy I have works perfectly and if this is the production version, you will love it too. They sell them direct on their website but I don’t get anything if you buy one, so don’t worry about using an affiliate link or some such, just get one and use it. Simple as that.

Fulaim Website for the X5 Microphone Kit

Episode 2 of the Canterbury Pilgrimage

So we pick up the adventure in Arlesford and head out for Alton, this turned out to be a longer day that I thought it would as I would decide to hike all the way from Inn to Inn on this one…

This is a quaint little town that is really neat and I did some street photos the evening before we left as the light was too good to pass up.

This is the hotel we stayed in and it was simply adorable. The whole first floor of the part you see here is a restaurant/pub and the hotel is L shaped with a significant portion out back behind this street facing portion. The rest of the town is also really neat to me as well. Like the image below of the building supply.

You can tell that they have been in this one spot for a long time. I was not able to get photos of the inside as I didnt not get out to take photos till it was well past closing time and we would be leaving in the AM before they would be open too. I kinda wished we would have planned the trip a little differently so that we could have stayed in a few of the towns an extra day to be able to explore them better…

So the next morning we leave out for the next town and make pretty good time. Alton is a larger town and we are hoping to be there by lunch, well turns out the girls decided to take public transportation after about 5 miles or so and I decided to leg it on in… this would prove to be painful.

I had looked at the map and speculated it to be about 10 miles to Alton and figured I would probably cover the remaining 5 miles in about 3 hours since I would be stopping to get photos and the erratic nature of the trail layout and such as that. Well, this turned into a 6 hour slog that added up to an additional 13 miles for the day! It even got to the point where I realized I needed to cover ground more rapidly or I would miss supper so I stopped capturing video for the YouTube channel all together and just grabbed the occasional photo instead.

Now to be fair, I did cross a lot of beautiful countryside on this leg of the trip and I don’t regret making the trek this day, but I failed to drink enough water and had debilitating cramps later that night from dehydration. The lesson here is to drink more water, especially if you are doing an activity that is physically demanding in any way.

The English countryside is some of the most picturesque terrain I have ever laid my eyes on and for the local is it just …home… I have seen a lot of beautiful places on this earth and they all have a charm. The charm here is the people and how they groom the landscape for agriculture beautifully. It is literally a post card in almost any direction you look. So I did just that, took photos in every direction, and wound up with something like 1400 unique images when I got home two weeks later.

Here we have the road crossing into Alton where you walk under the road to get into the town proper. This is the kind of things you don’t see much where I live and I found interesting. The footpaths are so important to the English that they build this kind of infrastructure to keep them operational. I wished we would have done this with the old hiking trails from our countries early settlements and made them into hiking trails today…just a thought.

The next day we really didnt do much hiking as I escorted Sierra to the airport and then went back and linked up with Teresa and we made our way by train over to Farnham. We really wanted to explore the town and Kelly had already went ahead on her own so it was the perfect opportunity. We had a great time in Farnham and found Kelly later so it all went great. Then the next day we leave Farham and make our way over to the stepping stones which is a huge deal on this trail and I didn’t even know about it till this morning.

These stepping stones are part of the trail system and when we found them we decided to make a small event of it and enjoy a few minutes at this location to make it a little more memorable. If you would like to see the stepping stones just watch the video linked above. I didn’t get my camera out of the dry bag here for obvious reasons so I only have video from this location. These kinds of treks are not just about seeing how fast you can cover ground or seeing how many miles you can hike in one day, but about stopping and smelling the flowers or grabbing some photos. This is what this pilgrimage was about for me.

Photography on a movie set

What do you photograph when on a movie set to capture the essence of the set? I felt my job was more to do that than to capture the movie per say. That’s the movie makers job, not mine.

Here I started at the front gate. If you will notice, it’s nondescript and you really have no idea what is here at all. This is by design for obvious reasons but I still found it interesting to see how bland it was.

The sound stage is a controlled space where “sets” are built to look like locations but the film makers can control literally everything in the environment such as sound, light and weather. It was important to me to get this “side” of the set to tell the whole story.

This is what the other side of that rough framed wall has on it. A complete first century Roman executive office ready for the official to go to work. As you can see, this set of photos is not what you would normally see when watching the movie.

Another aspect I wanted to capture was the people that were there both as tourist and as employees of the location. This shows all of that in one photo as well as how the “more permanent” set features, and then a tarp to protect something not weather resistant too.

Here we have visitors, film crew, actors, film production gear, in a period setting all in one photo. This is what a behind the scenes photo should look like to me. Capturing what is NOT on camera rather than trying to see what is being filmed. This is where the interesting part is at for me. Of course most other people don’t see things like me. They want to see things like the photos below.

Notice how I framed out anything not period correct…

This is fine if you are wanting to maintain the aesthetic of the period in your photos, but that is not my goal.

This is more my speed. Here we have a prop stored in an out of the way spot that is in stark contrast to the modern building in which it is located. Below is another image I quite like. You have a Roman quarter with a prop guy working on decorating the area for an upcoming scene. His presence brings a contrast to the image that makes you wonder about it.

Above is a great example. Here we have gear carts stored in the shade for filming in a nearby area. The juxtaposition is intriguing to me for some reason.

The above image is more subtle though. At a glance it is period correct, but upon closer inspection things will start to appear that should not be there. Like the wheel of a cart or a tarp in the back ground.

As you can see it is fun trying to tell a different story from what the set was built to be used for. The set has become a different part of the actual story which is the behind the scenes life and not first century AD. I hope this has inspired you to do something similar with your photography and thanks for following along!

Prime lens primer

So you have never used a prime lens before… well let’s change that.

Leica CL with the TTArtisan 35mm f0.95 APS-C prime lens

A prime lens is like a window into another world of photography. They can be had in much larger apertures than zooms usually, they are smaller under most circumstances, and if you get vintage ones…they can produce very unique results.

Another thing that prime lenses are good for is they teach you to compose based on the environment. You have to work within the confines of the focal length which means you will have to either move closer or further away to “zoom” with your feet to get your composition. Sometimes this means not getting a certain shot at all because you would have to stand in the middle of a river to get the composition or something like that. But I rarely run into this problem and once I start seeing in focal length it seems I filter out these problems subconsciously anyway.

Leica CL with the TTArtisan 17mm f1.4 APS-C lens.

You will also learn to see in your chosen focal length over time as well. That is, once you shoot a while with just one focal length… You hear street photographers talk about the 28 or the 35 and they know what the photo is going to look like based on experience.

I will be honest here, it is really liberating to have such a small and potent setup when I run prime lenses. Zoom lenses give you versatility, but I see people that use zoom lenses still carrying a camera bag. This seems overly redundant to me, I use the one lens all day and get out in the environment, but I am not everyone. Some people prefer to have all the options on hand so they can setup and shoot whatever comes their way I guess. Maybe they have missed a opportunity in the past while using a prime and now want the versatility of a zoom to give them better odds in the future should that happen again, I don’t know. Those are some of the speculations I have had, but for me, I just like having something dedicated like the prime brings to the table.

Zoom lenses do serve a purpose though, they are the work horses of the professional photography world. Giving the professional the ability to change focal lengths instantly on demand to fulfill the job at hand. Primes force the professional to move around a lot more to build the composition that the zoom makes short work of. This is important when you are on a clock. Anything that saves time also saves money so zooms have their uses.

So what makes a prime appealing over a zoom? That large aperture and the small size are some of the magic that the zoom lens lacks.

Lenses like the one above with it’s f0.95 maximum aperture can create an effect that nothing else can produce. The “Bokeh” or blurred out background is something that large apertures are well known for. The portrait below is a prime example of the feature. The background was probably 15 feet behind him when I shot this photo.

Primes lenses come into their own when it comes to vintage lenses too. This is where I have found my passion. The old Pentax glass along with the Nikon and early Canon stuff is all phenomenal. I do have some early Leica stuff but the Pentax / Asahi branded glass is just awesome. I also will try about anything to see what the photos are like as well. I have even adapted some glass that should not be able to be adapted like some Argus lenses. I documented that process on my YouTube channel if you want to see how I was able to make that work. Argus had a unusual way to drive the focus on the lens and it posed a challenge to get it to work.

One of my favorite vintage lens brands is Pentax and the Asahi Optical company.

With the advent of the mirrorless camera, we now have a flange distance that is conducive to adapting these vintage lenses to our cameras easily and the electronics in the camera make using these lenses even easier than ever as well. Things like focus magnification and focus peaking as well as exposure preview to see how the image will look before you press the shutter are great for coupling vintage primes to your new shiny mirrorless camera. Some even allow image stabilization via sensor stabilization so you even get that feature with vintage glass sometimes.

So if you have not used prime lenses in the past, I implore you to get a simple one, like the 50mm f1.8 on full frame (affectionately named the “nifty fifty”) or it’s APS-C little brother, the 35mm f1.8 DX (Nikon uses the term DX for their APS-C cameras) and put it on your hobby camera and leave it there for a month. It will either make you hate primes or fall in love with them. For me I got the 35mm f1.8, installed it on my Nikon D7000 and left it for almost a year without removing it. I really loved that lens.

So until next time, get your camera out and go take some photos with it!

My loadout for flying with camera gear.

Traveling over the years to locations that require flying commercial has taught me a few things about what to take.

I once carried almost everything I owned when I traveled so I was sure to have whatever I needed for a certain photographic event. Well, with time comes wisdom… I have been adjusting the loadout and searching for the best solution as far as bags go and have finally found the perfect setup…FOR ME. You see, different people have different needs and your loadout will vary depending on your personal needs and wants.

When I traveled early on, I carried a large shoulder bag, very large mind you and a ton of kit in it. I had to fill it up you know! Lol.

Well after a couple of trips like that, I learned that I needed a different bag. So the giant Vanguard bag was retired and replaced with a Thinktank Airport International v2. This was a nice upgrade and allowed me to travel with more confidence in knowing my gear was protected better and it was also a roller bag! No more lugging that massive shoulder bag all over creation!!!

Well, I still use this bag from time to time, but only for roadtrips in my truck. The irony of this statement is not lost on me. I bought a literal aircraft carry own style, camera bag and now I dont even take it when I fly at all.

Thinktank Photo Airport International 2.0

So I learned the hard way something about marketing with this bag. Thinktank Photo will tell you, probably with an asterisk, that this bag will fit in standard overhead spaces. This isn’t so and I learned this the hard way on a trip coming home from Hawaii one year. On the last leg of our long journey, we boarded a small commuter jet and the overhead storage bins were just too small. This is when I got a VERY sick feeling in the pit of my stomach. You see, this meant I had to valet check this bag at this point. If you have never watched baggage handlers loading luggage then you dont know the horror movie I was imagining my expense and fragile camera gear was about to experience. They can be quite rough with check bags, we have had them arrive at baggage claim with wheels missing and such. So I tell the flight attendant my plight and she saves the day by stowing my roller bag of camera gear in what amounts to her broom closet. I almost cried in appreciation. That was the straw the broke the cameras back of roller bags for me.

Pictured here are the Peak Design Everyday Messenger bag and the Thinktank photo street walker backpack.

After the Airport International “incident”, I decided I needed to downsize my kit for multiple reasons. The main one being that I didn’t want to have to valet check my bag because it wouldn’t fit in the overhead bin.

The next reason is the most important though. I was tired of carrying gear I didn’t use or even need.

Taken with the Nikon Z50 handheld and using the kit lens.

So I decided to get something new and smaller. I chose something that had been on the market for just a short time at this point. I chose a Peak Design Everyday Messenger Bag. It is a wonderful way to carry camera gear for the most part with one exception. I cant really carry my big telephoto lens I use for wildlife. I tried it for a couple of years and at the time, I was using a large system consisting of a Nikon D810 with battery grip and the 200-500mm super zoom lens. This combination is very large and would leave me with room for just a couple of smaller lenses. It also came with another problem…pain. Single strap bags are great as long as they are not heavy, which is exactly what mine was at this point in time. So the search continues and I found another Thinktank Photo bag.

The next bag I chose was the Streetwalker v2. This is a smaller bag that is backpack style and is really comfortable. The single shoulder strap on the messenger bag would make my shoulder incredibly sore after just a couple of hours of carry. I tried this for a couple of years and paid the price. The streetwalker solved that problem in short order. It was at this point in my photography journey that I was finding smaller cameras like the Fuji XT3. I took this camera to Israel for a ten day trip and it was on this trip that my eyes were opened to carrying excessive equipment is wasteful. I took three lenses with me and only used one of them. Yes, I used the KIT LENS for the whole trip and it worked gloriously!!! All the while I was carrying around all this other crap and just getting back to the kibbutz tired every day.

Current travel load out, Z50, 500mm PF, 16-50mm Z Kit, and 10-20mm F mount Nikkor/FTZ adapter.

Well, I finally figured out that the smaller pack was the way to go, but it really didn’t have room for the big wildlife rig I liked to use… It also had one other critical shortcoming that I noticed from regular use. The pack opened to the top when unzipped. What this means is you take off the pack and lay the side that normally sits against your back, on the ground facing down to access the gear area. At this point, I was doing a great deal of photowalks and hikes to waterfalls and such and this caused lots of dirt on the back of my shirt… To say this was frustrating is an understatement but I carried on till…

Enter the Thinktank Photo Retrospective 15L. For my needs, this is as close to perfect for a camera bag as I have ever found. It opens from the back, the side against my body which means you lay to outside one the ground, keeping all the leaves, twigs and dirt off of my shirt. It is slightly larger (15 liters in size) so there is room for my wildlife kit. It is REALLY comfortable and it is made of stone washed canvas. So it has a nice look (it doesn’t look like a nylon camera bag) and has a great feel. This is a hallmark of Thinktank Photo from what I have seen. Their backpacks are very comfortable. So now that I have landed on the perfect camera bag after almost a decade of searching, I can now shift focus to the gear I put in it.

Taken with the Nikon Z50 with the FTZ Adapter and the 500mm PF Amount lens.

The gear loadout for my photography usually involves at least two bodies, three general purpose lenses and then my special purpose lenses and all the support gear too. Like a whole cleaning kit complete with blower bulb, dry wipes, wet wipes and solution and sensor swabs… way too many batteries, like I must have thought I was going to take 10,000 photos per day or something. I never needed most of this crap either. I mean almost none of it. What I had was a case of “fill’er up” syndrome. If there was bag space I felt compelled to put something in that space for some reason. This is a terrible way to operate if I must say. You end up tired, sore and resentful of the hobby as you brought all this kit for nothing.

The Nikon Z50 with kit lens makes for a powerful little general photography kit.

So this trip, the bag is scaled WAY back. I mean, there is room in the bag for stuff and nothing is in those pockets. This is a milestone for me, as I am a prepper at heart and want to cover every conceivable contingency under my normal mindset. To be honest, I probably brought at least one lens more than I will need and could have lightened the load some more there, but we will see. So my takeaway from all this is, your hobby is a journey and you will have to figure out your kit for that hobby as you go. For me, it is still an ongoing journey to be honest. Hopefully I can stop spending tons of money on it and just enjoy it. Let’s be realistic though, probably not…Lol.