The Hanimex 28mm f2.8 lens is a really interesting little lens...

Sometimes I just throw the dice on a vintage lens and occasionally it comes out really good and sometimes it is a dud…this time it is a winner.

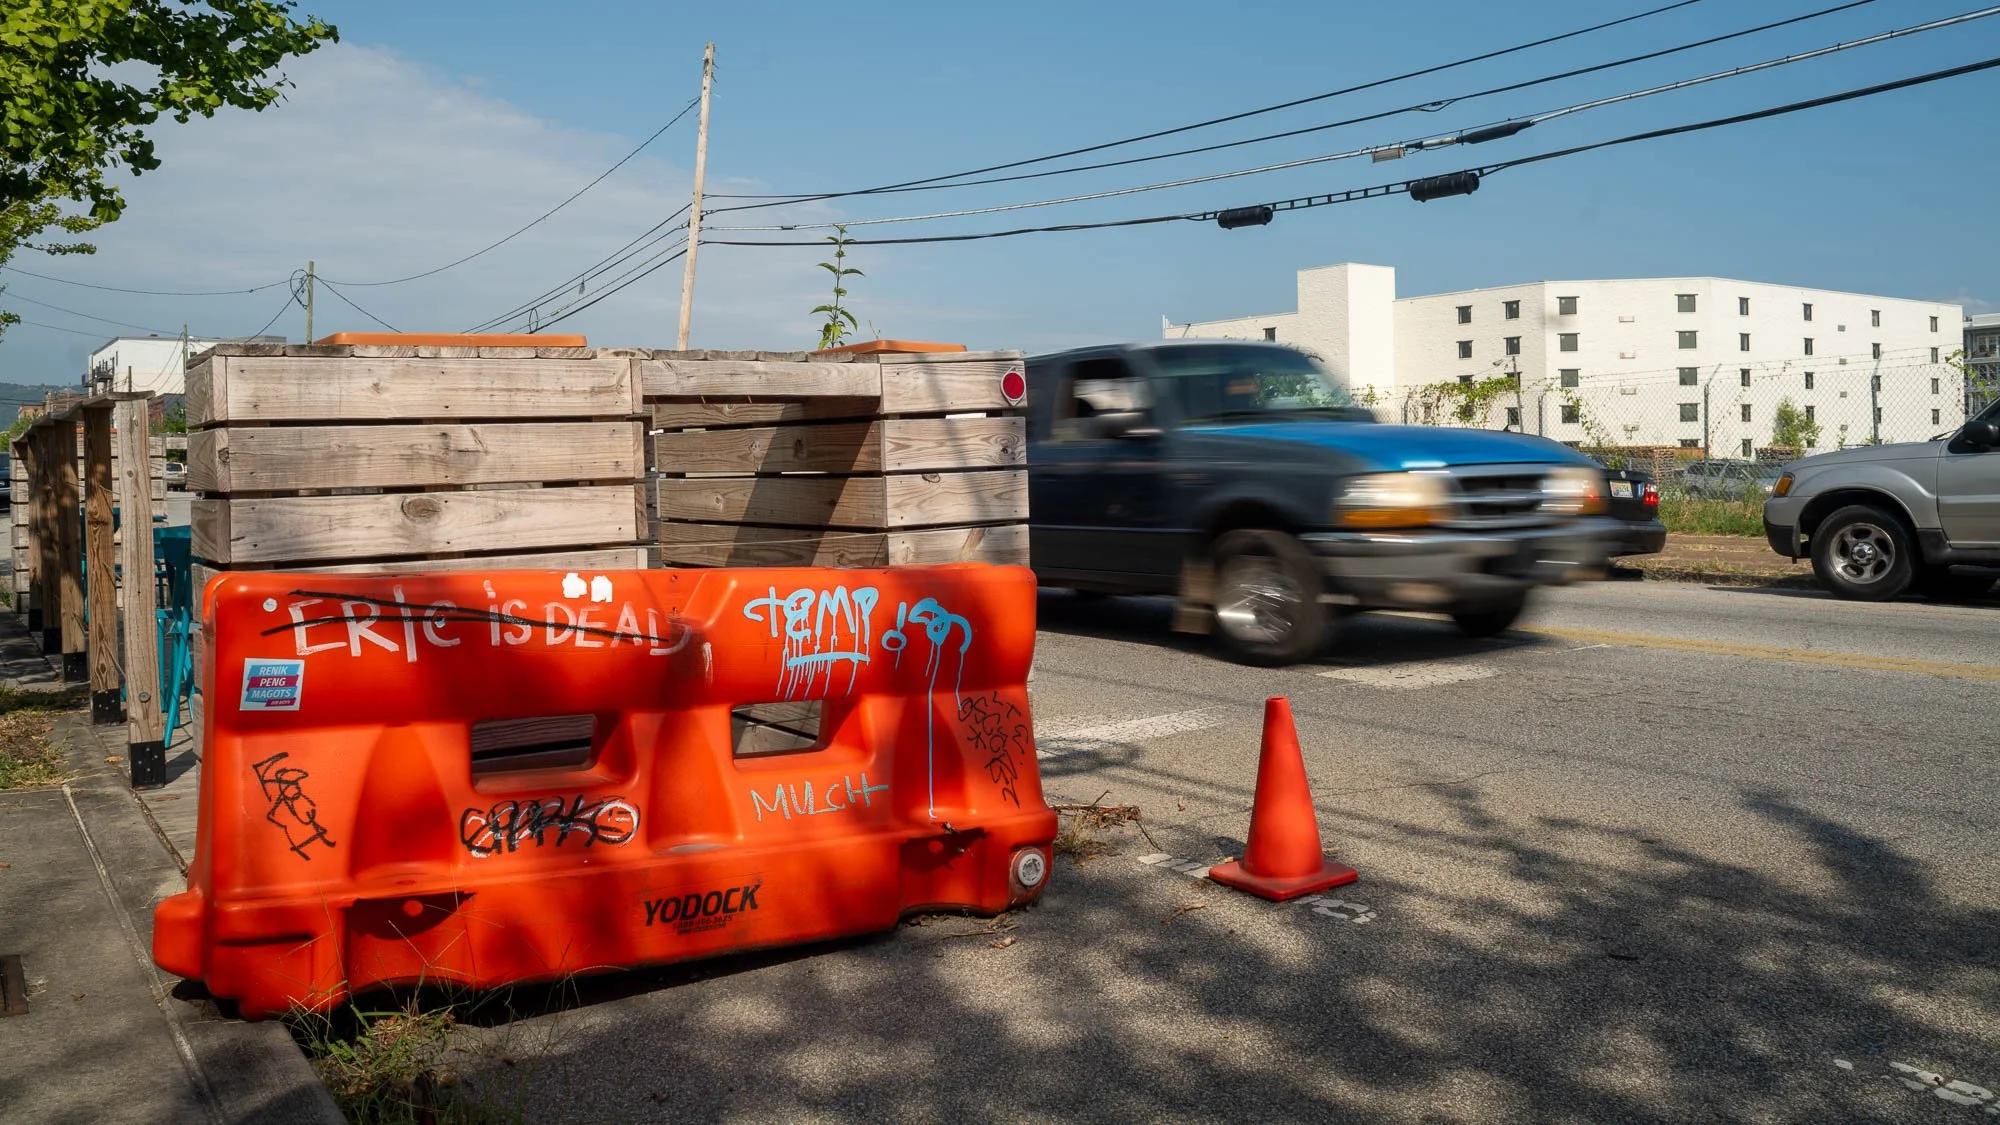
I went to Ashville NC on a small trip recently and on this trip I was doing photography. Well, when it is a photography trip I always make it a point to go to Ball Photo and just “go shopping” for something interesting. They have SO much vintage gear to choose from that it is almost overwhelming to be honest. It is not for the feint of heart to be honest about it. But today found me at Ball Photo and while there I started looking for some glass to pick out… Well I found some.

We all know how much I love to shoot with vintage glass and I am always on the hunt for a new lens to play with. I have Leica glass for the Leica SL2 and use it quite often but I still really enjoy adapting some older lens to the camera and then seeing what I can get with this lens and camera combination when I go out with it. It is almost a challenge to see if I can come away with something good using this old lens… What generally happens is that I slowly build a collection of lenses that I REALLY love to use and I am starting to collect a full set of these lenses. Some examples would be the 28mm f3.5 Asahi Optical M42 mount lens that I keep in the camera bag, this lens is literally one of my favorite lenses of all time for some reason. I just love the results I get with it on the Leica SL2 camera. Well today finds me using a lens that is 2/3 of s top faster and a little bigger too.

The Hanimex 28mm f2.8 is a well made lens with the whole thing made of metal (probably brass from the way it feels but it could be anodized aluminum too I really am not sure) and has some really nice accents like the little silver bands around the focus ring which also has a faux leather appearance but I am almost certain is rubber. The range focus scale is graduated for every aperture marked (sans f4 for some reason) on the aperture ring, which is a nice touch for street photography. The detent clicks on the aperture ring are nice and pronounced as well as solid, no mushy aperture detents on this lens! All in all, it is a great little lens by design engineering standards. It is even a well designed attachment scheme as well with the M42 mount as it is easily adapted to about all mirrorless cameras on the market.

Many people also don’t realize that the M42 adapter can be adjusted to get the lens top dead center of the adapter too. There are three tiny set screws on the adapter that hold the threaded ring in place on the lens adapter to adjust this. To make this adjustment is simple, just screw the lens into the mount till it seats and snug it well so it wont work loose while in use. Next get the Allen key that came with the adapter and loosen the three set screws till the lens can spin in the mount and simply turn the lens till the center mark is top dead center of the adapter and then push in on the mount while tightening the set screws back down to make it hold the ring again and your done. It is that simple. Mine is slightly off center here and I have simple been too lazy to adjust it as it is close enough for me to be able to get out and shoot anyway. I don’t normally worry about it too much as once you set the adapter once, then all the lenses will time up and you don’t have to mess with it again. Installing lenses over the years on this adapter and tightening them has slipped the timing a little and this is why it is slightly off center. Once again, it is no big deal to me and i just go out and shoot…

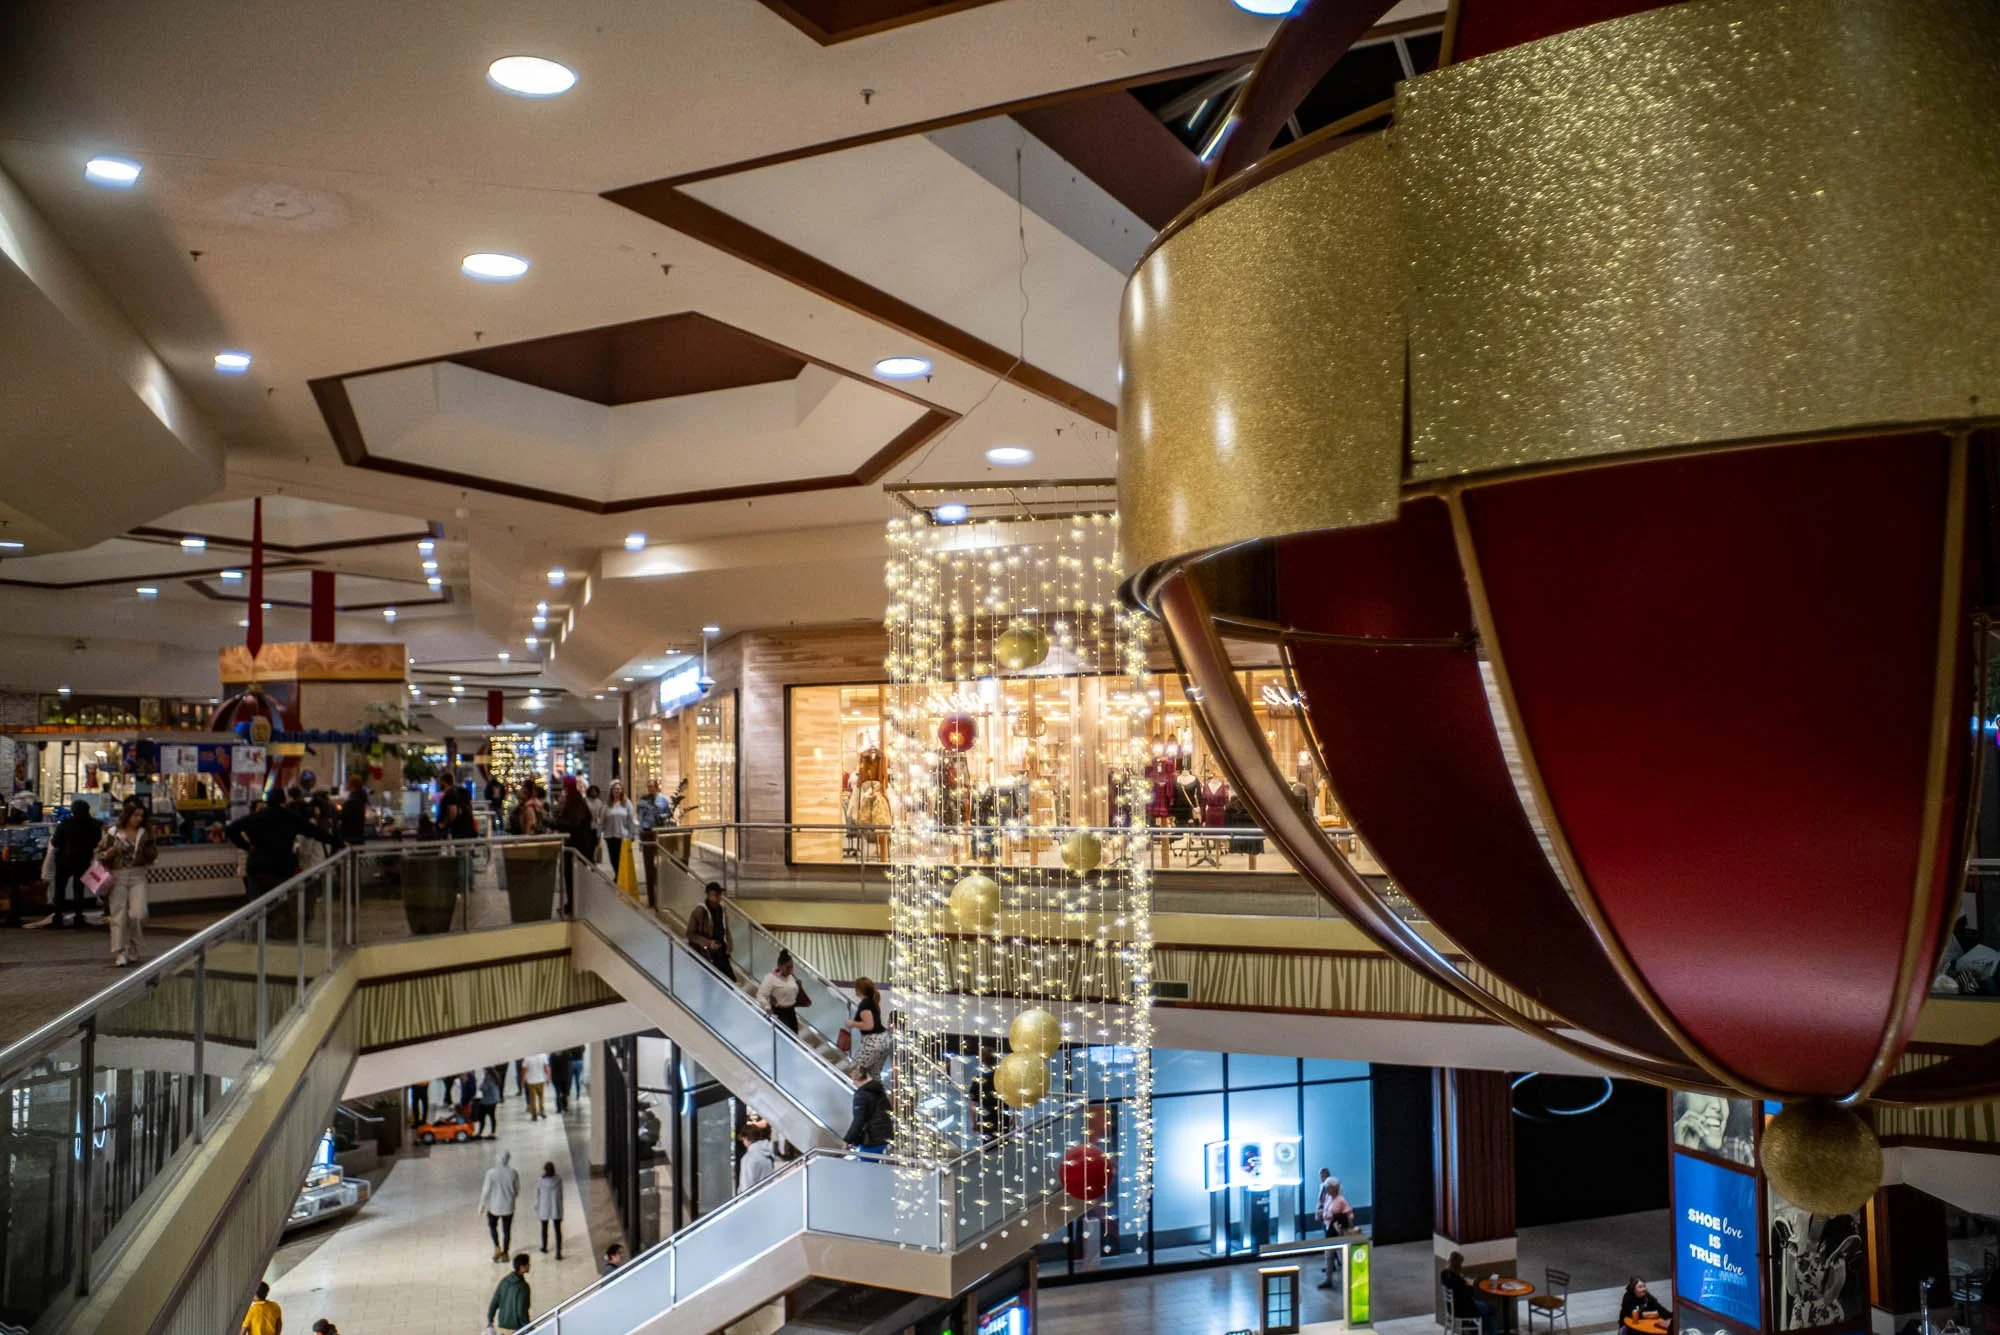
So the first official outing with this lens was to go to the mall in Chattanooga TN with it and capture some Christmas spirit with it…on black Friday no less.

Well to be quite honest, it performed wonderfully. Now to be fair, the camera does have IBIS in it and this allows me to shoot at pretty slow shutter speeds without the need for a tripod. As long as you go into the camera settings and tell the camera it is a 28mm lens, the camera can compensate for movement really well allowing for incredibly slow shutter speeds like the last photo in this string from the mall where it was 1/10 of a second…hand held. Most of the other photos are shot at 1/250 second to freeze the people so that I can show the current clothing styles as well as the general appearance of the mall in 2023.

All in all, the Hanimex performed extremely well in this role. The images are sharp and the colors are easily adjusted in post processing to give any look you want. It also doesn’t hurt to have that Leica “look” from the camera processing the colors before saving the RAW file too, Leica does something special with their processing to give the colors a look that is unique to Leica cameras. It is hard to explain, but it is a thing.

In the next photos I didn’t show all the images as they just reflect what it is like to shoot indoors where there is controlled light and no sun to deal with. The following photos show what happens when you have the sun shining on the front element.

Above is the same photo as the one right under this text except that I shaded the lens from the sun. This lens cant handle the sun shining on it from any angle without showing you that it was happening with some sort of sun flare in the image. In the below image there is geometric artifacts as well as a overall glare from the sun.

In the below photo you can also see the geometric glare in the center of frame, this could be used to your advantage in some applications like vintage style portraits where you position the subject to where the flare adds to the aesthetic of the image. Here the flare doesn’t do that though and is more of a nuisance that anything else. So this is something to keep in mind when using vintage glass, you will run into these kinds of problems from time to time like the older generation has to do…lol.

Lastly, can you make portraits with the 28mm lens? The answer is yes, you can as long as you are careful with the composition and keep the subject centered like I did here. The 28mm lens can distort toward the edges so it is imperative to keep the person in the center of the photo as much as humanly possible if you want the image to turn out like anything you want at all. Maria was gracious and allowed me to make her portrait at the mall using one of the advertising lights as a “studio light” to give us nice diffused side light and I think the image turned out really well for a 60 year old lens with improvised lighting.

As well as this blog post, I also have a video sharing some of these points and showing more of the old Sitton’s mill location should you want to go check that out at the link below.

Thanks and if you are into vintage glass, this is a keeper in my book and for pennies too, so with that, get your camera out and go take a picture with it!

Discussing my Leica SL2 and a Yashica 28mm on a photowalk in Chattanooga TN

Well, I have finally made time to go take photos again and to be honest about it, I wanted to let it cool off a little too. Well, it is nicer weather now and I am starting to get out and look for photo opportunities again. I have a few I am looking into but for right now, it is still a good ole case of urban photography that I so love to do.

Today we find me in Chattanooga yet again and this time I am setup on a side street off of Main street called Rossville Avenue and this road has some really neat old buildings on it, some of which I have photographed in the past but I like to get photos of them as I go along to show how they change with time. I get parked and pay for one hour of parking so I have to make it count. Putting a little pressure on myself to come away with SOMETHING of value in this time allotment.,,

My first stop is the Hamilton Parts Distributors building that has been NOT a parts distributor for quite some time as of this point…2023. The building is really starting to show its age too with numerous windows bricked up on the sides as well as the front giving it a sort of dystopian imbalanced look. This could be a set right out of a movie or something. I took several photos from different angles today and some look better than others. I really like the front door and the corner that I get today for some reason… Here they are, what do you think?

I love how the building still has remnants of the signage that was painted on it some time in the past too. Also look at the foundation material, today it is all either poured concrete or cement blocks and has been for many decades, so I am going to speculate this is pre-war construction meaning before World War 2, due to these limestone foundation stones that look like they were repurposed from another construction site that existed before this building did. I have evidence of these cut stones going back to the mid 19th century so I know these are probably something left over either from a fire or was just cast off and the people that built this building saw a chance to save a few dollars on this part of the construction. Also notice that they didn’t seem to think that these stones were very appealing as they hid them behind a mortar stucco finish as seen in the front door photo.

My next stop was right next door at Zarzours Cafe.

This cafe has been in business for over 100 years, Yeah, you read that right…a century and as you see on the sign. It is closing in less than a month. I have never eaten here either. I will change that in the next few days. I have to be able to say that I sat at their café and enjoyed the fine cuisine they had to offer for a century! How could I let that slide???

Back to the walk at hand. I took a couple of photos of the restaurant and parking area and headed on down the street.

The next stop was at the Koch Foods Processing plant. This is one of two processing plants inside the city that I am aware of. These have been here for decades too so they are pretty much fixtures of the city at this point. One is on Broad street and the other is here on Rossville Ave. It being such an iconic location coupled with the skyline containing Lookout Mtn as well makes for a cool photo to me.

After the chicken plant, I made my way over to Main street and did a little photography on Main as well. Main usually has something really colorful as well as interesting too, this is why I usually always make my way over and look around for a little while at a minimum…

These two photos just go to show what all can be found on Main street even when it is not having some sort of special event. All it takes is a little creativity and time of your part to come away with some interesting photos. Now you might be thinking these are not interesting photos, and you will be right as the photo interest rate will vary from person to person, but I found that these to be quite interesting so I am sharing them with you…lol. The difference between the two photo primarily is the shutter speed as one is really slow to blur the truck and the other is faster so it will capture the whole construction scene with out any motion blur on my part.

Well, this is going to be a wrap for the post, I hope you enjoyed following along and if you would like to watch a video of this trip, just click on the link below. Thank you for you time and get your camera out!

Fall color photos FINALLY!!!

Well, it sure took long enough, but I finally found a place local to me that had some beautiful fall color photo opportunities.

This is not something I normally have when it is as dry as it has been recently. Let me explain…

I am no scientist but I have stayed in a Holiday Inn before, so here goes. From what I have seen, there are three different scenarios that usually unfold around here in the fall.

The first event is like this, we get plenty of rain in the spring, it dries out a little in the mid summer months and then it starts to rain in late September or early October. This is actually the best possible scenario from what I can tell…

The second scenario is the same as the first one except the rain turns into a thunderstorm storm with heavy rain and usually high winds during peak color season, knocking all the leaves off of the trees.

Then there is option three, this one is where there is rain in the spring but then it is dry for the entirety of summer and fall. This is the type of season we are in now. There has not been enough rain to matter in two months…maybe more. It is so little water that the creek next to my house has no surface water in it as of this writing.

Of the three events, the first one is the preferred for fall color photos as there is sufficient water for the trees to transition normally to their dormant winter state and you get this incredible color display in the fall. This year though, we have event three where everything is a huge tinderbox and the leaves are simply drying out and turning brown then falling off of the trees without passing through their color phase at all…except…in the few places where there is still ground water to water the trees.

Enter North Chickamauga Creek WMA near Soddy Daisy Tennessee. This is a small WMA (Wildlife Management Area) situated in a gorge next to Mowbray mountain and is a popular spot for the locals to cool off in the summertime in the river. Well, the river is just a brook at this point and is barely moving at all, BUT it is there! If you watch my YouTube video on it you will see what I mean. Even so, there is still enough water to feed the trees so they had a fall color change.

Since I found some colors this year, I now had to figure out what I wanted to use to capture all this color with. I finally settled on my camera being the Leica SL2 as it has a high resolution sensor and several other features that lend itself to being a wonderful landscape photography camera. You see the Leica SL2 is a mirrorless camera so it can be adapted to various vintage lenses really easily and we all know how I love using vintage lenses! So today’s lens of choice for the Leica is the Nikkor 28mm f2.8 AiS. This is one of Nikon’s crowning achievements in lens design as it was as close to optical perfection as they had ever gotten to that point. So naturally I used this lens.

The magic of the Leica SL2 as well is that it has IBIS on the sensor. This basically turns all my vintage lenses into stabilized lenses. I know there are a ton of other cameras that also have these same features but I just like the Leica SL2 for some reason.

Now that the camera setup is settled, next is finding the photo I want. I started out looking for macro level images, vistas and scenes, then I moved in closer to get more detailed image ideas. The first one is shown above of the red maple tree in a sea of yellow. Then I moved to the river bed and found some wonderful colors out in the open.

This was literally what I was greeted with when I looked upstream from where I entered the river bottom. Not much water, but I got such a color splash from the trees that I didn’t even care. I would have liked for it to not be overcast, but you take what you can get and work with it. I really love this image too, so much texture and color in one image that is is almost overwhelming. I was really starting to embrace the look that the 28mm lens was giving me and then I decided to move upstream to that large boulder you see in the above photo and get a different perspective from that spot.

The little smidgen of sky showing the over cast clouds almost makes it otherworldly or something like that. I was blown away with this image when I got it into Lightroom and was able to see it better. It almost doesn’t look real back up in the valley next to the sky. The clouds were epic! This is also shot hand held with the 28mm lens. What is nice is that it allowed me to be very agile and not have the burden of the back pack and a tripod with me at all. There is something to be said for simplicity…

So in summary, if you want to find fall colors even when it has been really dry, find the water. Where ever there is water, there will be fall colors. At least that is what I have seen, your mileage may vary.

Reviewing the 58mm f2 Carl Zeiss Jena Biotar M42 mount lens

When Aaron offered to loan me his 58mm, I had no idea that it was a Zeiss and over 60 years old.

Well, it didn’t take long to figure that out and to round up a simple M42 to Leica L mount adapter so I could get this lens on my Leica SL2.

The next thing I did was look the lens over really closely. The usual controls are there of aperture and focus but it has a third ring as well. This ring is spring loaded and is some sort of adjustable stop for the minimum aperture. This is how it works, you pull the ring towards the camera, compressing the spring. While the spring is compressed, you rotate the ring and align a mark on it with the aperture you want it to stop at. Once here, release the spring and it will seat in this position stopping the aperture ring from stopping down past this point. This was for cameras back in the day as you had to meter the scene manually then set the aperture for the meter value. To compose though, you needed all the light you could get so you set the ring for the aperture you plan to shoot the photo at then you would open the aperture all the way to see good and get good focus. Once this was done, you could simply spin the aperture ring to the stop and it was set to the metered value and you didnt even have to come off the camera to do it. Pretty slick if you ask me.

Another item of note is that the aperture ring is ”clickless” or in other words, it simply turns smoothly through the range without any detents to locate it at specific settings.

The next thing I noticed is that the machine work is impeccable…which I have grown to expect no less from the German people. The focus ring is smooth as silk even with its advanced years. Quite the opposite of some of my other lenses to be quite honest.

Something else I noticed is that the lens has incredible close focus with about 330 degrees of focus throw. Of that 330 degrees it devotes probably 250 degrees to close focus. Crazy precise focus for a lens this old. The first 1/4 turn though is the normal use range so it will go from infinity to 2.5 meters in that 1/4 turn and then the rest of the throw is for close range work. Pretty neat how the normal range stuff is in such a short throw so you can get focus fast with it. Just a little practice and you a can get street photos of moving subjects and fairly large apertures in focus. You just learn how to use it with some time.

It is not a bad lens in any way either, just look at the photo of Teresa I got at the local state park one day with it. Razor sharp and great rendition too. This is what makes vintage lenses so cool, they still got it…

It also works great for a general purpose walk around lens too. I liked using it for my photowalks where I would jus grab a photo here and there of things that caught my eye and it would render these scenes really well.

So if you are into the vintage glass “look” then I might suggest grabbing one of these old girls if you can find one and adapting it to your mirrorless camera to see what you can get with it. I think you will be pleasantly surprised.