I am devolving as a photographer…

When I started on my photo knowledge journey, I went by all the usual things associated with doing a self-taught skillset.

Back in the dark ages, it was common to buy actual books on a subject of photography as YouTube was still sort of in its infancy. You could find information on the web but it was still really limited. Today we are literally bombarded with a constant stream of information that is dizzying.

I chose my camera based on information from one of the OGs of the photography space on the web… Ken Rockwell. Now hear me out before you throw your computer across the room.

It is no secret that Ken has a love affair with Nikon and it shows through on his site. So many well worded reviews to choose from made starting my journey with photography a Nikon based one. It is cemented so well that I have never even tried to shoot Canon on my own volition. Nikon should be giving Ken royalties to be honest about it. His reviews are fair (from what I can tell) and well worded and very technical. He has other brands on his site these days too, but back in the day, it was a wealth of Nikon information.

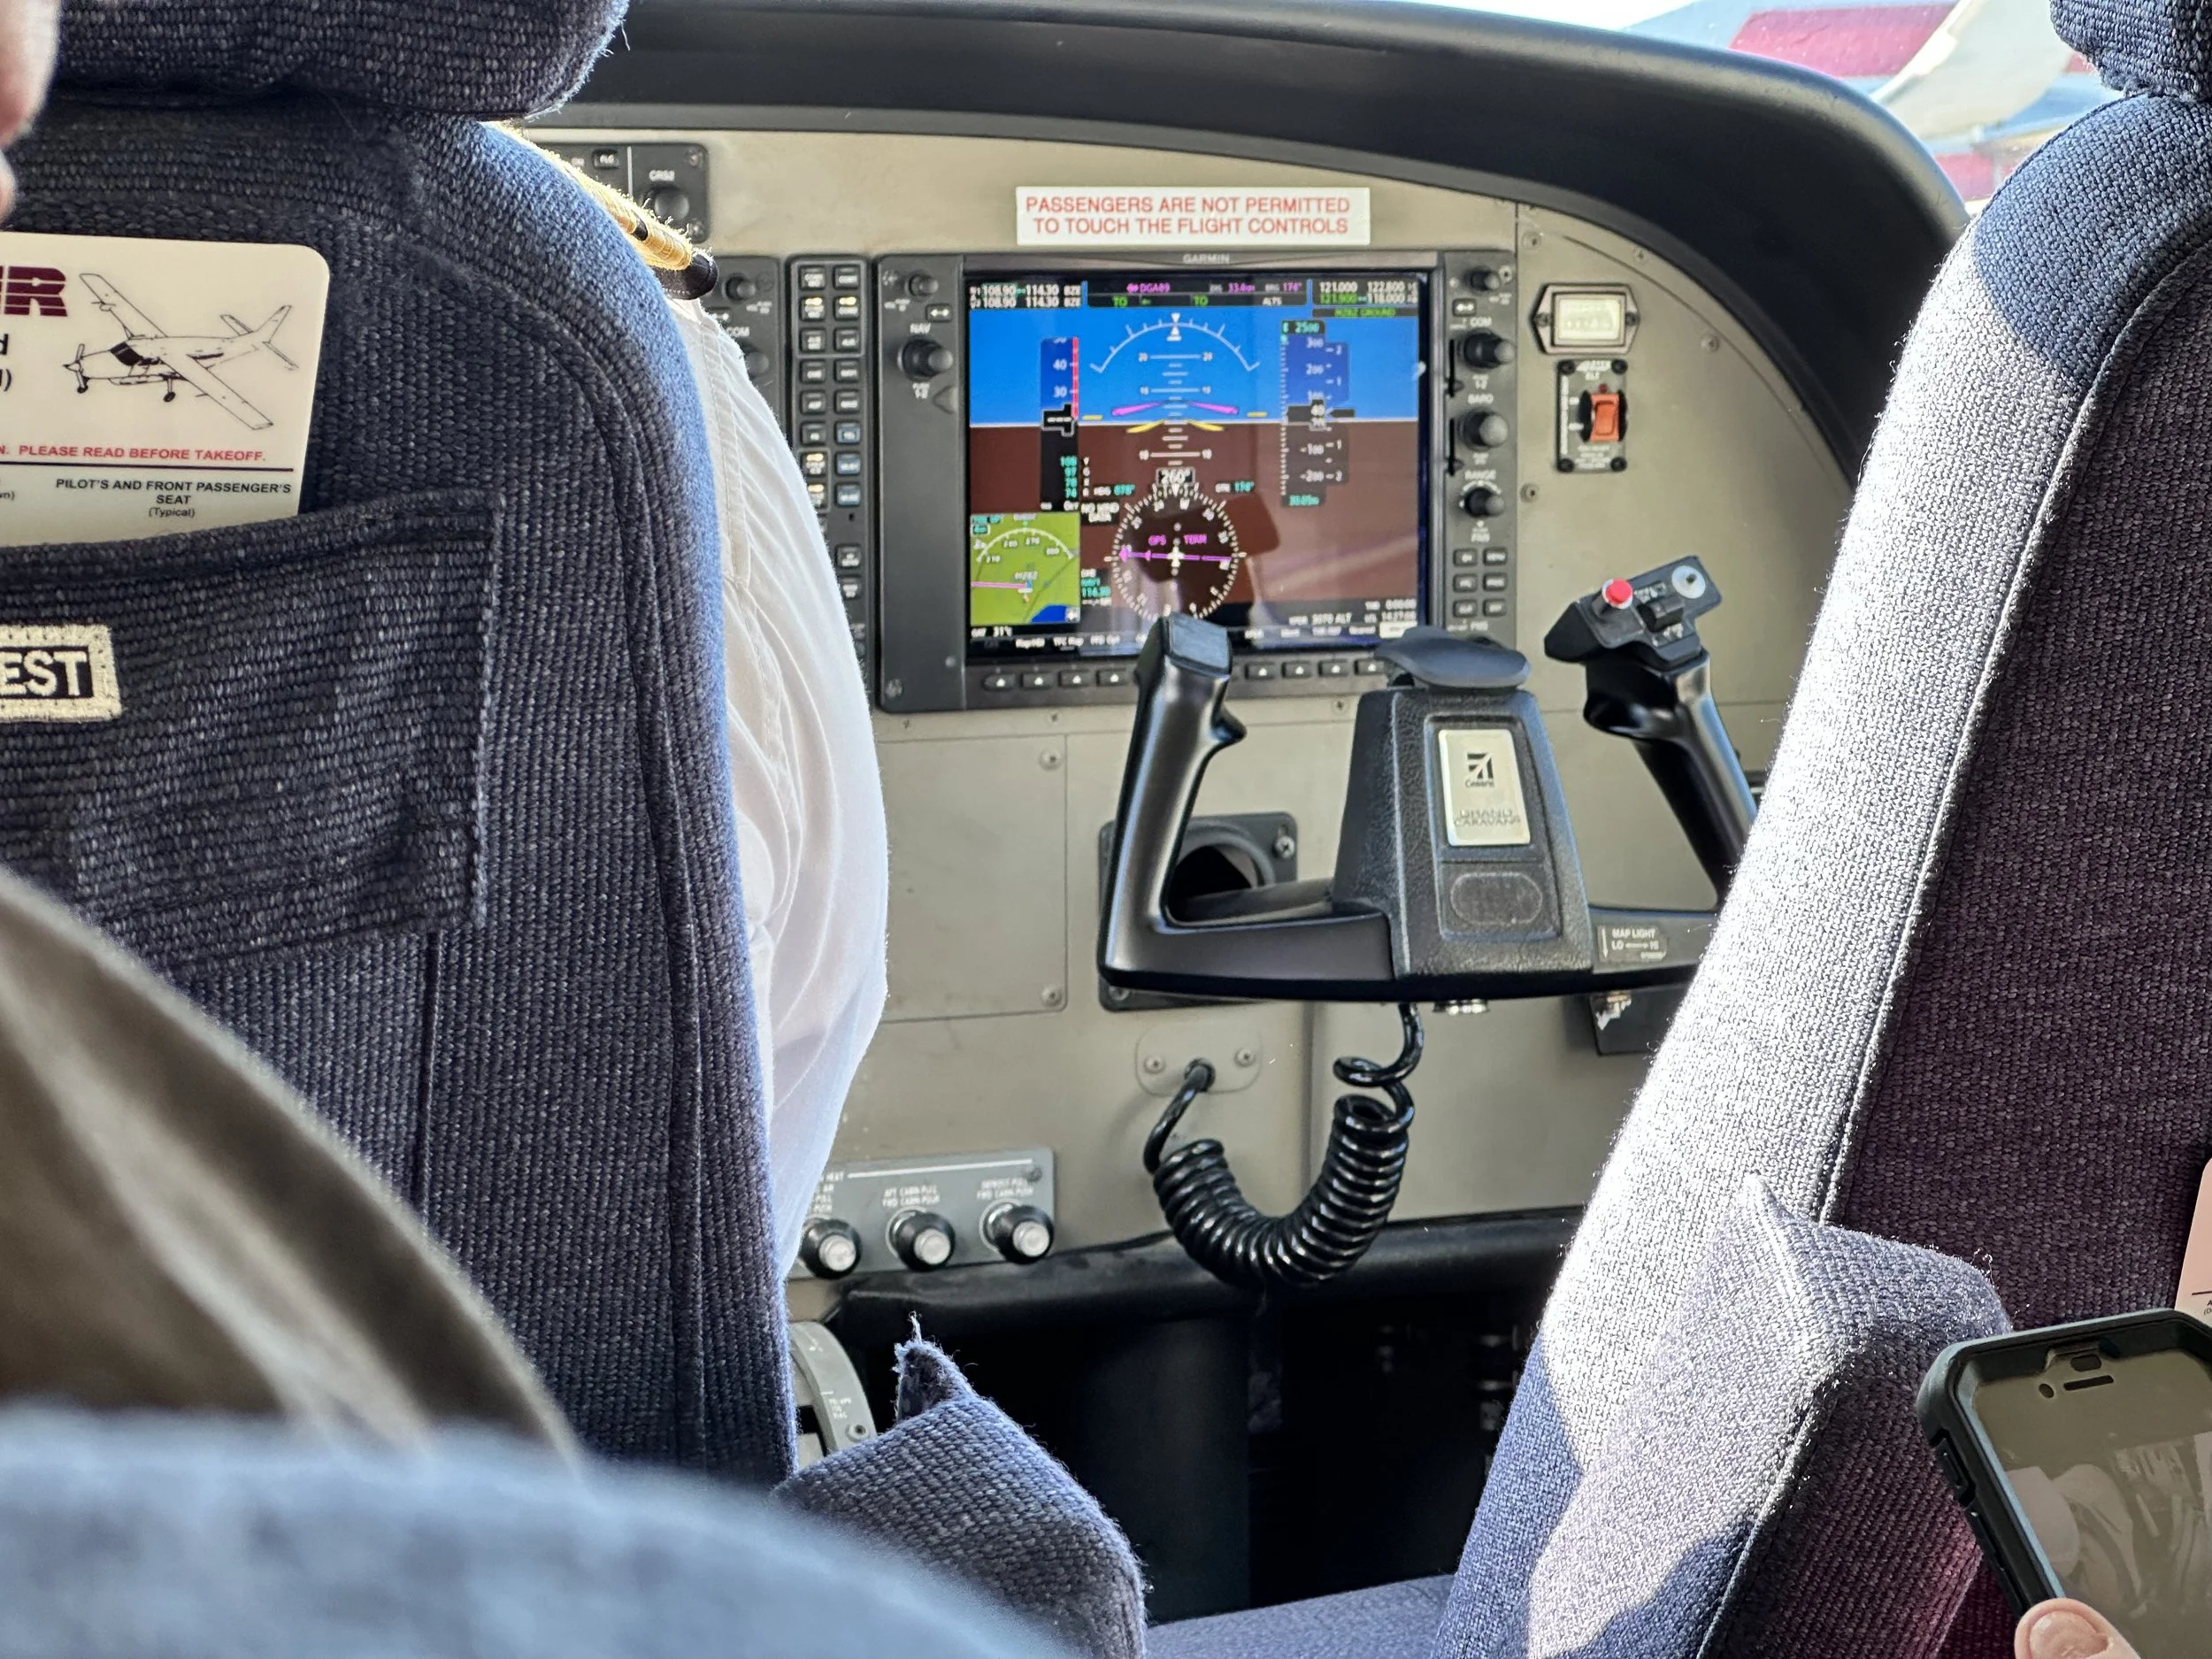
When, I did jump in, it was with a D7000 DSLR. This was the most technologically advanced of the DX format models at the time. The camera included things such as the focus motor for the older screw drive focus lenses as well as sporting several other features not available on the lesser models of the period. I loved that camera and shot on it for several years while learning the rudiments of the craft.

During this period I learned all the cliche things about shooting “better” photos and some of those old rules still linger today in my composition techniques. Fortunately I have since learned that some things are not actually set in stone and you can bend and even break the rules if done right and the images will be great anyway.

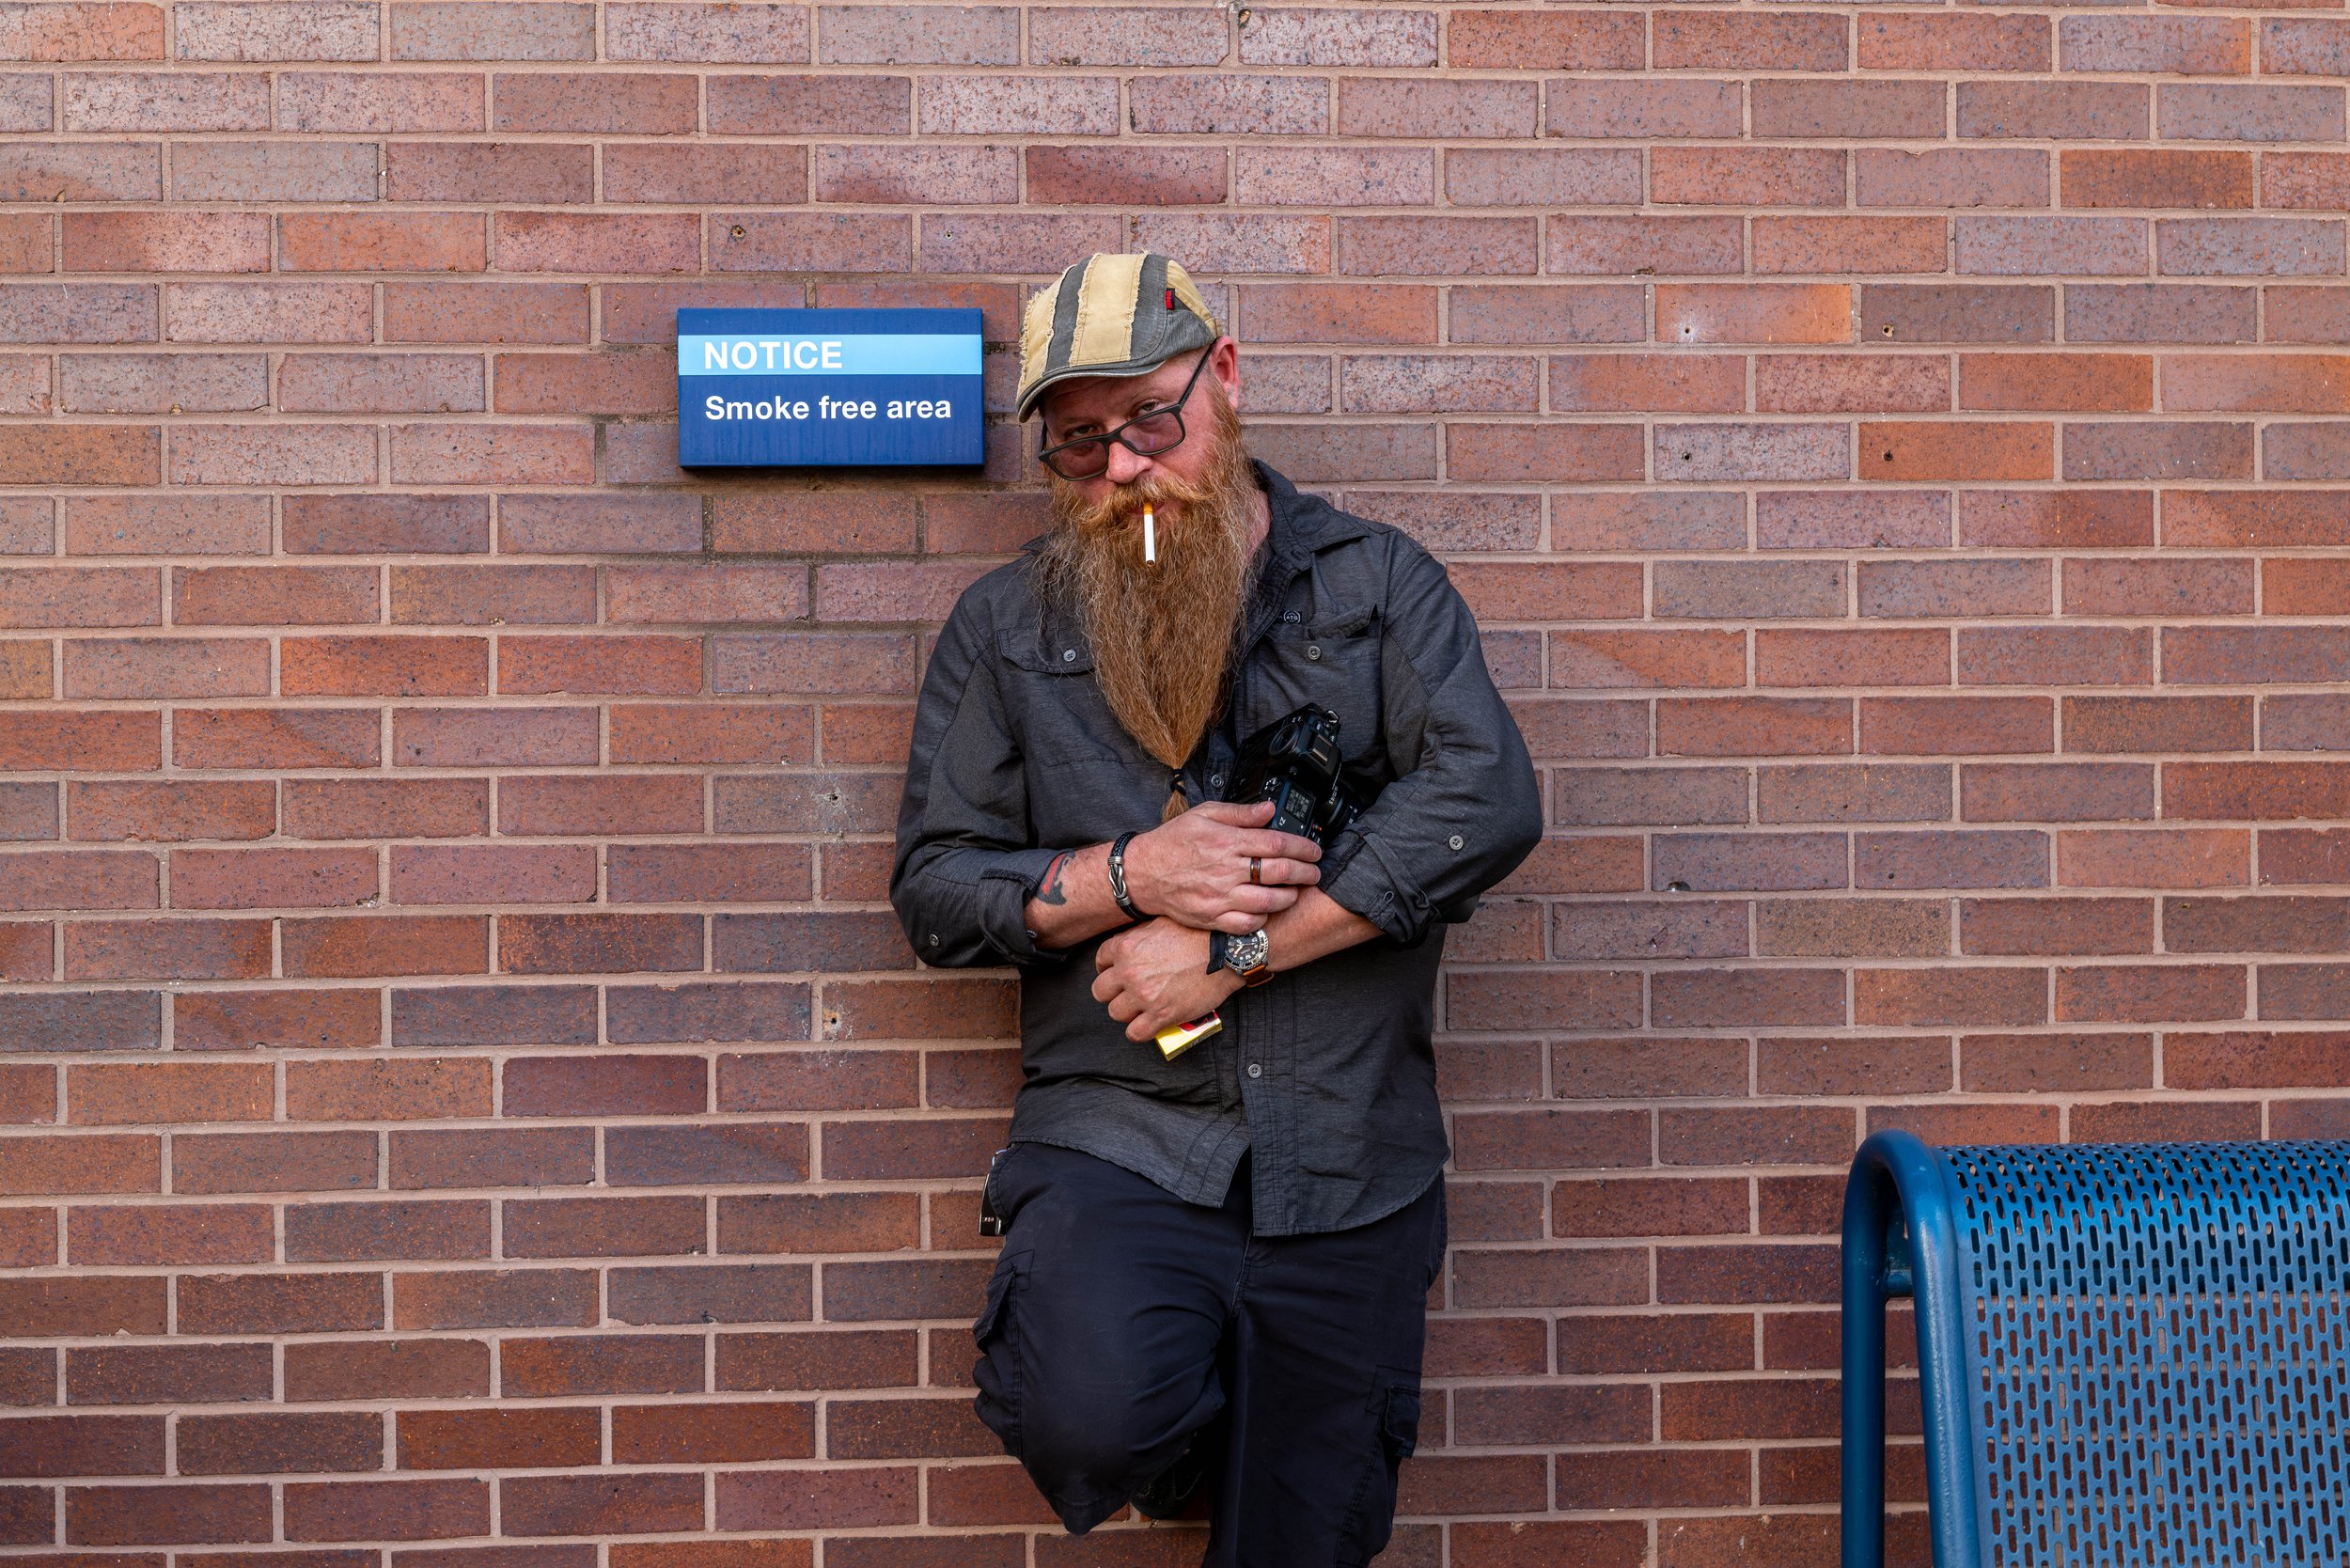
Back then I took the idea of mounting one lens and using it for a period of time. Sometimes these periods of time could be quite long. I remember mounting the 35mm f1.8 and leaving it on the camera for months at one point. This is probably why I have gravitated back to that field of view today. Once you use a certain focal length a while, you will get comfortable with what that lens can do for you and you know what to expect. It is like asking an old friend for advice… you just know it is going to be good.

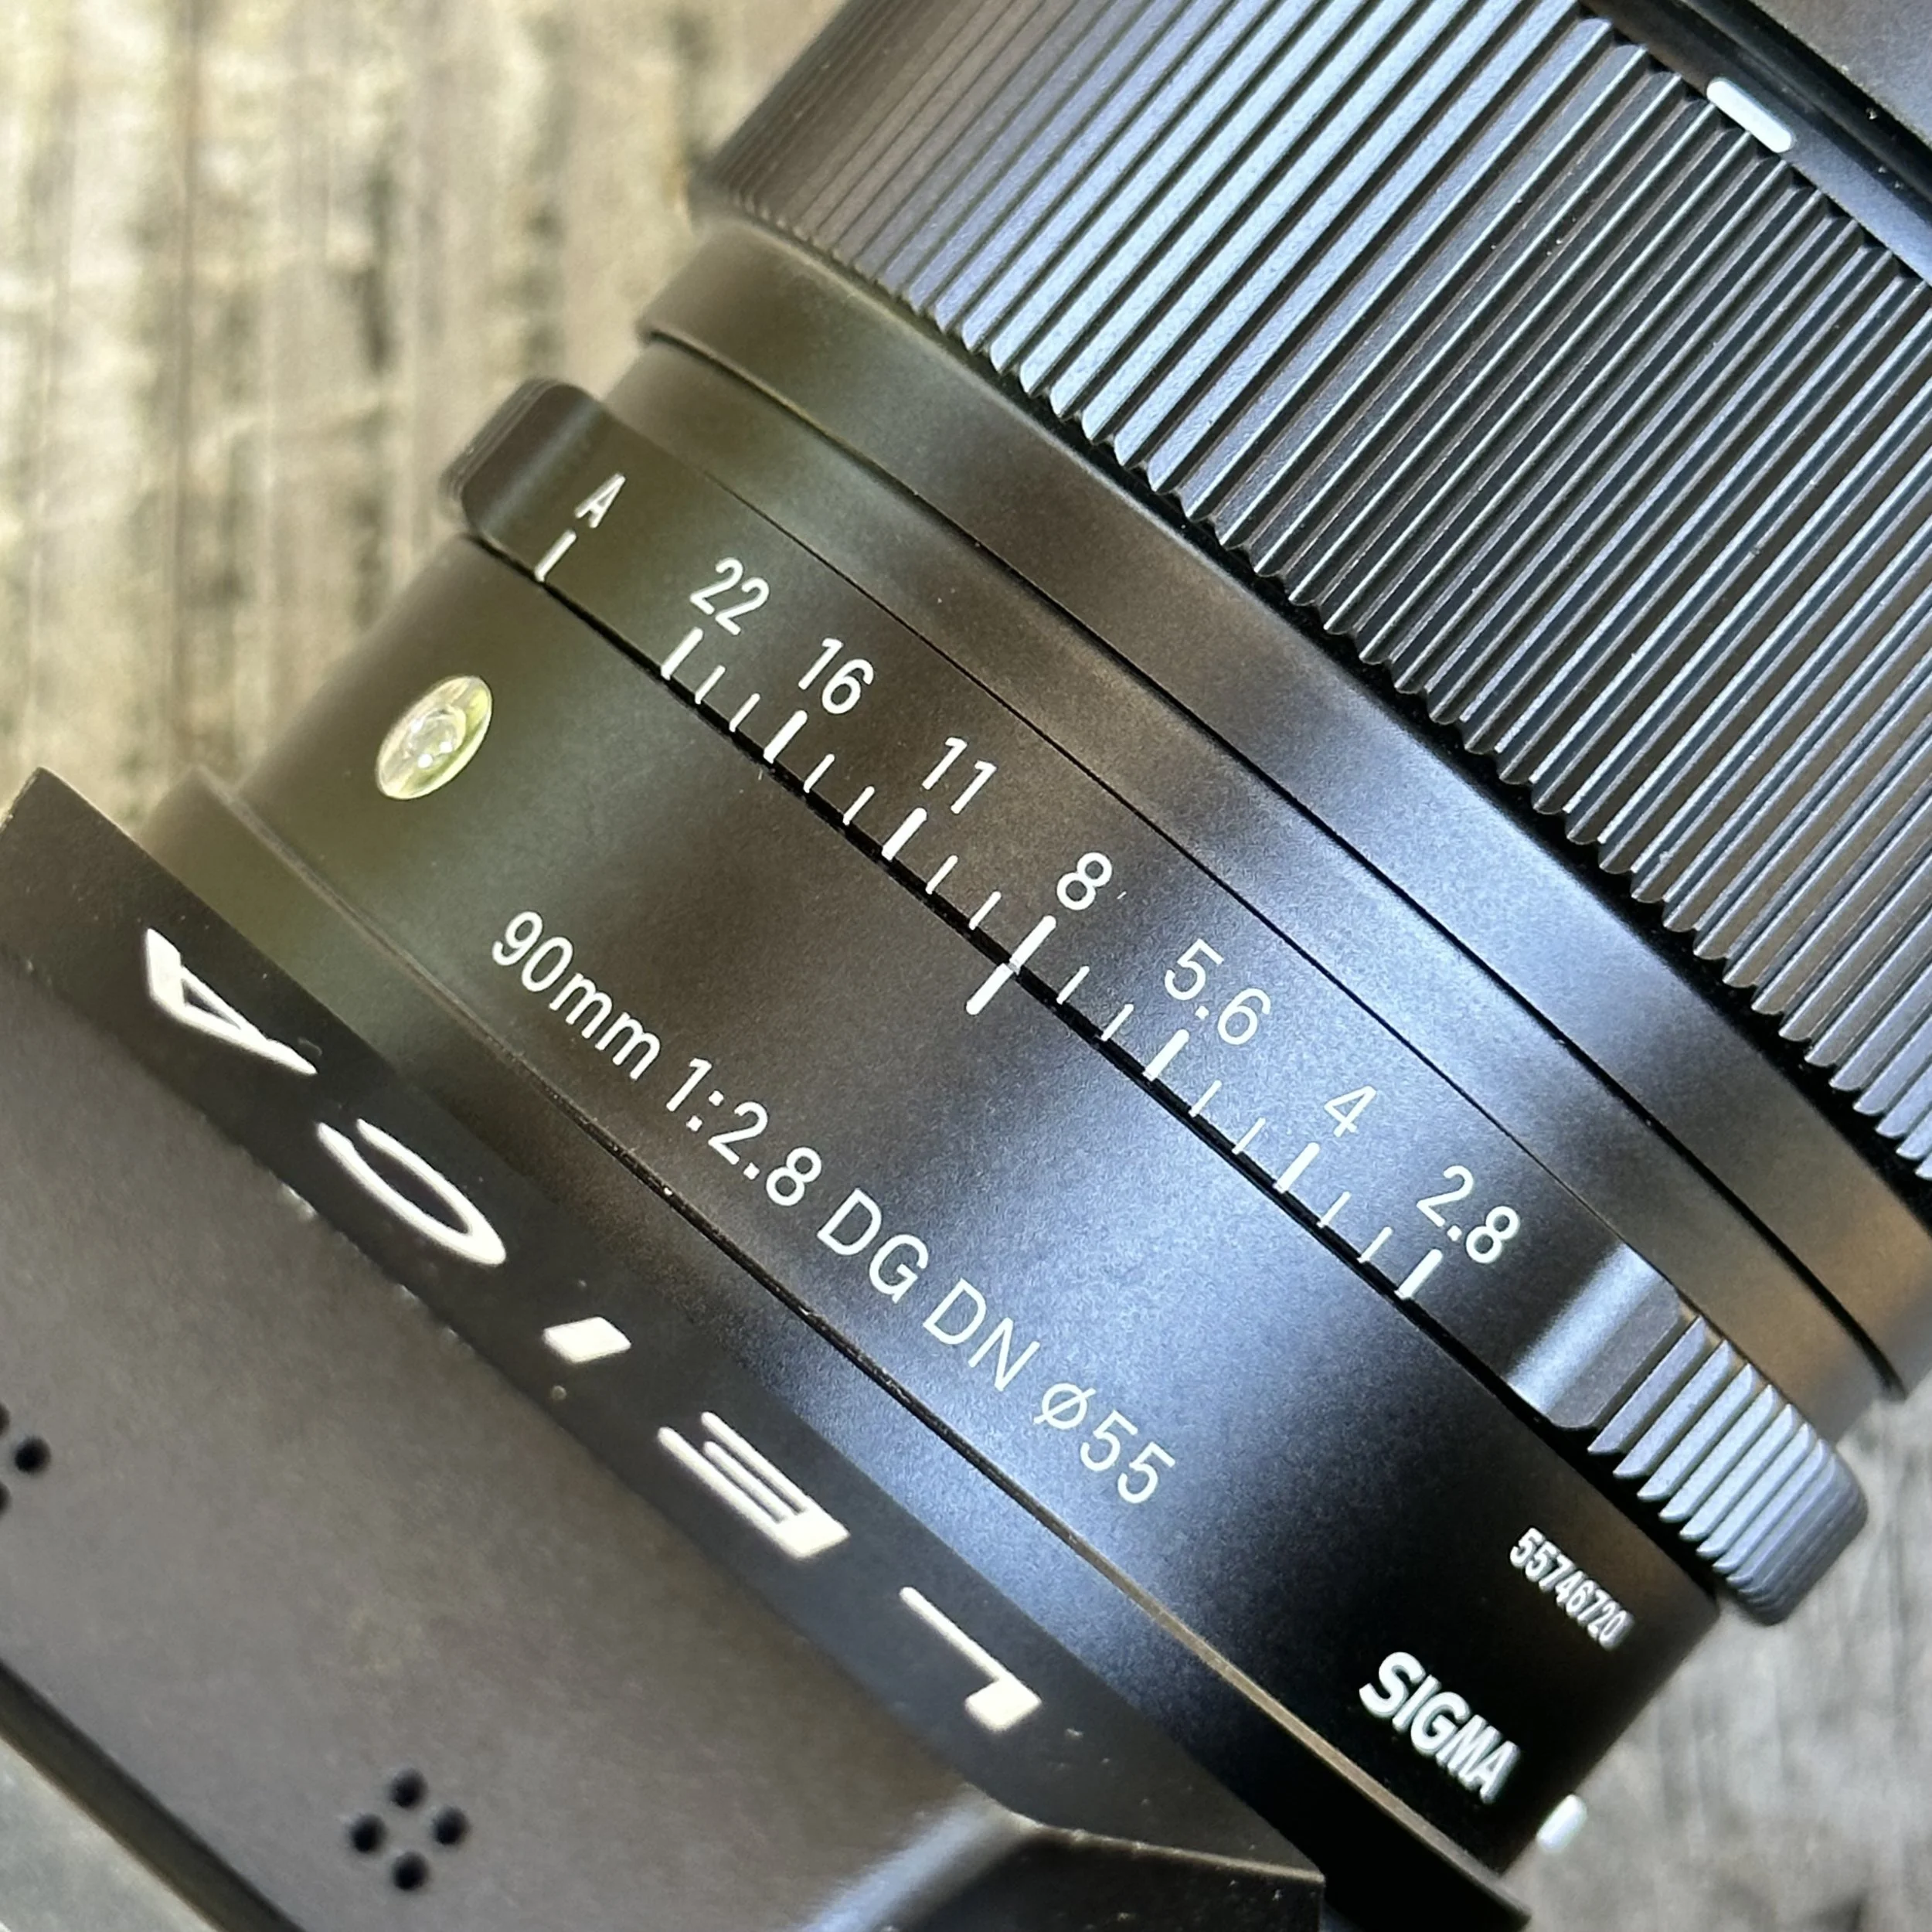
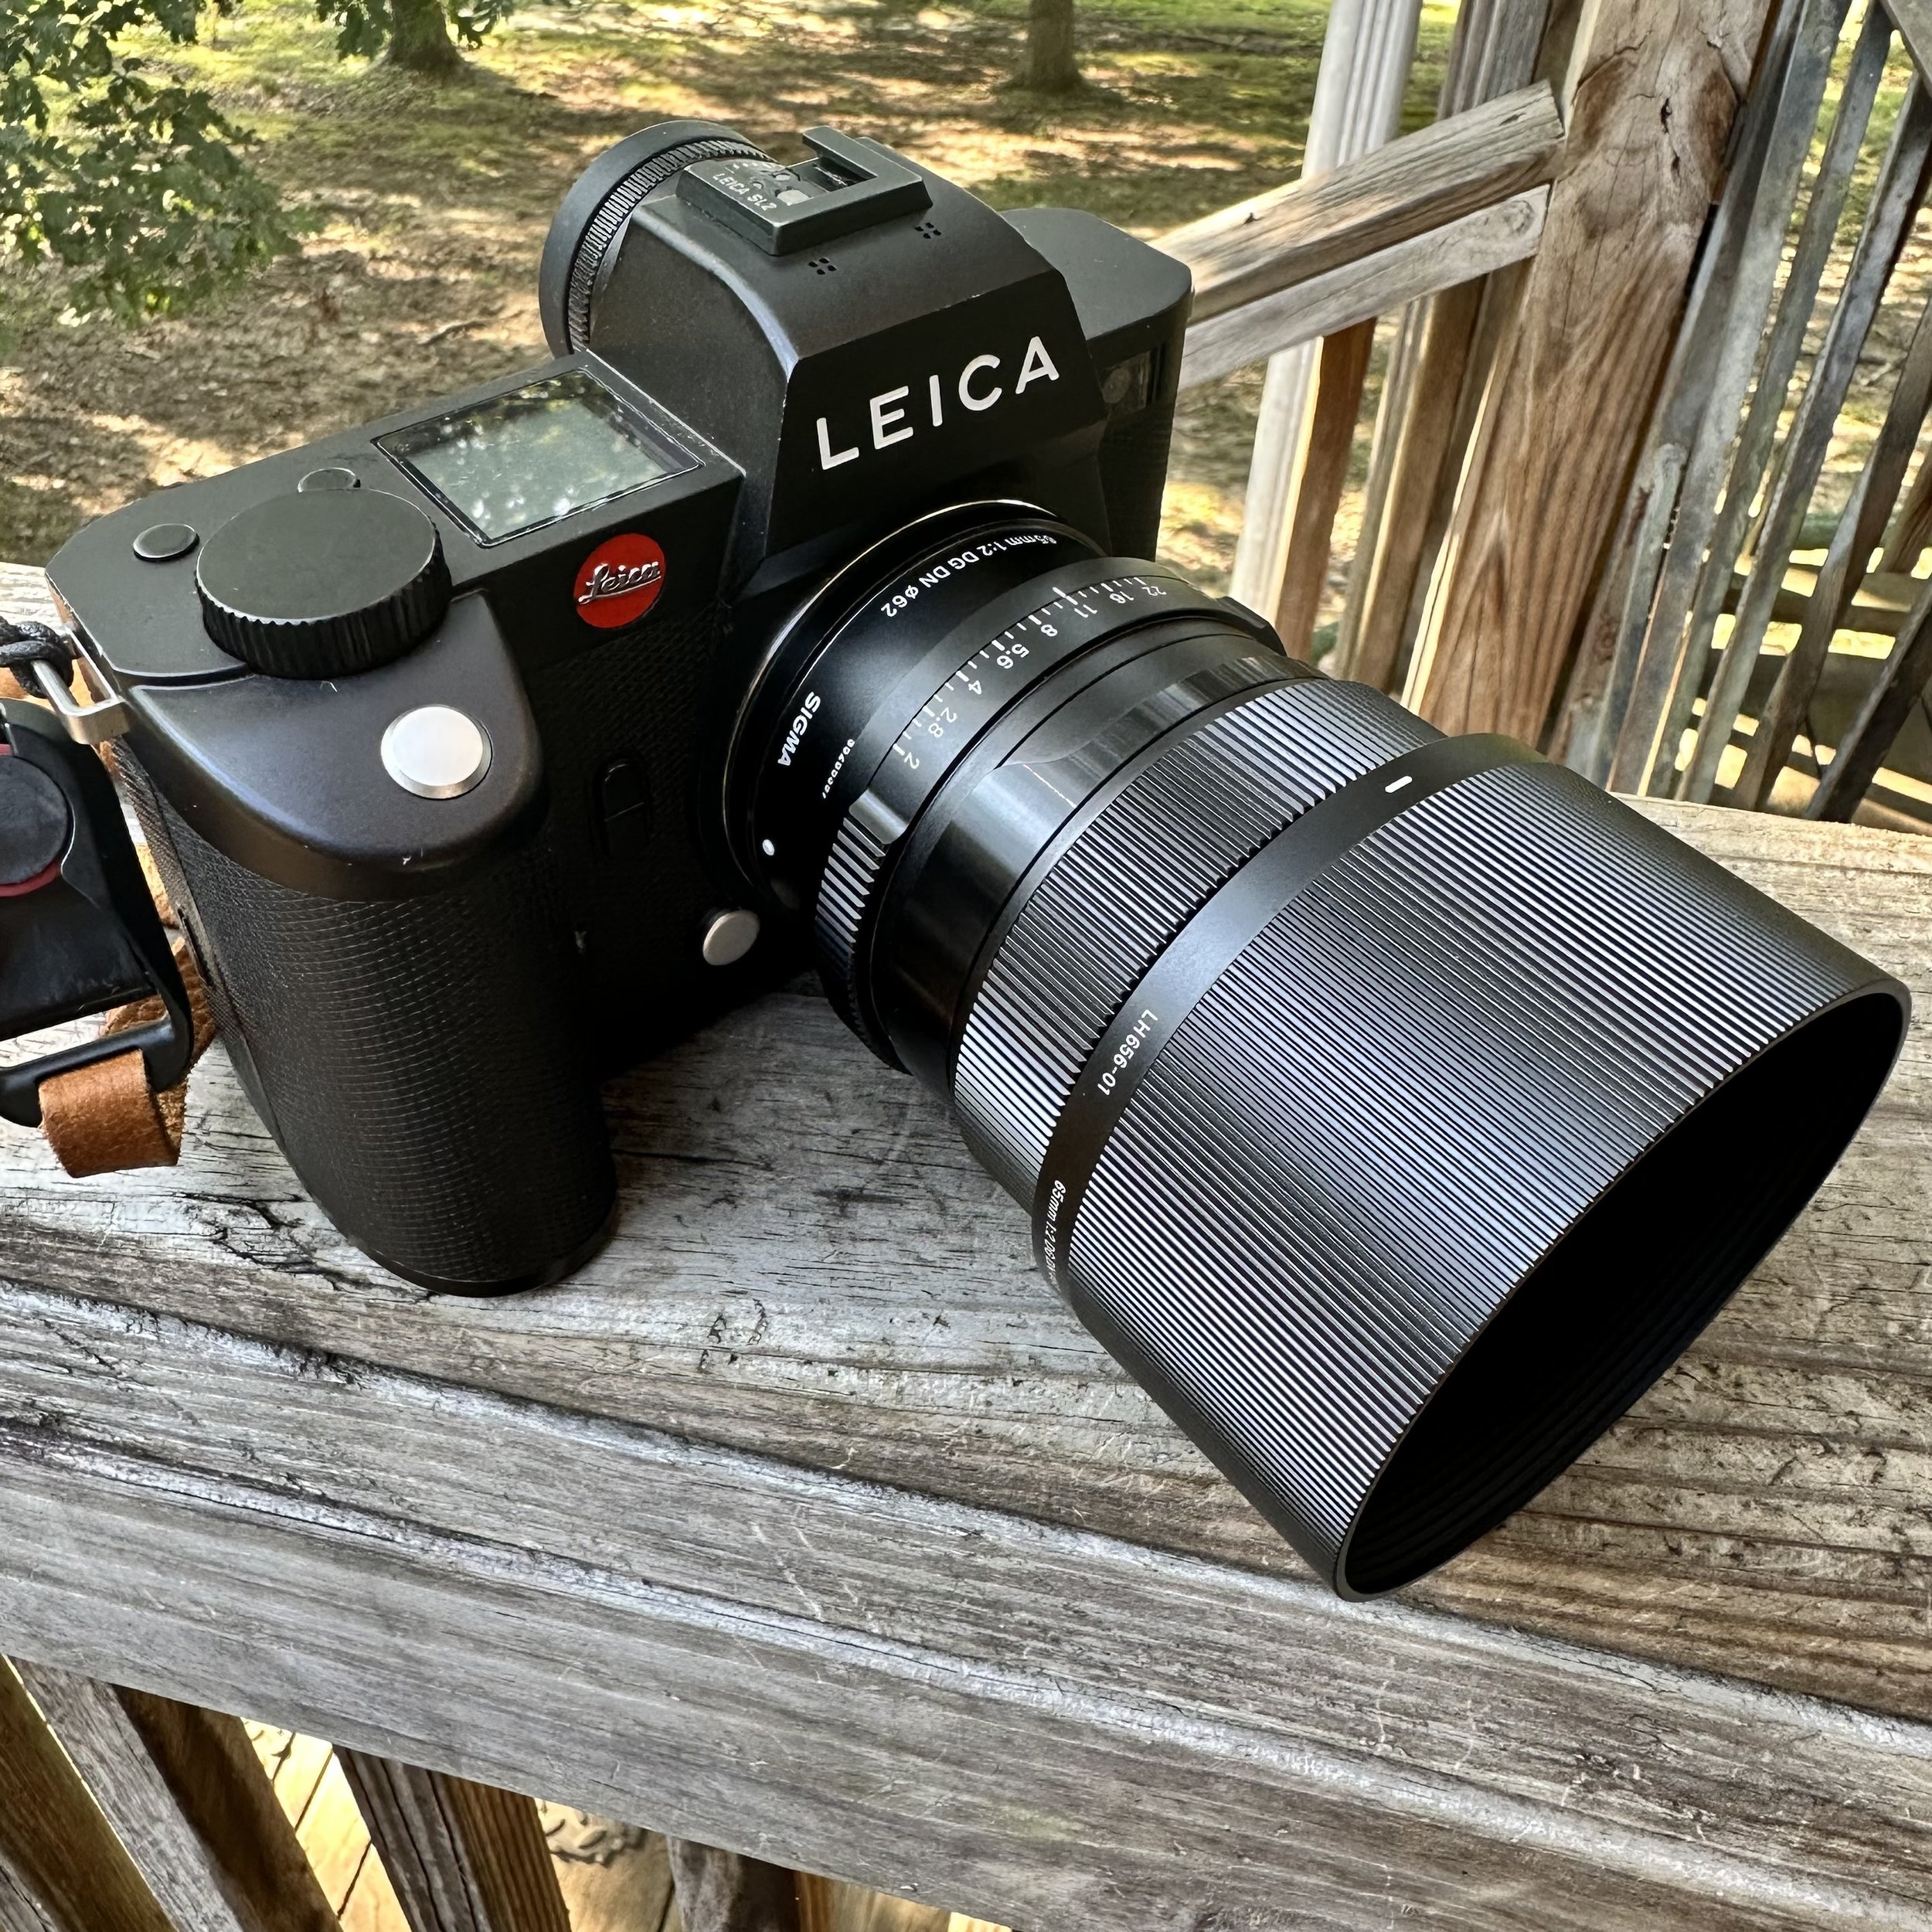
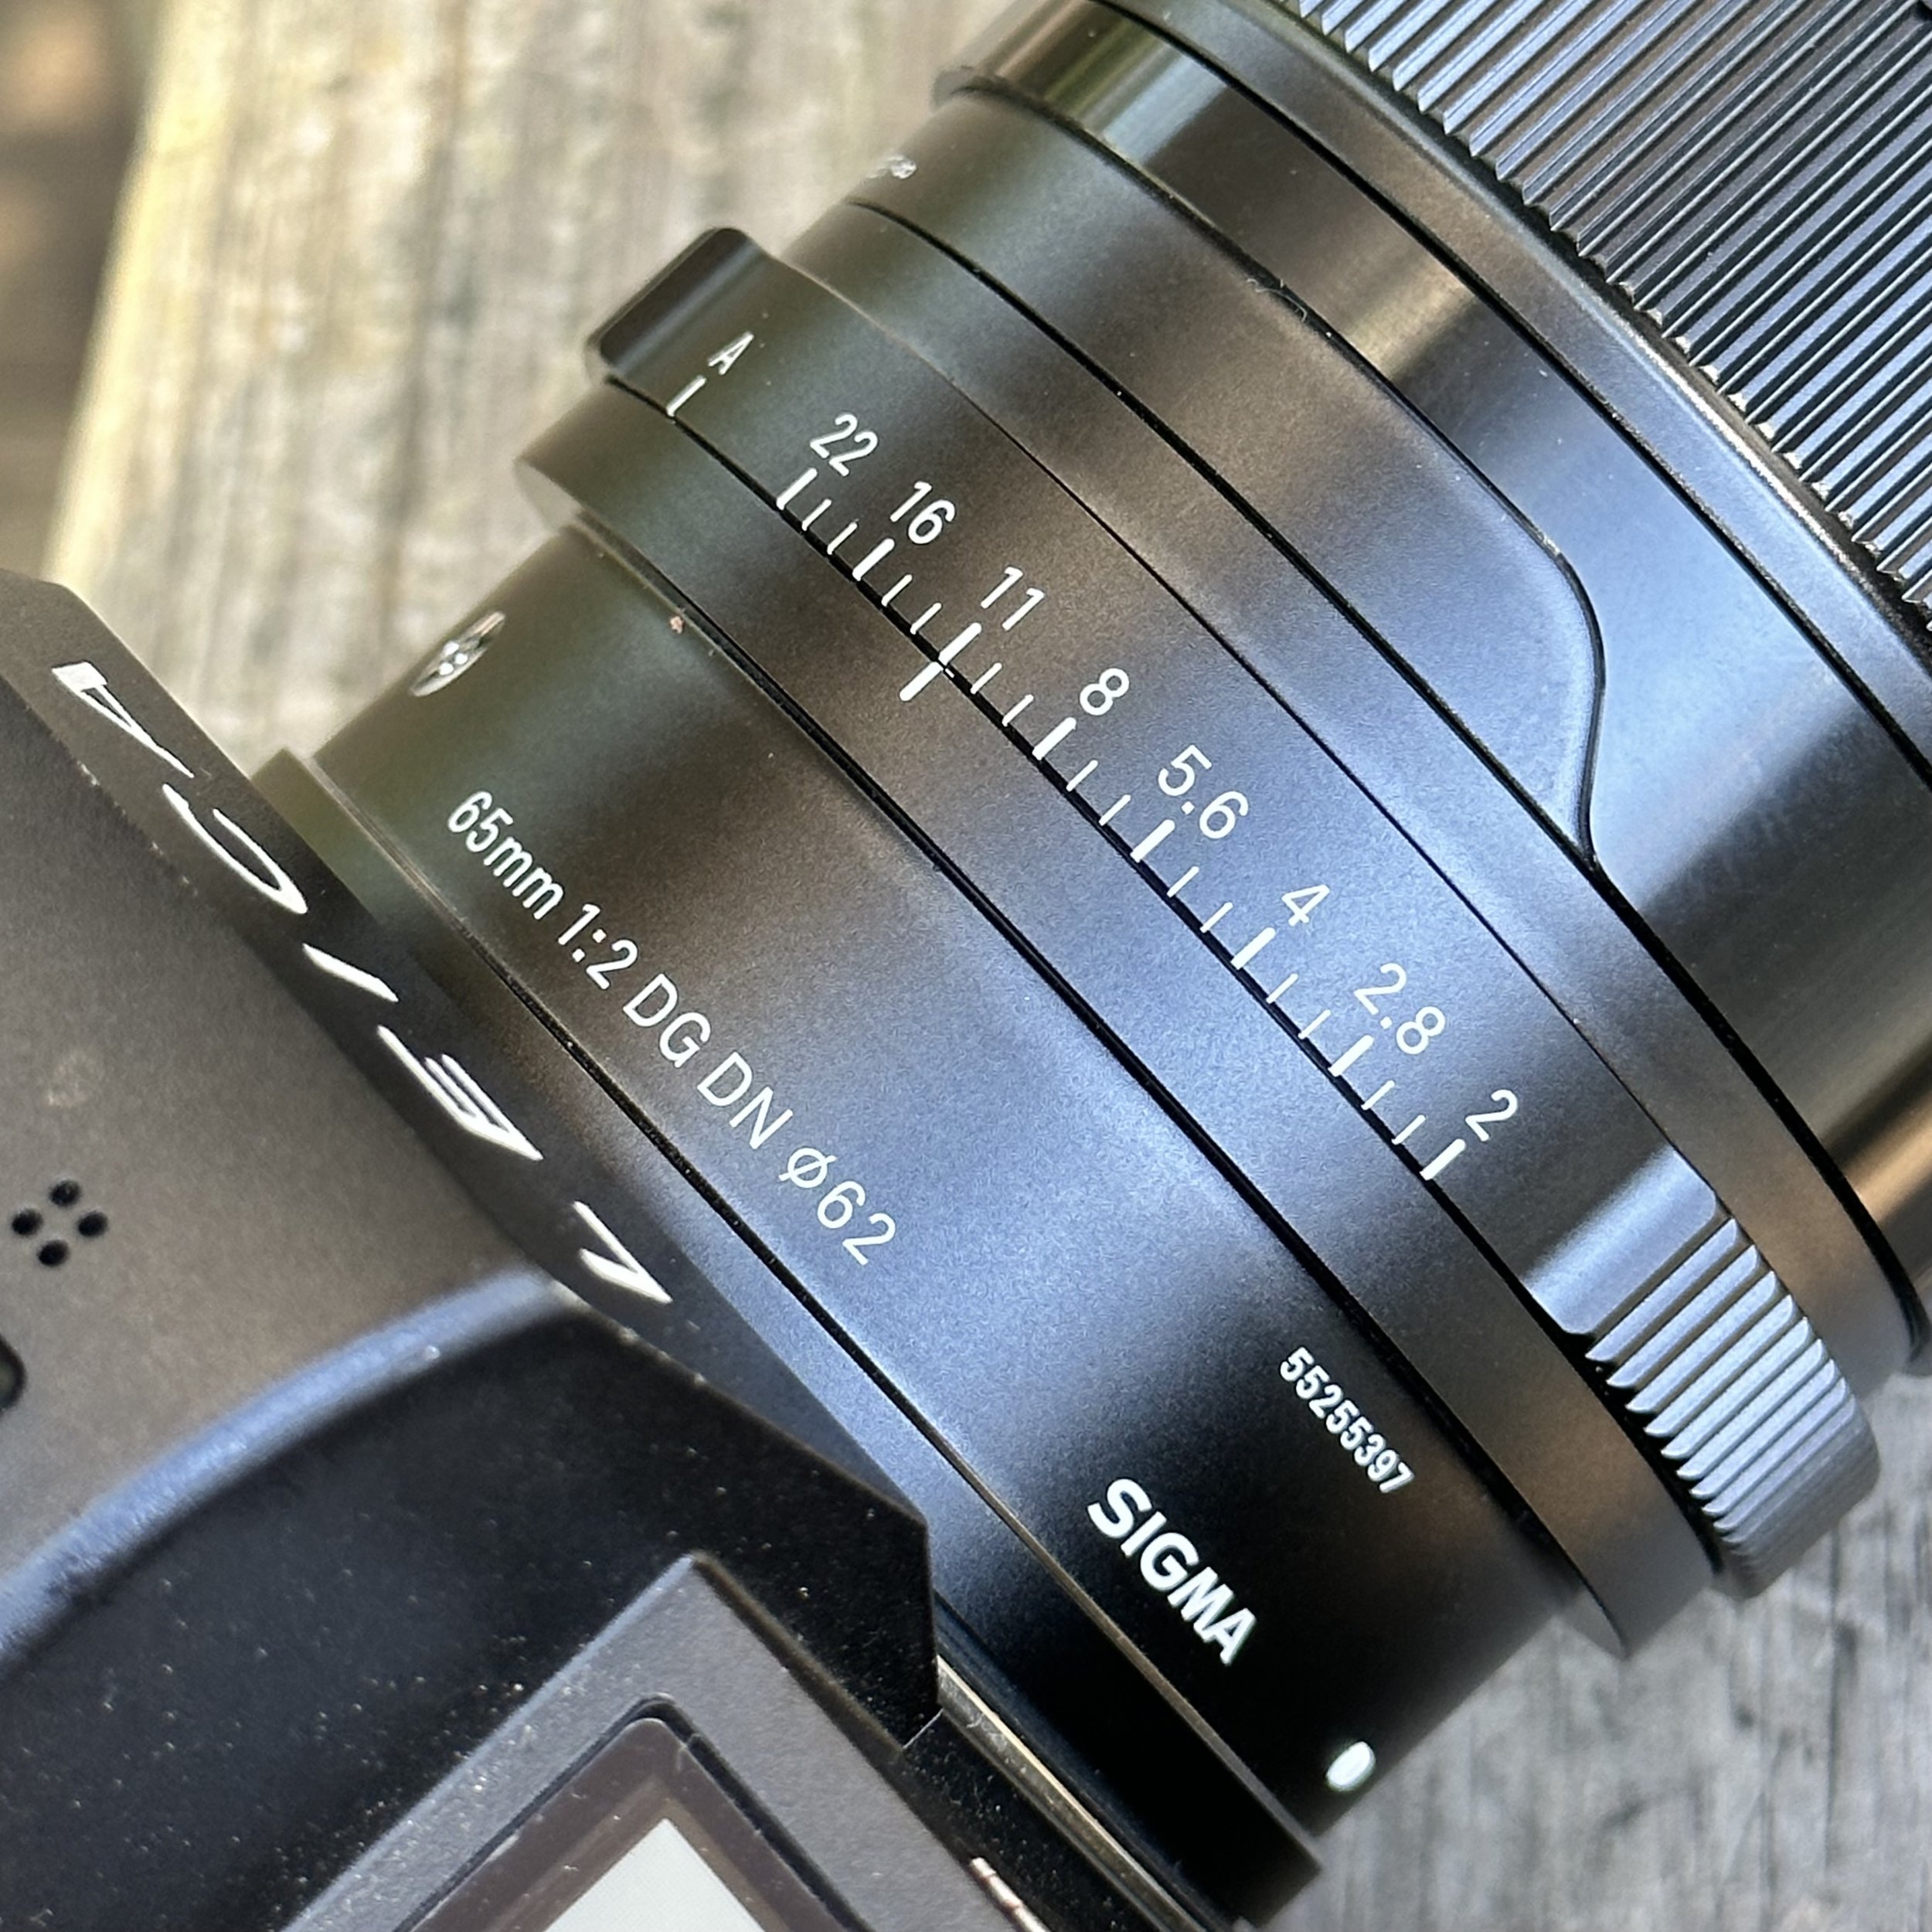
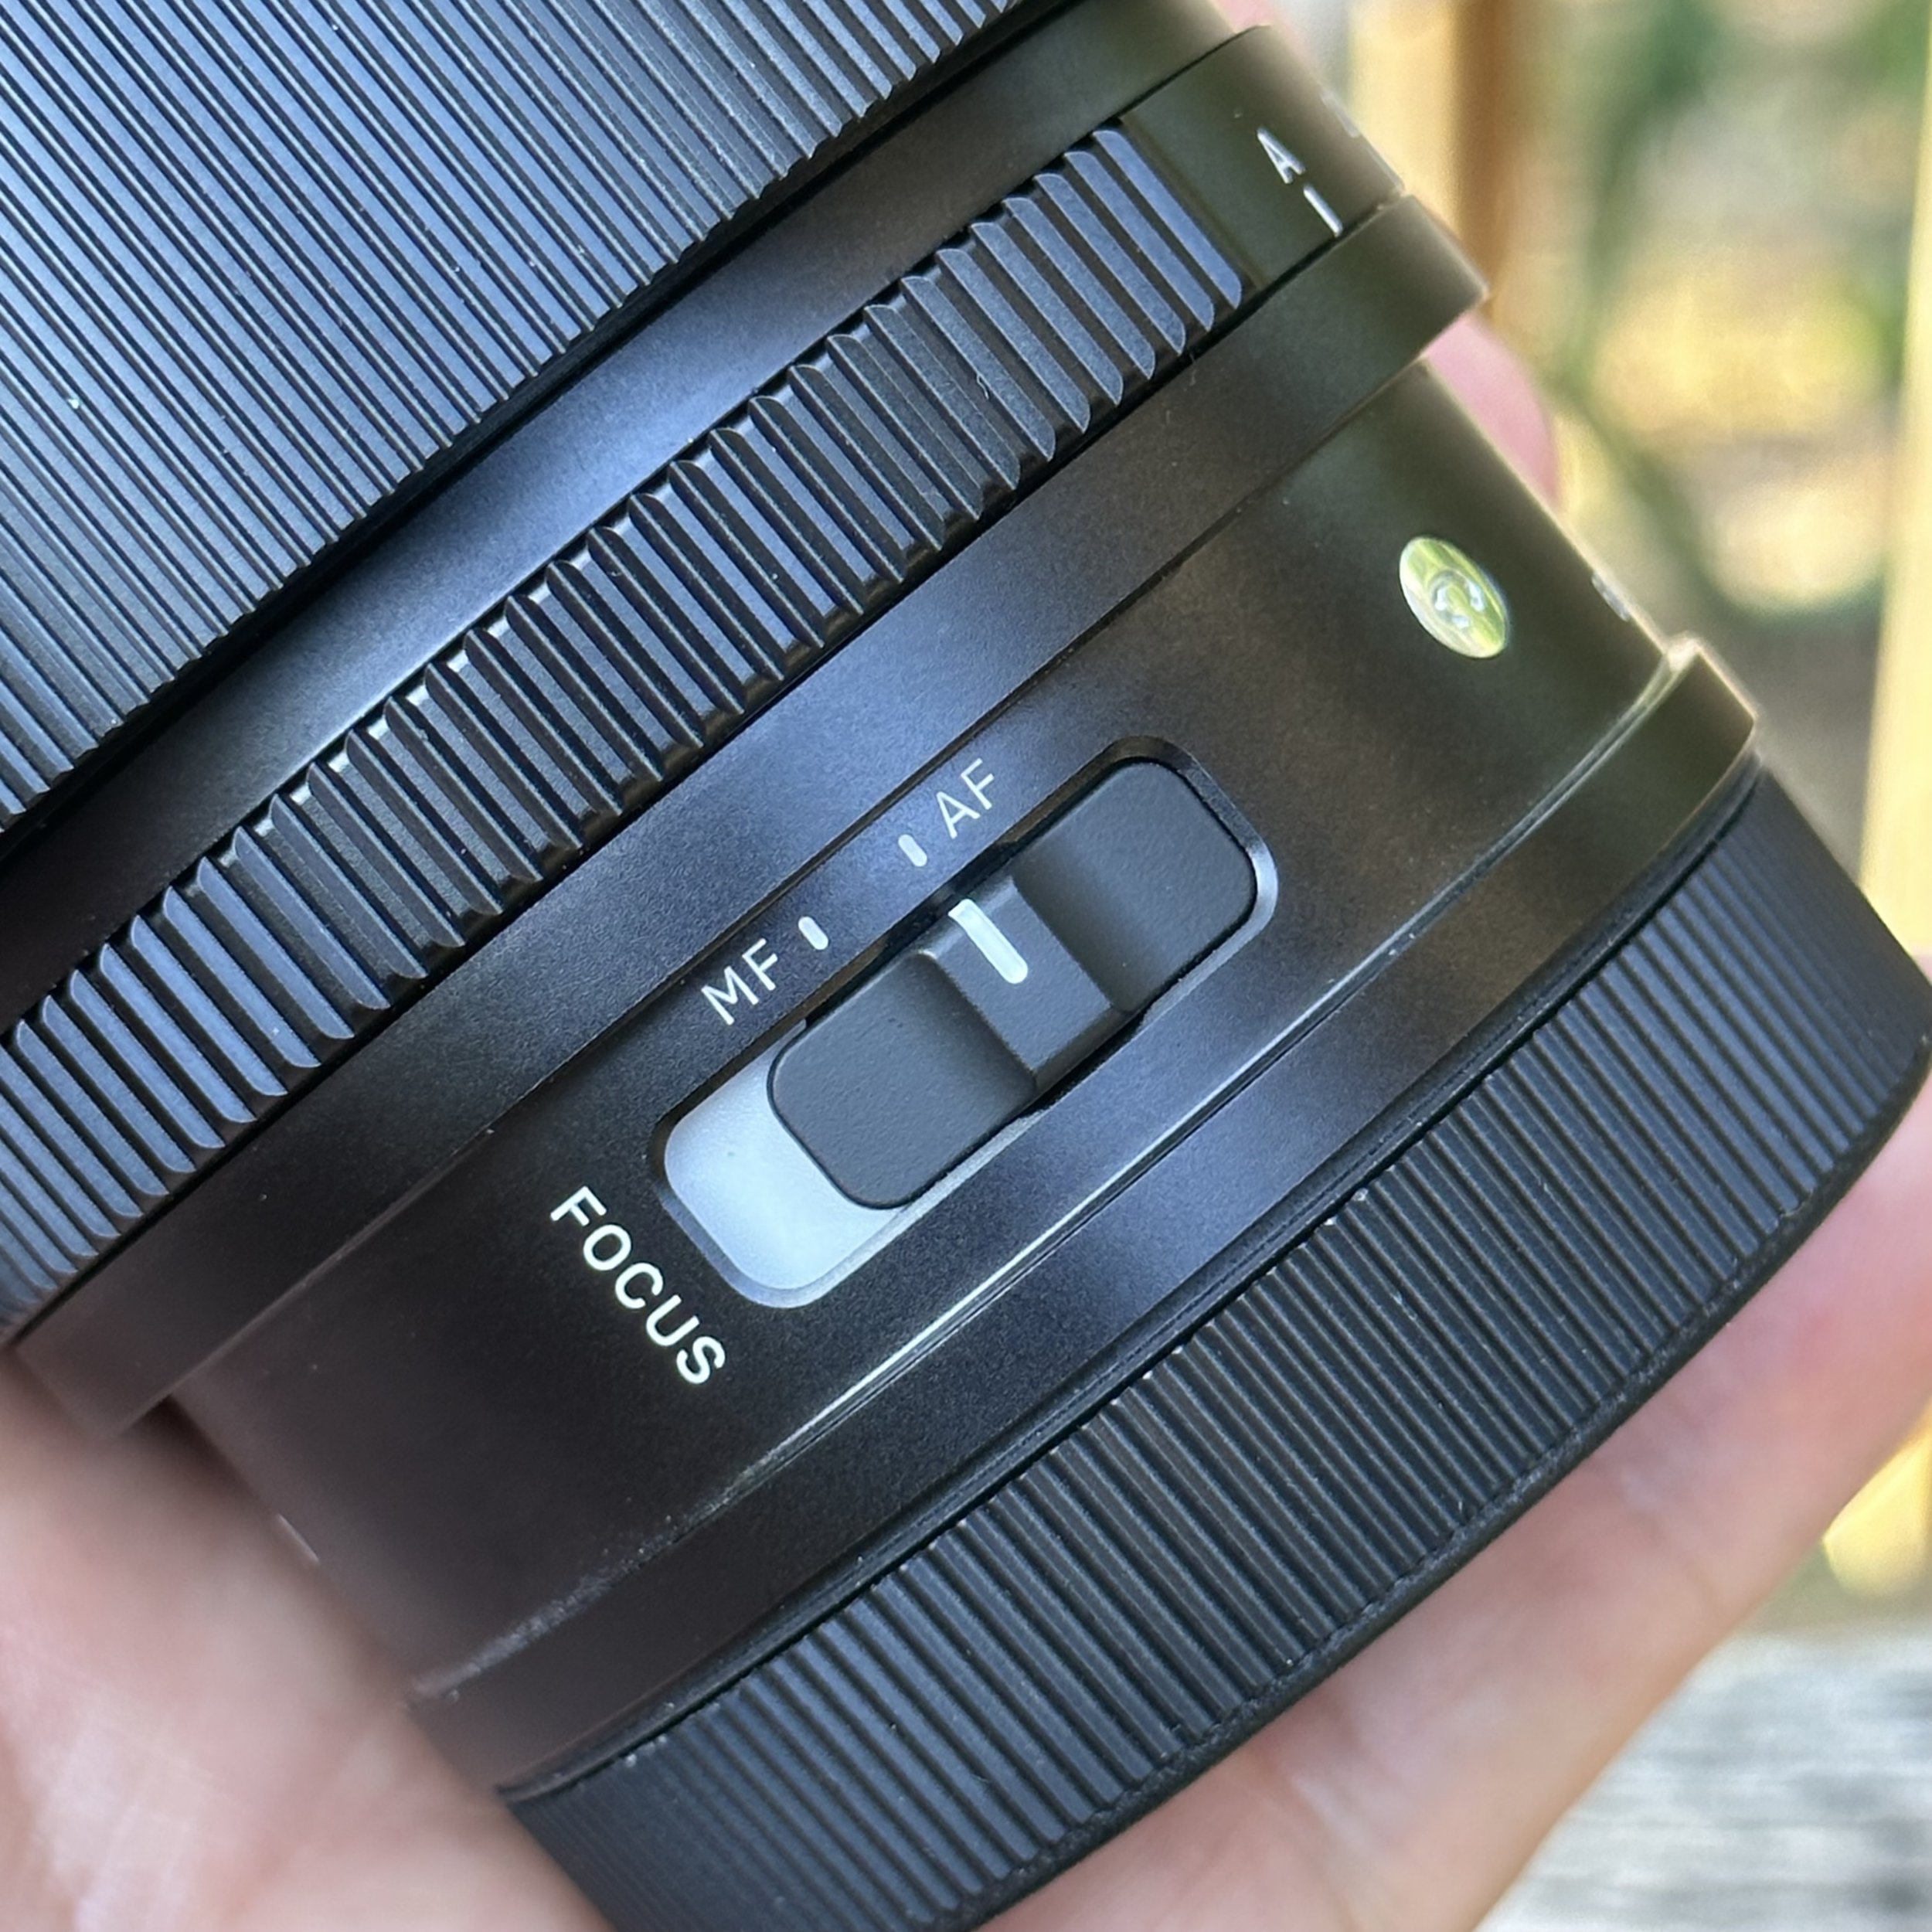
At some point I bought a big fast aperture zoom (the 70-200mm if memory serves me) and thought I was in hog heaven. Well, if you dont need a big expensive zoom lens, then why did you buy one? G.A.S. Is the usual culprit here and I am guilty of having this disorder of photography. I am recovering at this point though and at some point I simply stopped buying the latest camera because it was better than the last one or what ever. I still to this day cant seem to stop buying vintage lenses though so I am a work in progress… lol.

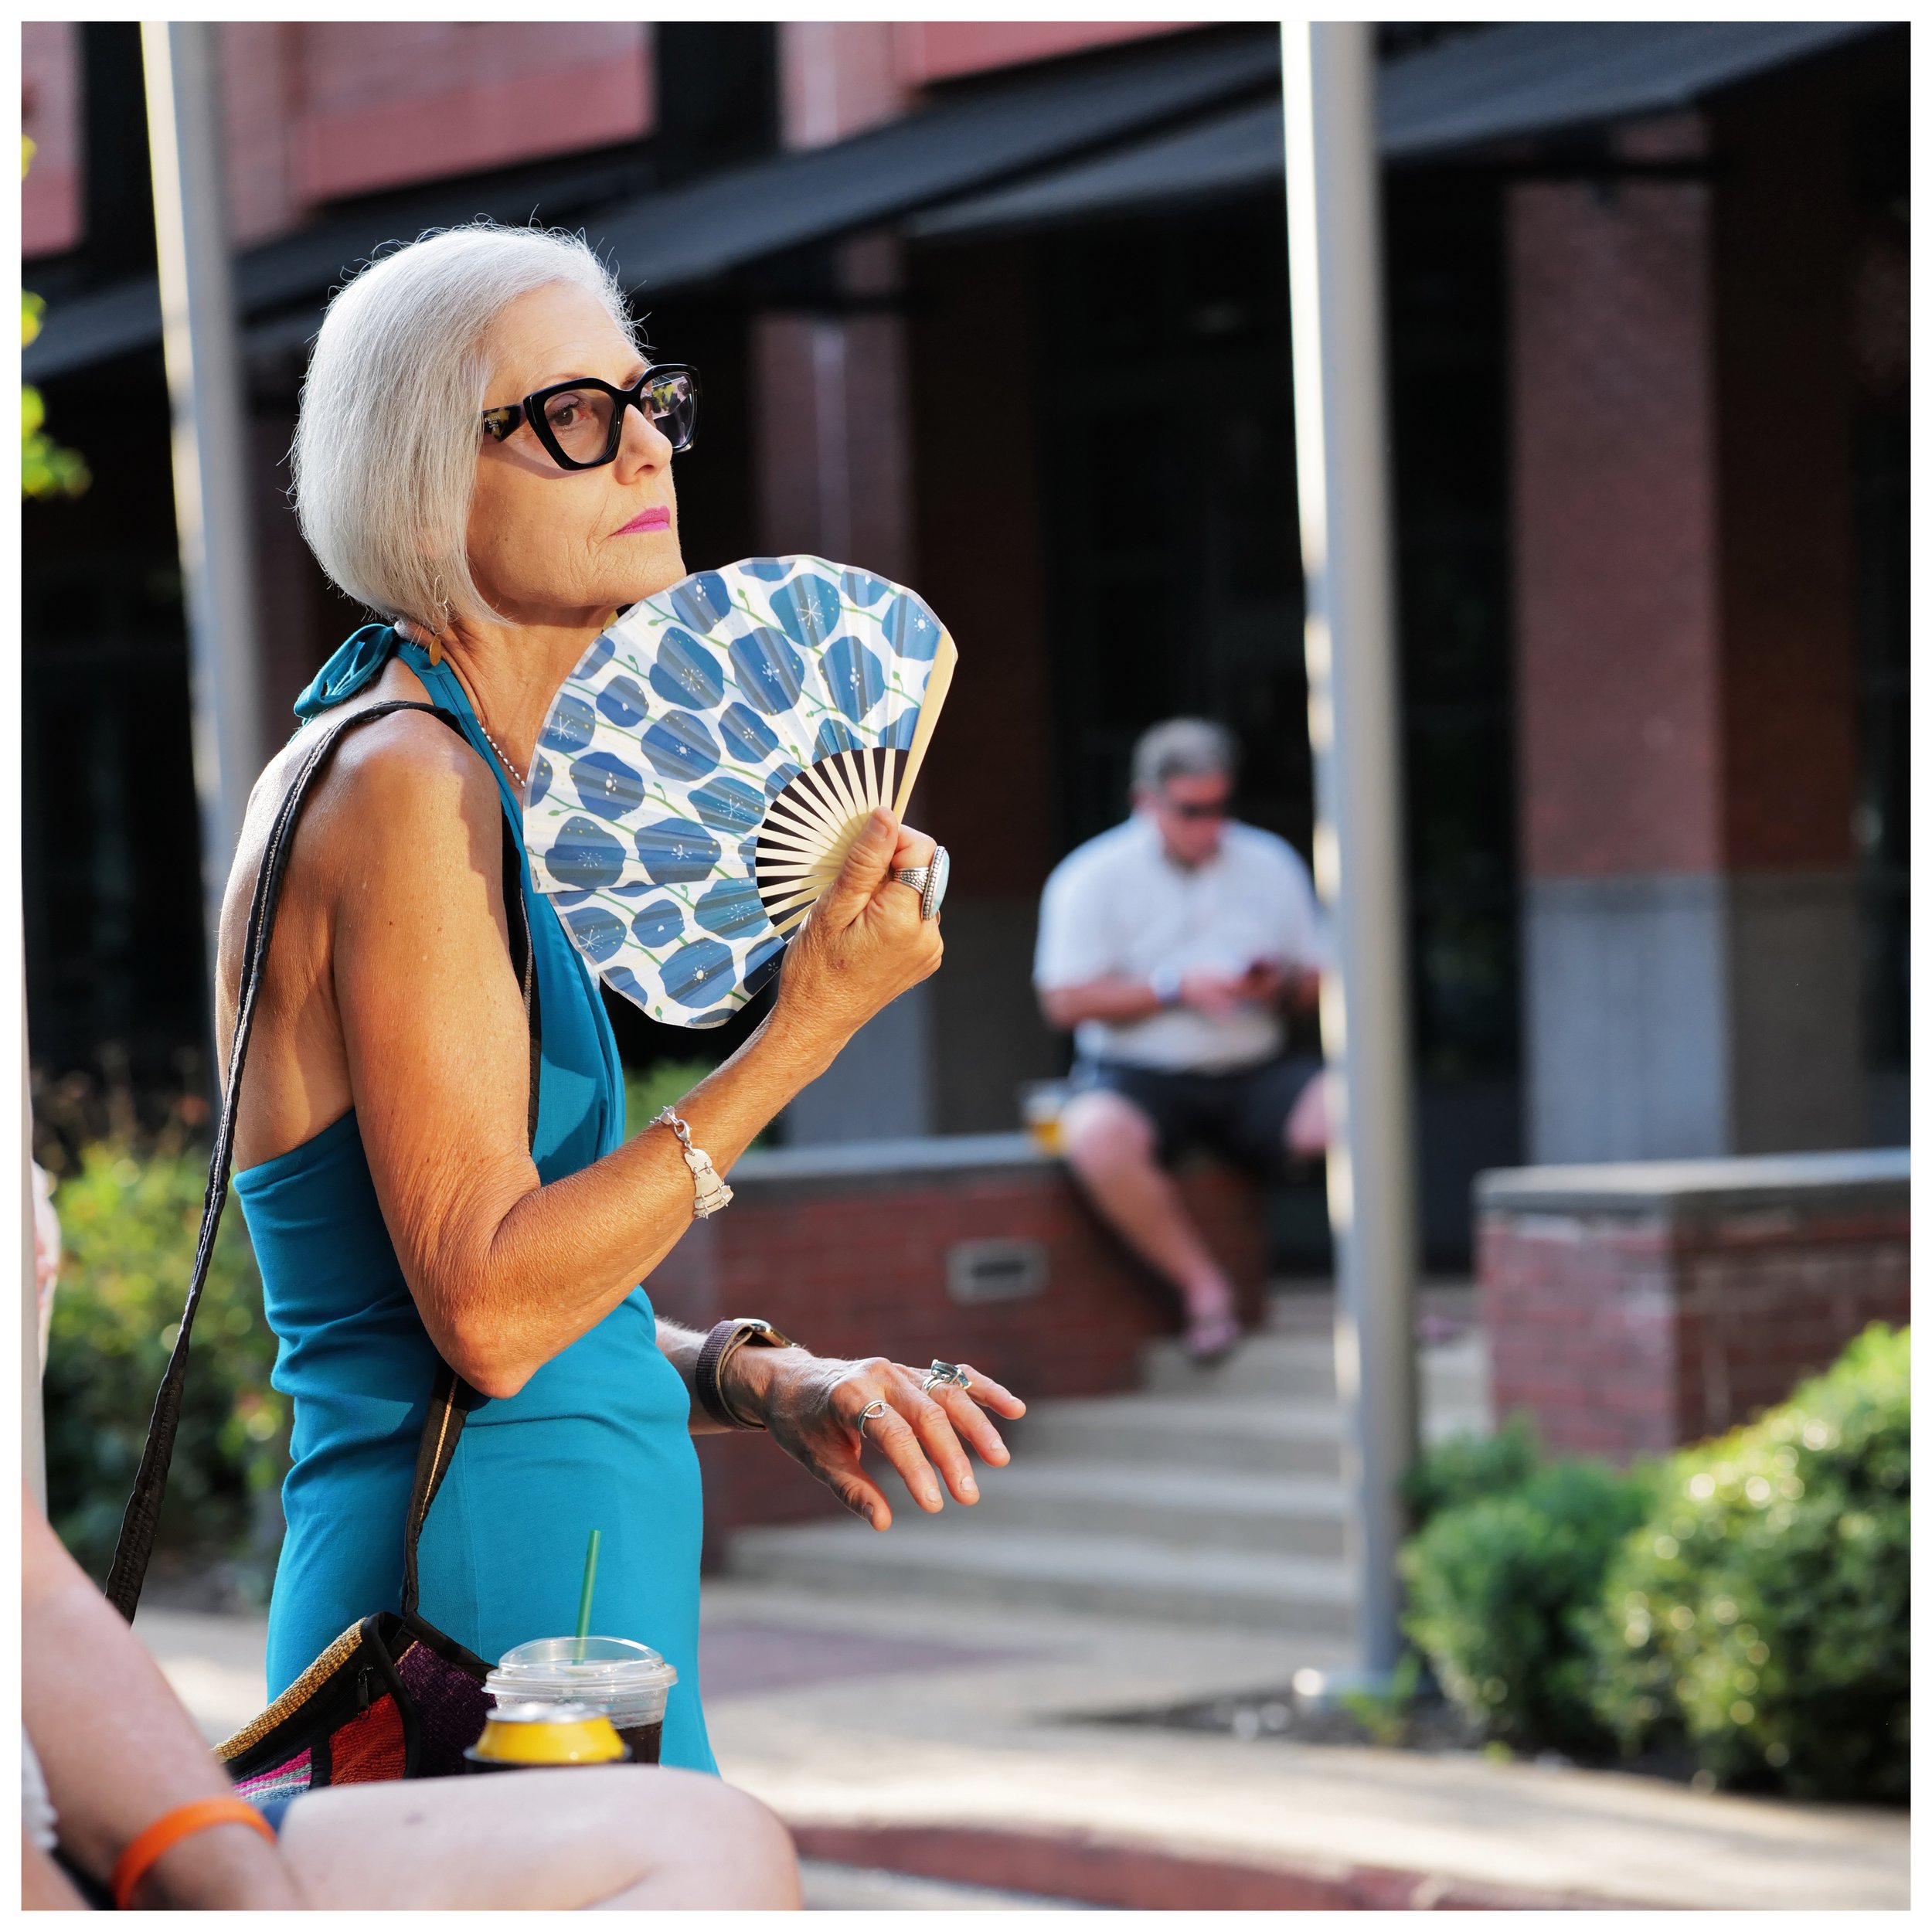
I have since figured out that with my photography, I dont need zoom lenses very often at all. I have figured out that I can have more fun with a nice prime lens and not worry too much about the missing some special photo or some such. I have learned to just let some photos go and be more in the moment instead. You dont always have to get every single photo possible.

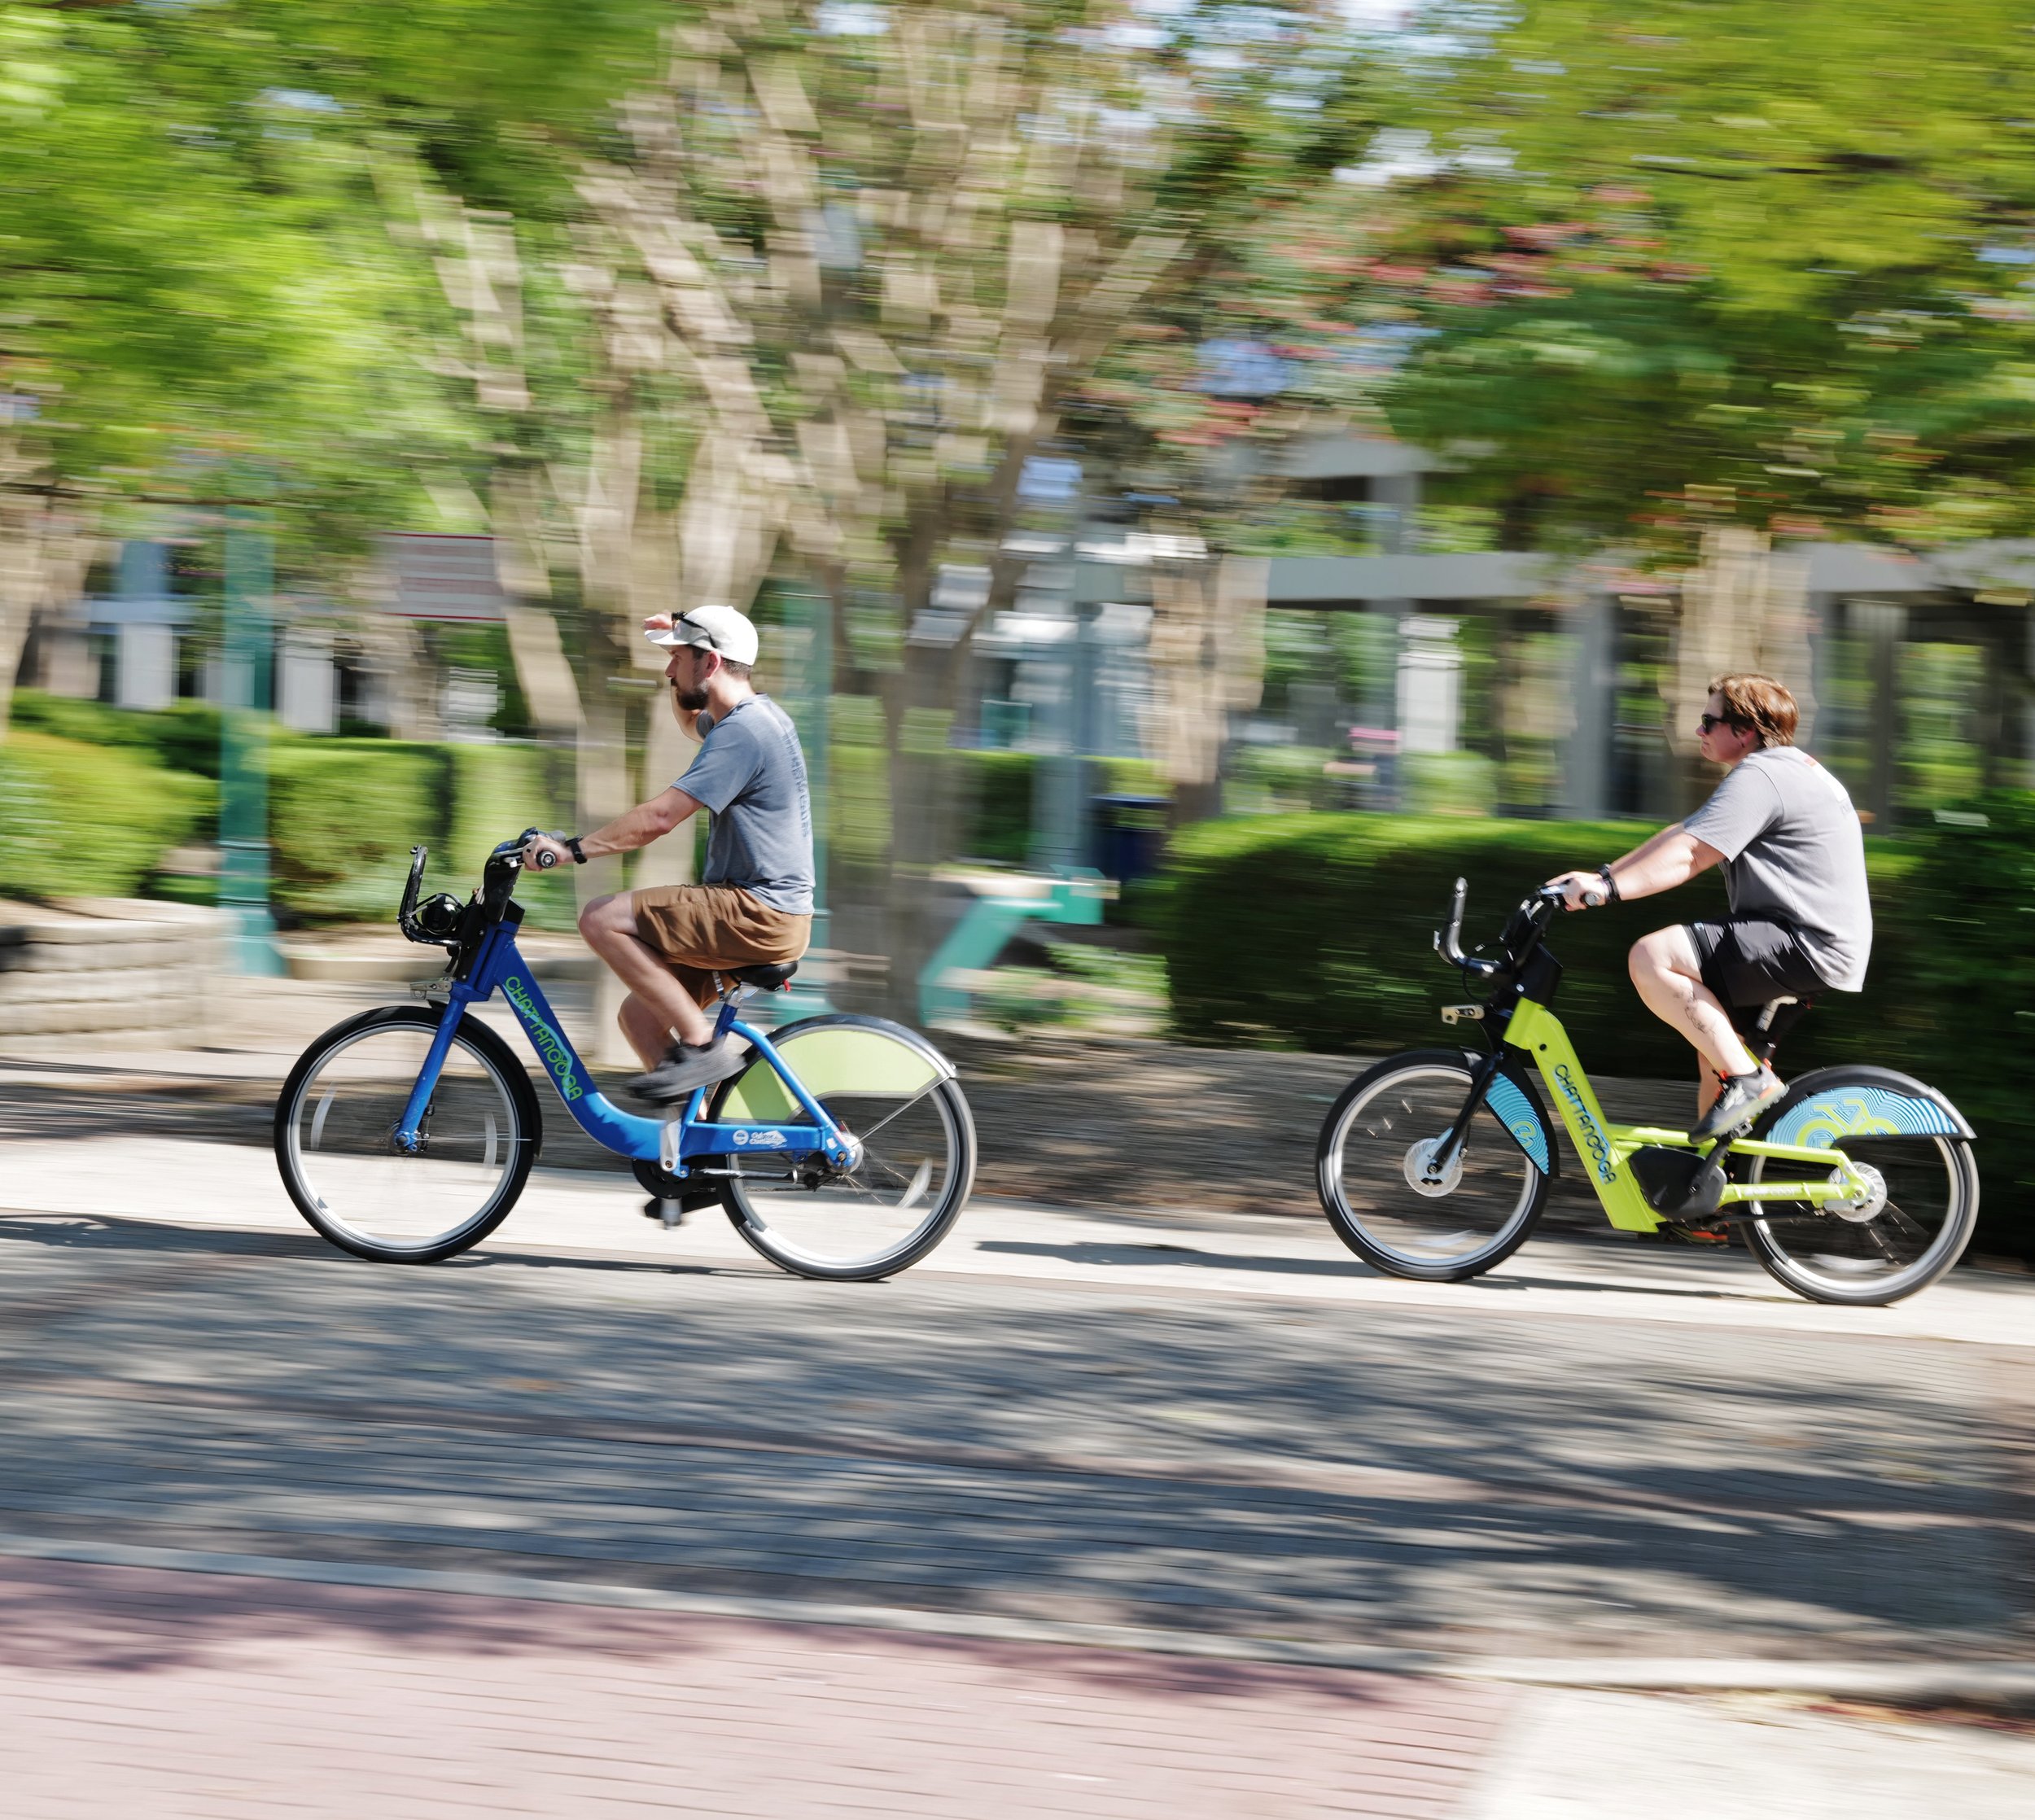
I went through this phase too. Living life through the camera viewfinder… this isn’t really living but rather documenting and is not the same thing. This is why I now travel with a very light camera kit if I am going on a trip to do something other than photography for the primary focus of the trip. I feel it is more important to live in the moment than to worry incessantly on getting the best angle or exposure or whatever. It is this last part that has taught me that I have evolved as a photographer. I no longer need to photograph everything possible and spend countless hours editing in lightroom to be happy. To be completely transparent about it, I only edit a very select few images in Lightroom these days just to get the “one” I want. I still shoot in raw plus jpeg to give me that choice but I rarely use the raw files.

Looking back at your photography journey, have you progressed in a positive way?

Belize … part duex

To get a feel for a country, you have to step aware from the glitz and glamour of the tourist areas (isn’t that true for all tourist destinations though). In some places this can be life threatening but in others it can very rewarding. Belize seems to be a lot like Costa Rica in this regard. Just about anywhere you go the people are nice and helpful from what I have seen.

We saddled up and headed first to the Mayan ruins (it is an active archaeological site) and we got a wonderful “tour” of the rural part of southern Belize on the way over including things like the main modes of transportation being motorcycles and buses as well as seeing many traditional homes made with thatch roof construction. Many of these homes had no electricity or water service to them that I could see while others did. It is always interesting to learn how other parts of the world live.

We arrived at the Nim Li Punit site and get a class on decoding some of the Mayan glyphs that were carved into several stela that were found on the site. We learned how they counted and their numbering systems and how they marked their calendars as well. It was really awesome to see how all this worked on an actual artifact that you can touch.

This site is a smaller site that is easier to access with less crowds and therefore more freedom to navigate yourself without the pressures of large tour groups moving through . There were some tour groups but they were much smaller and didn’t choke off the entire area while there.

I am not sure if the remains that were intact were originall or if they were reconstructed for tourism, but it was really interesting to see it nonetheless. I know some was reconstructed as there was mortar in places holding a couple of stones together but the bulk looked original so I let my mind play that game.

On the return trip we stopped for lunch at a spice farm and toured the farm. It was incredibly interesting to see how many different spices they had at one place. Another thing that was interesting was seeing the spices in their natural form in nature. Things like black pepper vines and vanilla as well as other spices I had never heard of before. It was really informative as well as entertaining. After that it was a fairly long drive back to the accommodations for supper and a nap. Haha.

After our stay in Placencia we travelled to another small community called San Pedro on an island. You can get there by plane or ferry.

We flew Tropic Air which uses this fleet of 10 or 12 passenger planes as seen in the photo above. Every plane they have is this particular make and model as well as their competitor, Mayan Air. It is kinda neat to do low altitude flights from town to town. You can see a lot of things normally not within your view. I also pack my camera gear in my pack for travel and stow all of it except my action camera in my pack for safe keeping. This way I don’t leave something behind when changing locations. Another side effect though is that I get no high quality photos when the gear is in this condition so it isn’t a perfect system by no means… Once on the ground in San Pedro, I will recover it for the evening. I have high hopes that San Pedro will have more photography opportunities than where we stayed in Placencia. Actually, there was a ton of things I wanted to photograph but didn’t have time due to the schedule being so full. Lol.

Well, I really dont care for San Pedro to be perfectly honest about it. The whole atmosphere is geared towards liberating money from tourist’s wallets… this is not enjoyable at all to me. I dont mind paying a fair price for things that cost money but if you are not very careful, you will overpay significantly for the same activities offered just a few hundred meters away. I just want to be left alone to enjoy my time in peace. I really don’t know how I feel about this yet to be honest… one thing is I am here in their country kind of in the way and on the other hand the infrastructure is literally being built to support that attendance… tough call to be honest.

The first day we went into town for coffee as our villa doesn’t have any means to make coffee in it…(not cool)… but it did afford us an opportunity to see some stuff in the early morning that we would not normally see. Like the “Central Park” of San Pedro which is where they put up all the big Christmas and New Year’s decorations. It also has the giant sign at this park as well. It is common in Central American culture to have this kind of sign in each city for some reason. I kinda like it though as it is a cool photo opportunity.

The sheer number of golf carts on this island is staggering to say the least. Golf carts are the primary means of transportation here and really are convenient to be honest about it. We have a golf cart too so l can’t complain but wow, there are a lot of them. There are enough that they become a focal point of some photos.

It was fairly interesting to me to see the Belizean people in their day to day lives more than to see all the tourists two streets over. I found them to be wonderful subjects for simple street photography and I saw several more that would have been great photos if I had been able to spend more time out with my camera.

Above are some photos from our 3 mile photowalk that I was able to capture. The locals are so much more interesting to me than the tourists for some reason. Almost the whole photowalk was shot at f11 and range focus so I simply composed the photo and pressed the shutter. This makes for fast photos if you are attempting to capture a fleeting moment. Another thing you will notice is how a lot of them are looking at me. This is the reason I don’t do more street photography in Chattanooga, I stick out like a sore thumb due to my physical stature. Here though, I play the tourist card and get away with it. I just photograph all the things and sort it out later since my time here is limited.

This was taken in Central Park at night…obviously, but it was neat to find these displays still setup and under power a week later. Lots of municipalities in the USA would already be taking all this down.

Below is a photo I captured while waiting on supper to come out of the kitchen at a beachside restaurant. I simply sat the camera on a rock wall and leveled it with my iPhone under one corner since it is a 20 second exposure. My goal here was to get ocean smoothed out some for a cool foreground element. I also had to level the image a little and also set it to 16:9 crop as there was a lot of black sky above the buildings. Would it be better at blue hour? Only if you wanted some color in the sky. I like what I got and I was there at this time too so it worked out well for me.

On our last day we just rode around and looked at the island in general and I found many things that were really interesting to me. The first photo below was interesting to me since I am American and in the USA you would never see this on an official construction site. These poles are locally cut sapling trees and they are holding up the concrete forms for the second floor of this building that is under construction. It was crazy, just how many poles were inside this building like this.

Thanks for tagging along here and I hope to share something new with you soon. Until then, get your camera out and take a picture with it.

Belize in a nutshell…(blogpost)

This is a trip log of sorts.

Day 1 - We wake up at 4:30 and get ready to leave and pack the last few items we think we will need and head off to the airport.

Something we learned from the trip to England last year that was a basic revelation to us was that we don’t need as much stuff as we think we do. This was because we had decided to hike the Canterbury trail in England. This forced us to leave everything behind that wasn’t essential for the hike since we had to carry everything we wanted in our backpack. Let me tell you, you can get brutally honest with yourself when it comes to hiking and weight in your pack. To the point of removing packaging from items to simply cull the dead weight.

This led me to also take a very hard look at my camera kit. I normally would take all sorts of lenses in the off chance I would get to do this or that kind of photography. I learned over the years though that I would end up carrying all this gear and never touch it.

Well, I looked at what we would be doing and what I figured I wanted to capture and I took just one camera and two small prime lenses. A crop sensor camera and a 17mm along with a 35mm lens is all I needed. This would cover 99% of what I would be shooting and I would be able to carry it easily in my backpack.

Now, I am on another trip out of the country and I am applying the same principle again. The kit is just as small as last time but with less charging gear. I only brought chargers for USB only this time. This may prove to have been a mistake but we will see. I am also carrying only the back pack again as well.

The reason I like to travel with a backpack now is that there is no baggage to check or pickup…or lose, since I have it with me at all times. Plus the airport maneuverings is also much easier too. Much easier since you just go in and get your boarding passes (we still haven’t transitioned to using our phones yet), pass through security ( which you still do even if you check a bag) and go straight to your gate. Easy. Not to mention that I dont have to drag my roller bag around with me AND both of my hands are free as well.

You see, I despise airports and air travel to be quite honest about it. That is a blog post all it’s own. Haha.

Flying out of Chattanooga is also better to me since it is a smaller airport, the whole vibe is just lower key. This also gets me past the long lines at the big airports at check in as well as the long lines at the TSA checkpoint too. I don’t normally bother with photos at the airport like others do but here are a couple for fun. All photos of travel are taken with my phone so I don’t have to break out the camera.  The below photo is of note though, this is what overcast skies looks like from the other side of the clouds. Looks almost looks like a desert somewhere, doesn’t it?

The camera kit is shown below. I didn’t bother with lots of items I normally carry to the point of probably a fault. Lol. No lens cloths, no rocket air, no card wallet, no spare lens caps, no tripod plates (or tripods either for that matter), not even a camera bag… officially. The bag you see is actually a lens “dump pouch” that goes on your belt. It happens to be big enough to hold almost all of the camera equipment I brought. What doesn’t fit is in a ziplock bag, like the battery charger and cable and the DJI Osmo Action that I usually vlog with. I didn’t even bring all of my spare batteries as I only used two a day at the most so I brought three. Lol…couldn’t help myself.

I didn’t bother with a spare battery for the Osmo as I never ran one down on my normal days anyways and it USB charges so the same cable will charge the action camera as my camera charger.

The inventory is longer than I had originally planned with me adding the DJI Osmo Action and the Lume Cube Panel Mini (fill light) was a couple of luxuries I really wanted for vlogging but fit in the pack easily enough. I have almost decided that I can vlog on my phone just about as good as the Osmo Action…almost.

Once on the ground in Belize we pass through customs and then board a smaller plane to Placencia where we will be staying for a couple of days.

You can also tell that they play by different rules in Belize. Notice how there is no copilot, I wonder what the protocol is for a incapacitated pilot? Makes you wonder… anyway, he did just fine and we arrived in fine order. It was actually kind of nice to take the little plane down to Placencia as it flies at a much lower altitude and I could see the towns along the way really well.

I also noticed that our plane had a copy of Microsoft Flight Simulator installed…haha. It is actually neat how technical the instruments have become but still display like the old ones did. It displayed EXACTLY like the old instruments but just on a digital display. I just thought it was really neat to see that.

After we arrived and got settled in, we went to the beach and walked in the ocean. It was really surreal to wake up and the outside temperature be 29 degrees and that evening it be almost 80 degrees.

Once settled in, we went to the beach for a bit the relax a little and for this I took my 17mm f1.4 lens on the Leica CL. This is a great focal length for general photography as well as some landscapes. After our beach excursion it was time for some great food and fellowship.

We ate a wonderful meal for supper and hung out a while then it was off to bed. I used the 35mm at f0.95 for a change just to see if I could get some photos in focus at f0.95 and it was a success! Day 2 was an off day from photo and video collection as I wanted to just be in the moment. This meant no camera gear of any kind. It was really nice to “unplug” for a while. Next installment will be the “ruins”…I DID take my camera this time…

Using the Micro Nikkor 55mm f3.5 lens on my Leica SL2 camera for general photography

When you think of a general purpose lens, your mind normally doesn’t wander to a macro lens.

I have found over the years that there are a couple of Nikkor lenses in this family that work really well for the task of general purpose photography lens and this is one of them. This particular copy is an Ai variant made somewhere in the late 1976 to early 1977 time frame so this lens is almost 50 years old and just look at the image quality it produces… Lens manufactures were on their A game at this point and Nikon was a force to be reckoned with in this area. This lens isn’t even their best macro lens either… That is something that to this day surprises me a little. It has an external aperture ring that is detented in whole stops…except the very first one where it goes from f3.5 to f4 for some reason… Who knows why they did this, but they did so it is there if you want to use it.

Minimum focus distance is a surprising 9 1/2” from the image plane. So this is right at 4.25 inches in front of the lens when mounted on my Leica SL2 camera. This also gives you a preproduction ratio of 1:2 on the image sensor, that is to say that if you have an object that is 1 inch across in reality, it will be 1/2 inch across the sensor. To get to 1:1 reproduction ratio you need help… The PK-3 extension ring will get you half that distance and to the true 1:1 reproduction ratio at minimum focus distance. All of this is conveniently engraved on the lens barrel for you should you need to look it up in the field… Also notice in these two images that the lens “pumps” air which means it has external focus movement, the lens grows and shrinks when you adjust focus, it is common belief that this is where dust gets into the lens from, when you open the lens fully to minimum focus distance the lens intakes a full charge of air and doesn’t have dust seals to prevent dust from entering the lens mechanism, so you get a little internal dust…

One last thing to note about this focus mechanism is that the reason I like using these lenses for general purpose photography like travel and such is that as you can see in the above photo, the focus throw from infinity to less than 1 meter is short, so focus is fast with this lens. It also has a range focus scale, but since it is 55mm, the scale is rather small and not easy to use, it will give you rough numbers to work with but that is all.

Enough with all this tech talk, let’s take it for a spin and see what the photos look like on my Leica SL2 mirrorless camera since it has IBIS on the sensor and I can hand hold photos at unheard of shutter speeds with it.

First thing I notice when using this lens is how good it feels in the hand. The location and feel of the controls are literally in the perfect location.

Another thing I noticed was that it is sharp, like incredibly sharp. To this point, it makes sense that is would be this good due to the design intent of the lens but it has a really nice general purpose focus throw too. This lends itself to being a wonderful walk about lens. The following photos were shot on my Leica SL2 using this lens as a walkable lens. I have used another Nikon macro lens before in this same capacity, the 60mm Micro Nikkor once lived on my D810 as a general purpose lens. It works flawlessly in this capacity.

In the above photo you can see what I love about a camera with stabilization in it. The camera sensor is rock steady so I can capture shutter speeds like in the photo above where I was running something like 1/30 second and some of my water blur shots were 1/4 second!!! Like the one below is a 1/4 second handheld exposure and if you will look, the rocks are crisp and the water has a really nice blur to in. This is at f32 as well so there will be some diffraction in the image from that but all in all, it looks really nice.

Below is a crop from this image. As you can see, the spider webs are even visible and this is handheld no less! As long as you have some decent light this combination is really nice. When you move to a mirrorless camera body that has IBIS on the sensor, it unlocks so many possibilities with lens / camera combinations. I dont know why hobbyists dont see this sooner but a lot dont.

So in conclusion, I highly recommend this little guy if you need a macro lens on occasion and want a nice general purpose lens the rest of the time. The f3.5 maximum aperture also allows the glass to be smaller and lighter as well. This is also a huge perk to everyone except those people who shoot with big glass… until next time, get your camera out and take a picture with it!

It is the holiday season again!

When you live in the United States, you get to celebrate certain holidays and they seem to come once a month… In the winters we have Halloween, then a month later you have November and with it comes Thanksgiving where everyone literally over eats on one day and then eats the same meal everyday for the next week at lunch. HaHa.

It also brings colder weather so the photography is different too. I have, of late, been using my 28mm more than anything else it seems. The wider angle giving me more of a ”scene” than a specific subject. It also gives me a lot more depth of field so getting focus is a lot easier too. You see, I tend to shoot these days with vintage manual focus lenses more often than not. I do love my modern lenses with their aftofucus and light weight construction producing wonderful images, but sometimes I just want to use something from a simpler time. I have also found the lenses that work best for me applications too. Mostly Nikkor and Asahi Optical(Pentax) lenses with a sprinkling of some others like Voigtlander and Leica just to name a few.

I will also use these lenses for things like photo walks as well as general photography.

In the above photo, I was attempting to capture blue hour in downtown with a 25mm and this shows what I am talking about a little better. The wider angle allows me to get more of a scene and tell more of a story that a tighter lens like the 50mm or 75mm would do. I would have to back up a lot more if I wanted to include all of this in a 50mm lens photo as the field of view is a great deal narrower. Another thing that comes with longer focal lengths is a phenomenon called “compression”. This is where things in the background tend to look closer together than they are in reality from the effect the lens has on the subject. The photo below shows what I am talking about with compression…

Learning how to use these effects to your own personal advantage will open up so many possibilities for you. You couldn’t get this photo on a 20mm lens, it just wont work, you need the compression of a telephoto lens to be able to “stack” all those light displays together like that. This is why it is important to get out and shoot with different focal lengths at different times of day and also in different places, it is almost impossible to learn well without “doing”…

All this to say, the holidays as a wonderful time of the year to get out and practice your photography.

The Hanimex 28mm f2.8 lens is a really interesting little lens...

Sometimes I just throw the dice on a vintage lens and occasionally it comes out really good and sometimes it is a dud…this time it is a winner.

I went to Ashville NC on a small trip recently and on this trip I was doing photography. Well, when it is a photography trip I always make it a point to go to Ball Photo and just “go shopping” for something interesting. They have SO much vintage gear to choose from that it is almost overwhelming to be honest. It is not for the feint of heart to be honest about it. But today found me at Ball Photo and while there I started looking for some glass to pick out… Well I found some.

We all know how much I love to shoot with vintage glass and I am always on the hunt for a new lens to play with. I have Leica glass for the Leica SL2 and use it quite often but I still really enjoy adapting some older lens to the camera and then seeing what I can get with this lens and camera combination when I go out with it. It is almost a challenge to see if I can come away with something good using this old lens… What generally happens is that I slowly build a collection of lenses that I REALLY love to use and I am starting to collect a full set of these lenses. Some examples would be the 28mm f3.5 Asahi Optical M42 mount lens that I keep in the camera bag, this lens is literally one of my favorite lenses of all time for some reason. I just love the results I get with it on the Leica SL2 camera. Well today finds me using a lens that is 2/3 of s top faster and a little bigger too.

The Hanimex 28mm f2.8 is a well made lens with the whole thing made of metal (probably brass from the way it feels but it could be anodized aluminum too I really am not sure) and has some really nice accents like the little silver bands around the focus ring which also has a faux leather appearance but I am almost certain is rubber. The range focus scale is graduated for every aperture marked (sans f4 for some reason) on the aperture ring, which is a nice touch for street photography. The detent clicks on the aperture ring are nice and pronounced as well as solid, no mushy aperture detents on this lens! All in all, it is a great little lens by design engineering standards. It is even a well designed attachment scheme as well with the M42 mount as it is easily adapted to about all mirrorless cameras on the market.

Many people also don’t realize that the M42 adapter can be adjusted to get the lens top dead center of the adapter too. There are three tiny set screws on the adapter that hold the threaded ring in place on the lens adapter to adjust this. To make this adjustment is simple, just screw the lens into the mount till it seats and snug it well so it wont work loose while in use. Next get the Allen key that came with the adapter and loosen the three set screws till the lens can spin in the mount and simply turn the lens till the center mark is top dead center of the adapter and then push in on the mount while tightening the set screws back down to make it hold the ring again and your done. It is that simple. Mine is slightly off center here and I have simple been too lazy to adjust it as it is close enough for me to be able to get out and shoot anyway. I don’t normally worry about it too much as once you set the adapter once, then all the lenses will time up and you don’t have to mess with it again. Installing lenses over the years on this adapter and tightening them has slipped the timing a little and this is why it is slightly off center. Once again, it is no big deal to me and i just go out and shoot…

So the first official outing with this lens was to go to the mall in Chattanooga TN with it and capture some Christmas spirit with it…on black Friday no less.

Well to be quite honest, it performed wonderfully. Now to be fair, the camera does have IBIS in it and this allows me to shoot at pretty slow shutter speeds without the need for a tripod. As long as you go into the camera settings and tell the camera it is a 28mm lens, the camera can compensate for movement really well allowing for incredibly slow shutter speeds like the last photo in this string from the mall where it was 1/10 of a second…hand held. Most of the other photos are shot at 1/250 second to freeze the people so that I can show the current clothing styles as well as the general appearance of the mall in 2023.

All in all, the Hanimex performed extremely well in this role. The images are sharp and the colors are easily adjusted in post processing to give any look you want. It also doesn’t hurt to have that Leica “look” from the camera processing the colors before saving the RAW file too, Leica does something special with their processing to give the colors a look that is unique to Leica cameras. It is hard to explain, but it is a thing.

In the next photos I didn’t show all the images as they just reflect what it is like to shoot indoors where there is controlled light and no sun to deal with. The following photos show what happens when you have the sun shining on the front element.

Above is the same photo as the one right under this text except that I shaded the lens from the sun. This lens cant handle the sun shining on it from any angle without showing you that it was happening with some sort of sun flare in the image. In the below image there is geometric artifacts as well as a overall glare from the sun.

In the below photo you can also see the geometric glare in the center of frame, this could be used to your advantage in some applications like vintage style portraits where you position the subject to where the flare adds to the aesthetic of the image. Here the flare doesn’t do that though and is more of a nuisance that anything else. So this is something to keep in mind when using vintage glass, you will run into these kinds of problems from time to time like the older generation has to do…lol.

Lastly, can you make portraits with the 28mm lens? The answer is yes, you can as long as you are careful with the composition and keep the subject centered like I did here. The 28mm lens can distort toward the edges so it is imperative to keep the person in the center of the photo as much as humanly possible if you want the image to turn out like anything you want at all. Maria was gracious and allowed me to make her portrait at the mall using one of the advertising lights as a “studio light” to give us nice diffused side light and I think the image turned out really well for a 60 year old lens with improvised lighting.

As well as this blog post, I also have a video sharing some of these points and showing more of the old Sitton’s mill location should you want to go check that out at the link below.

Thanks and if you are into vintage glass, this is a keeper in my book and for pennies too, so with that, get your camera out and go take a picture with it!

Discussing my Leica SL2 and a Yashica 28mm on a photowalk in Chattanooga TN

Well, I have finally made time to go take photos again and to be honest about it, I wanted to let it cool off a little too. Well, it is nicer weather now and I am starting to get out and look for photo opportunities again. I have a few I am looking into but for right now, it is still a good ole case of urban photography that I so love to do.

Today we find me in Chattanooga yet again and this time I am setup on a side street off of Main street called Rossville Avenue and this road has some really neat old buildings on it, some of which I have photographed in the past but I like to get photos of them as I go along to show how they change with time. I get parked and pay for one hour of parking so I have to make it count. Putting a little pressure on myself to come away with SOMETHING of value in this time allotment.,,

My first stop is the Hamilton Parts Distributors building that has been NOT a parts distributor for quite some time as of this point…2023. The building is really starting to show its age too with numerous windows bricked up on the sides as well as the front giving it a sort of dystopian imbalanced look. This could be a set right out of a movie or something. I took several photos from different angles today and some look better than others. I really like the front door and the corner that I get today for some reason… Here they are, what do you think?

I love how the building still has remnants of the signage that was painted on it some time in the past too. Also look at the foundation material, today it is all either poured concrete or cement blocks and has been for many decades, so I am going to speculate this is pre-war construction meaning before World War 2, due to these limestone foundation stones that look like they were repurposed from another construction site that existed before this building did. I have evidence of these cut stones going back to the mid 19th century so I know these are probably something left over either from a fire or was just cast off and the people that built this building saw a chance to save a few dollars on this part of the construction. Also notice that they didn’t seem to think that these stones were very appealing as they hid them behind a mortar stucco finish as seen in the front door photo.

My next stop was right next door at Zarzours Cafe.

This cafe has been in business for over 100 years, Yeah, you read that right…a century and as you see on the sign. It is closing in less than a month. I have never eaten here either. I will change that in the next few days. I have to be able to say that I sat at their café and enjoyed the fine cuisine they had to offer for a century! How could I let that slide???

Back to the walk at hand. I took a couple of photos of the restaurant and parking area and headed on down the street.

The next stop was at the Koch Foods Processing plant. This is one of two processing plants inside the city that I am aware of. These have been here for decades too so they are pretty much fixtures of the city at this point. One is on Broad street and the other is here on Rossville Ave. It being such an iconic location coupled with the skyline containing Lookout Mtn as well makes for a cool photo to me.

After the chicken plant, I made my way over to Main street and did a little photography on Main as well. Main usually has something really colorful as well as interesting too, this is why I usually always make my way over and look around for a little while at a minimum…

These two photos just go to show what all can be found on Main street even when it is not having some sort of special event. All it takes is a little creativity and time of your part to come away with some interesting photos. Now you might be thinking these are not interesting photos, and you will be right as the photo interest rate will vary from person to person, but I found that these to be quite interesting so I am sharing them with you…lol. The difference between the two photo primarily is the shutter speed as one is really slow to blur the truck and the other is faster so it will capture the whole construction scene with out any motion blur on my part.

Well, this is going to be a wrap for the post, I hope you enjoyed following along and if you would like to watch a video of this trip, just click on the link below. Thank you for you time and get your camera out!

Chasing the light...

Ok, this is going to be a short and sweet kind of post. I normally make YouTube videos about things that involve lots of images playing past the viewer and just lay some music over it to more or less inspire the viewer to do what I say at the end…”Get your camera out and go take a picture with it”

Never before has this been a truer statement than today. But we need to ask ourselves an important question…what do we like to shoot?

With world events being what they are and how the physical world around us is changing constantly as time goes on, I am not ready to just let it pass me by without documenting some of it as I go. Armed with this knowledge, I look for two things to photograph, things that will be gone soon or interesting light. That is what drew me to the photo above of the couple painting down by the river by iPhone light. The light was just too good to pass up.

You see, I am not what I would call an artist. I don’t think my photography is that noteworthy. Once I am gone, maybe someone will find these hard drives and then will think they are filled with the coolest photos and video the world has ever seen, just not today. That being said, I do think that I am a decent documentary photographer and that as time goes on I get better with it.

Things I normally photograph will be buildings that are gone now, that I could tell somehow that were probably headed for the wrecking ball or like the series below where I photo-documented the construction of the Kinley hotel and how there is a Coca-cola sign that is now hidden from view between the buildings because of the hotel. For me this is the sort of thing that is simply fascinating for some reason.

As an added bonus in these photos there is also another piece of history that undergoes a change as well. If you will notice that the sign on the corner for the ADAMS building appears in the last 4 photos where I thought to go across the street and get the image. This sign survives into the renovation and it restored and back in place at the end. The ADAMS building no longer exists but the sign somehow survives into the current day…

Another aspect of my photography is more artistic where I will shoot at night to capture interesting light in different areas of the city, where ever that might be. I have began to look for movie marques in the town square of small towns and get them lit up at night.

But the real thing I have started to do it just take photos. Things that happen around me like the photo here of the smoke from local wildfires because it hasn’t rained in something like 2 or 3 months at this point.

These next two photos were not taken on the same night, but were captured about 1/4 mile of each other. One is the river front and I just liked the way the light fell that night on the water as well as the light spill from the street lights across the river and the color of the sunset all just came together for a great photo. The next one is simply a photo of a couple of buildings on Market and 5th street. The signage and the lights just made for a cool photo to me so I stopped for a second and grabbed a few images of it at varying exposure levels so I could get the lit signs to expose properly as well as the rest of the stuff. It is just a cool photo to me.

If you have not figured it out yet, I want you to start taking a long hard look at what it is that you enjoy photographing. i mean REALLY boil it down to the simplest components. For me it was the two things I just mentioned, for you it might be saturated colors or people waving at you or blur in your photo. The point is, don’t just generalize your answer, the only person you hurt in this event is yourself if you are not 100% truthful.

If you like to watch videos too, here is the video I did on the same subject.

So ask yourself what it is that you like and then go out and make photos of that AND don’t let yourself fall into the trap of not being able to change this with time. I started out wanting to shoot urban decay only, but it turned out that was not the root of what I like to shoot, but it led me to it. Anyway, with that said, get your camera out and go take a picture with it!

Fall color photos FINALLY!!!

Well, it sure took long enough, but I finally found a place local to me that had some beautiful fall color photo opportunities.

This is not something I normally have when it is as dry as it has been recently. Let me explain…

I am no scientist but I have stayed in a Holiday Inn before, so here goes. From what I have seen, there are three different scenarios that usually unfold around here in the fall.

The first event is like this, we get plenty of rain in the spring, it dries out a little in the mid summer months and then it starts to rain in late September or early October. This is actually the best possible scenario from what I can tell…

The second scenario is the same as the first one except the rain turns into a thunderstorm storm with heavy rain and usually high winds during peak color season, knocking all the leaves off of the trees.

Then there is option three, this one is where there is rain in the spring but then it is dry for the entirety of summer and fall. This is the type of season we are in now. There has not been enough rain to matter in two months…maybe more. It is so little water that the creek next to my house has no surface water in it as of this writing.

Of the three events, the first one is the preferred for fall color photos as there is sufficient water for the trees to transition normally to their dormant winter state and you get this incredible color display in the fall. This year though, we have event three where everything is a huge tinderbox and the leaves are simply drying out and turning brown then falling off of the trees without passing through their color phase at all…except…in the few places where there is still ground water to water the trees.

Enter North Chickamauga Creek WMA near Soddy Daisy Tennessee. This is a small WMA (Wildlife Management Area) situated in a gorge next to Mowbray mountain and is a popular spot for the locals to cool off in the summertime in the river. Well, the river is just a brook at this point and is barely moving at all, BUT it is there! If you watch my YouTube video on it you will see what I mean. Even so, there is still enough water to feed the trees so they had a fall color change.

Since I found some colors this year, I now had to figure out what I wanted to use to capture all this color with. I finally settled on my camera being the Leica SL2 as it has a high resolution sensor and several other features that lend itself to being a wonderful landscape photography camera. You see the Leica SL2 is a mirrorless camera so it can be adapted to various vintage lenses really easily and we all know how I love using vintage lenses! So today’s lens of choice for the Leica is the Nikkor 28mm f2.8 AiS. This is one of Nikon’s crowning achievements in lens design as it was as close to optical perfection as they had ever gotten to that point. So naturally I used this lens.

The magic of the Leica SL2 as well is that it has IBIS on the sensor. This basically turns all my vintage lenses into stabilized lenses. I know there are a ton of other cameras that also have these same features but I just like the Leica SL2 for some reason.

Now that the camera setup is settled, next is finding the photo I want. I started out looking for macro level images, vistas and scenes, then I moved in closer to get more detailed image ideas. The first one is shown above of the red maple tree in a sea of yellow. Then I moved to the river bed and found some wonderful colors out in the open.

This was literally what I was greeted with when I looked upstream from where I entered the river bottom. Not much water, but I got such a color splash from the trees that I didn’t even care. I would have liked for it to not be overcast, but you take what you can get and work with it. I really love this image too, so much texture and color in one image that is is almost overwhelming. I was really starting to embrace the look that the 28mm lens was giving me and then I decided to move upstream to that large boulder you see in the above photo and get a different perspective from that spot.

The little smidgen of sky showing the over cast clouds almost makes it otherworldly or something like that. I was blown away with this image when I got it into Lightroom and was able to see it better. It almost doesn’t look real back up in the valley next to the sky. The clouds were epic! This is also shot hand held with the 28mm lens. What is nice is that it allowed me to be very agile and not have the burden of the back pack and a tripod with me at all. There is something to be said for simplicity…

So in summary, if you want to find fall colors even when it has been really dry, find the water. Where ever there is water, there will be fall colors. At least that is what I have seen, your mileage may vary.

How shooting with Zeiss Ikon Contina made me realize I am spoiled...

When I started out on my own in photography it was already the 90s so I really didn’t know how good things were at the time since I got a second hand Yashica SLR that was manual focus, but had Program mode for exposure control.

Once I got that camera it was a whole new world of photography since up to that point I had only owned the little “point and shoot” cameras that you could get for about 40$ at the time. Turns out those simple little cameras were a god send in technology compared to just a couple of decades earlier where we had cameras like the Zeiss Ikon Contina.

The SLR, being semi-automatic in nature, was like giving a driver of racecars his first stick shift car after driving automatics. It was a level of control that was hard to understand at first but soon became something that I looked forward to. This was because the rest of the exposure was being handled by the camera and I could easily confirm focus on the SLR as I was literally looking through the “taking lens” when focusing.

You see, the Zeiss Ikon Contina has none of these things. It doesn’t do anything for you automatically…at all. Here is the operational sequence to take a photo…

  1. Find the scene you want to shoot.

  2. Meter the light in the scene with the light meter.

  3. Set the aperture based on film ISO.

  4. Set the shutter speed also based on film ISO.

  5. Guess the focus distance and set it on the lens.

  6. Second guess yourself on focal distance and do it again…

  7. Fire the frame and advance the film.

  8. Repeat…at least once since you probably missed focus.

Notice how you have to guess the focus. That is because there is no way to visually confirm it other than looking at the numeric distance numbers on the lens and hoping you are good at range estimation. You literally have to rely on the range focus system and shoot stopped down if you really need the photo to be in focus, that is the only real way of getting it…well that and a tape measure…

Oh and that is a cold shoe on the top, not a coupled hot shoe so you have to use a sync cable that connects to the front of the camera to fire a flash module and I am not sure that is even a thing anymore…

The technology has advanced so much that we are to the point now where the camera has to focus PERFECTLY on the nearest eye of a moving subject…and that subject doesn’t even have to be a human either. On top of that we now expect the CAMERA to follow that subject while it and maybe even ourselves are moving and maintain that perfect focus as well! Isn’t it amazing how far the technology has evolved in less than the period of my mother’s lifetime?

So when I came into possession of the Contina, I was in Winchester England and didn’t know if it worked properly or not so I sent it home with my daughter as she was traveling home sooner. Once back home I proceeded to search out a reputable camera repair shop and sent the machine up to them for a full service. This also took a while so I finally get the camera back and take it out for its maiden voyage with me to shoot a roll and see what the lens could produce. This was also to test for light leaks to make sure it didn’t need light seals either, so in that vain, I shot the first roll then had it developed and scanned so I could check for light leaks. To be honest, I really liked the scans and that is what I used here and in the video as well.

Well, I was impressed to be quite honest about it . To lack any semblance of automation, this little camera came away with a surprisingly high number of keepers in my book. Now, I am not talking about Pulitzer prize winning “keepers” but rather properly focused and exposed photos. I did use my handheld light meter a lot that day, making adjustments to the camera as I went along to keep the exposure where I hoped it would make good photos.

I did have 400 speed Ilford HP5 in the camera so the maxed out shutter speed of 1/300 second was my only real choice when the sun was out fully. I then ran the aperture all the way down to make up for it so the images would be close to correctly exposed. I figured out once I got the camera back from service that it was designed for film from an era where there was no 400 speed film…yet.

Anyway, after spending the day with this camera I learned what it meant to be spoiled by the technology that we have today. It is akin to them getting this camera back then and the people doing wet plate talking about how good the new people have it. LOL. There really isnt anything new under the sun… Well, I still enjoy the little camera and I take it out on occasion for some “me” time where I will be by myself and just immerse myself into the activity of shooting with little camera.

Link to video on YouTube as well.

A day out with Aaron in Chattanooga

It was time.

We have not gathered to shoot photos in quite some time now so Aaron found there was a beard competition happening in Chattanooga and decided to make his way down for it.

When he arrived we spent the evening playing with stuff (his new Z8 in particular) and catching up. But then it was off to bed so we could get up and start our big day of photography.

The next morning comes around and we down some coffee and make a plan to meet up about lunchtime as I had to go to our Church’s Association as a delegate. Seems I made a mistake and assumed I didn’t need to go… lol, I see what that got me. Anyway, I really enjoy Association so it wasn’t like a chore, it meant changing plans a little from the original plans for the day.

So after I finish with business at association, I head over to the Harley Davidson dealership which is where the beard competition is being held. There I find Aaron is short order and it is really crowded. He basically tells me to get my camera out and take a picture with it so I sheepishly do as I am told.

You see I am not very aggressive with my photography especially when it involves people. I will ask at times but most of the time, this is why I don’t shoot aggressive street stuff. So now I am starting to get some photos and it is exactly as he mentioned. People happy to get their photos captured are everywhere. Like this fellow below, he was more than happy to pose for me. I will be honest, this kind of event is the perfect thing to break down your personal barriers to shooting photos of people you don’t know.

Even the girls got in on the fun!

Well the beard competition winds down about 3 or so in the afternoon and we decide to rearrange the rest of the day to shoot some street photography in downtown and also to go have supper at a great Italian restaurant later on.

The streets of Chattanooga were busier than usual with it being a holiday weekend but it still wasnt really bad where we went for our walk.

We found this mural with the light reflecting from the building across the alley and it was just something you couldn’t pass up.

We started on Main Street and then headed down Market Street to about 7th where we turned over to Broad Street and then back towards Main eventually diverting over to Cowart street before arriving at the truck.

So now you have the route, let see what we got. I kept joking about channeling my inner Eggleston as I would take photos of the mundane. Another thing I have learned is my Leica wants to shoot about 2/3 stop over exposed compared to my friends Nikon cameras. I kept -2/3 stop exposure compensation dialed in the whole time. I did this to keep the sky from being blown out as the shadows would be dark due to the bright afternoon sun. I will dig into the setup on my camera more to see if I can find out why it is doing that.

Along the way we saw a lot of cool stuff to photograph, like in the images below where it is different light so the images come out different from my usual time of day. With the light further over to the west we kept getting these awesome light spill shots like the one below of the old Rone Regency Jewelers location. This location will be sorely missed by me when they finally do something with this building. I love the gritty nature of the old signage and it wasn’t long ago that the windows were not boarded up so you could actually see inside the store. Even so, the black painted plywood makes a nice contrast to the lighter color of the upper section of the building bringing balance to the image.

We also found a few people to photograph as well. It was not quite as busy as I had figured it would be for a holiday weekend in the downtown area, but there were a few people out and about and I was able to grab a few photos of them. The Leica SL2 is a great camera for this kind of photography as it makes stunning portraits as well as makes for a wonderful, albeit heavy, street camera.

All in all we had a great time and then even got to go eat wonderful Italian cuisine later too. What more could you ask for? Well, there is one more thing I could ask for…

Lightroom Classic… I did it, I went over to the dark side and installed Lightroom back on my system again. It has the power to edit like I need finally and I kept running into problems that Exposure couldn’t easily solve for me so it was time to upgrade…or move over laterally to or what ever you call it…So going forward, I will be learning how to use Lightroom to edit my photos…wish me luck.

If you want to see more abotu this day, I made a vlog cideo about the photowalk portion of the day and it can be watched here.

Youtube link to vlog

Charit Creek Lodge Off Grid Retreat


Charit Creek Lodge Off Grid Retreat

We decided to spend the night at this wonderful little place and this time, we came when it wasn’t scorching hot like last time.

Yes, we have been here before. This is why we like it. The quiet and serenity makes this place wonderful to get away to on occasion. I did charge my phone prior to leaving the parking area (which is a .8 mile hike from the lodge) so I could take pictures and write some thoughts about this article.

The hike into the grounds is a beautiful walk down into a valley…just remember that all things that go down must also go back up…to get to the card.

This was also an exercise in minimalism as I was planning on bringing a bunch of camera gear but then decided that I wanted to see if I could get good photos with only my iPhone.

The iPhone 14 Pro Max is a wonder of modern engineering and has so many capabilities that it will do a great job as a snapshot camera for trips like this.

The normal rig for forays such as this would normally be my Leica CL and the 35mm lens and possibly the 17mm as well to give me two options for field of view. This worked well in England to be quite honest and I really didn’t need any of the hot rod gear like my full frame Leica SL2 or the host of lenses for it. The little Leica CL has a more than capable 24 megapixel sensor that produces wonderful images. The larger Leica SL2 having a 47 megapixel sensor does give you more to work with as well as allowing you to print larger but at the end of the day I had to be honest with myself. I rarely print my photos and when I do they are in a photo book which isn’t more than 12 inches on the longest side. So I have started downsizing my load outs for trips like this.

Here is the hard facts. The iPhone captures snapshots so well with its measly 12 megapixels that you can print 8x10 just fine and no one will ever be the wiser. So this little overnight trip is a chance to test that as I will be stopping by a Walgreens and making some 4x6 prints as well as maybe even some 8x10 prints as well just to test the idea.

Back to Charit Creek a little. It is in Big South Fork Forest. This is either a state or federal forest, I am not sure which, but it is a huge tract of protected land and Charit Creek is in the middle of it. Hence the “unplugged” nature of the operation.

When you get here, you quickly notice the lack of electricity. Even the kitchen that cooks the huge communal meals doesn’t have much more than some solar power. All of the cabins are rustic styled with wood burning stoves for heat and screen windows for AC.  They are more akin to bunk houses than cabins actually but they are nice nonetheless.

There is a plethora of games and outside activities to do (even though I wrote this blog using my well charged iPhone)… There are also copious fire rings and PLENTY of firewood is on hand for all the lodges needs. The firewood does cost you money but it isn’t that much and you get way more than you really need for what you pay. For details like that, contact the lodge as I don’t know when you are reading this and prices could have changed between now and your current time. Suffice it to say that prices are not extreme in any way.

There is also a bathhouse with showers should you want to bring shower gear with you. (I didn’t since I will be home tomorrow afternoon and can just bathe when I get home). The main lodge has the dining hall as well as guest rooms on one end and plenty of porch space containing a metric ton of rocking chairs.

The provided meals are supper and breakfast with lunch being left to you to figure out (with a few exceptions). The meals are huge though so you can probably make it from one to the next easily enough. There is a copious amount of hiking around the lodge with one trail going to a waterfall.

Happened to catch Venus the next morning while stoking the campfire.

Another thing the lodge specializes in is accommodating horseback riders. Complete with hitching posts and a horse barn with stables near the lodge. There are numerous horse back riding trails in the surrounding area as well and there is even a sectioned off parking lot just for equestrian rigs where you leave your vehicle while at Charit Creek Lodge.

I do not know the history of the lodge but the whole property makes me think that this was a homestead at some point in the 19th century what with the construction techniques used to build the buildings. I could be wrong and they could be newer but these logs look period correct for the late 1800s.

The buildings make for really interesting photography subject matter so once we got here and stowed our gear, I made my way around and grabbed some photos of everything. The whole time I was doing this, I was attempting to capture the “feel” of the whole place. I have come to do this more and more as time goes on. There is already a metric ton of photos of Charit Creek Lodge floating around on the web, so I need to do something different if I want something unique and interesting that stands out from the ordinary.

Side note: I found out that I really should have brought my camera as I was informed that the milky way has been visible the last few nights…. Lol. You never know what to expect.  I don’t regret not bringing my cameras though as it defeats the purpose of traveling light weight. Sometimes you just need to enjoy the event instead of worrying about documenting it for others.

I saw the following tonight:

  • The Milky Way

  • The starlink satellite train

  • Many other satellites

  • The glow worms in the grass

  • We heard the great horned owls calling each other

  • The barn cat (trust me on this one)

I also learned that the iPhone has a low light mode where it will do a long exposure and get great photos in super low light. I was blown away by what it could do when photographing the campfire. Just take a look!

These are 1/5 second exposures! Yeah, that is cool. They are also ISO 10,000 but it does some sort of noise reduction and it looks good.

Sometimes you don’t have to plan out this huge package of gear for a trip to be successful for photography, you just need to be creative with your smartphone and go have a good time. We as photographers want to over complicate what we need to get good photos. Most people don’t even care what camera was used to get the picture or honestly will assume you used your smartphone anyway.

Isn’t it interesting how we will do that? HaHaHa… Anyway, back to Charit Creek Lodge for a little longer. When you leave you have to return back to your car out on the same trail you came in on, the difference this time is that it is uphill almost the entire way so if your fitness level isn’t high I would suggest taking your time so you don’t over exert yourself.

Once back at the truck you can “reconnect” to the internet via cellular data and get back to the world. That is how I am able to share this story with you. Ironic isnt it? I use the internet to communicate how NOT being on the internet is a good thing. Anyway, I hope you enjoyed the photos and the story and if you want to look into Charit Creek Lodge, follow the links provided. Thank you for following along and I hope to see you in the next one.

The Sigma 90mm f2.8 DG DN Telephoto Lens Review

This is the second of two Sigma lens reviews I have done recently and this lens is no slouch either. The 90mm f2.8 DG DN Sigma lens is a very well made little prime lens and this particular copy is for the L mount for Leica and Panasonic cameras. I am sure Sigma makes this lens for other lens mounts as well, but I dont have that list with me so I cant speculate past that.

In the photo below you can see how small the lens actually is. The lens hood takes up almost as much space as the lens itself. That is crazy! With the all metal construction and well made optical formula, this lens is also punching up as they say.

Some notable differences between the Sigma lens and my Leica counterparts are that the Sigma lens actually has an aperture ring on it that also has 1/3 stop detents. This is really nice as it allows manual aperture control to be basically mapped to a control surface that photogs are accustomed to using. If you want the usual camera control for the aperture, then simply turn the aperture ring to the “A” position and your ready to go. Ít couldn’t be simpler.

The next thing they did on the lens that I am not so sure I like yet is to put a switch to choose between manual and automatic focus. The Leica lenses use a software control to do this and it is pretty simple to implement and once you get used to doing it that way it really is a good system. There are less openings in the lens to let water in and the control is right they with the various auto focus modes all in one spot. The Sigma system has you choose manual or auto on thr lens and then if you choose auto, you have to further goto the software and choose the automatic mode you want. It makes choosing autofocus a two step affair. This is probably just a user issue where I lack practice with the lens, but this seems a little clumsy compared to the Leica process. It is possible that Leica didn’t share all the tech needed to make this happen, I don’t know, but like I said I am on the fence on this one.

Lastly is image quality. The Sigma has it. It produces sharp, distortion free images with good color and exposure. What more can I say here? It really is amazing what you get for the price. These lenses can run with the big boys, in my opinion, just fine. If you pixel peep deep enough you might find fault in them, but only photographers do that. The normal person never digs into the corners or zooms into 500% on a photo so I am not going to rate this lens like that either. The photos look wonderful…just look at the ones below.

So in conclusion, if you want great glass at a fraction of the cost of Leica, these lenses are just the ticket. Sigma has done a complete 180 from the last time I used one over a decade ago and that makes me happy. Now get your camera out and go take a picture with it.

Reviewing the 58mm f2 Carl Zeiss Jena Biotar M42 mount lens

When Aaron offered to loan me his 58mm, I had no idea that it was a Zeiss and over 60 years old.

Well, it didn’t take long to figure that out and to round up a simple M42 to Leica L mount adapter so I could get this lens on my Leica SL2.

The next thing I did was look the lens over really closely. The usual controls are there of aperture and focus but it has a third ring as well. This ring is spring loaded and is some sort of adjustable stop for the minimum aperture. This is how it works, you pull the ring towards the camera, compressing the spring. While the spring is compressed, you rotate the ring and align a mark on it with the aperture you want it to stop at. Once here, release the spring and it will seat in this position stopping the aperture ring from stopping down past this point. This was for cameras back in the day as you had to meter the scene manually then set the aperture for the meter value. To compose though, you needed all the light you could get so you set the ring for the aperture you plan to shoot the photo at then you would open the aperture all the way to see good and get good focus. Once this was done, you could simply spin the aperture ring to the stop and it was set to the metered value and you didnt even have to come off the camera to do it. Pretty slick if you ask me.

Another item of note is that the aperture ring is ”clickless” or in other words, it simply turns smoothly through the range without any detents to locate it at specific settings.

The next thing I noticed is that the machine work is impeccable…which I have grown to expect no less from the German people. The focus ring is smooth as silk even with its advanced years. Quite the opposite of some of my other lenses to be quite honest.

Something else I noticed is that the lens has incredible close focus with about 330 degrees of focus throw. Of that 330 degrees it devotes probably 250 degrees to close focus. Crazy precise focus for a lens this old. The first 1/4 turn though is the normal use range so it will go from infinity to 2.5 meters in that 1/4 turn and then the rest of the throw is for close range work. Pretty neat how the normal range stuff is in such a short throw so you can get focus fast with it. Just a little practice and you a can get street photos of moving subjects and fairly large apertures in focus. You just learn how to use it with some time.

It is not a bad lens in any way either, just look at the photo of Teresa I got at the local state park one day with it. Razor sharp and great rendition too. This is what makes vintage lenses so cool, they still got it…

It also works great for a general purpose walk around lens too. I liked using it for my photowalks where I would jus grab a photo here and there of things that caught my eye and it would render these scenes really well.

So if you are into the vintage glass “look” then I might suggest grabbing one of these old girls if you can find one and adapting it to your mirrorless camera to see what you can get with it. I think you will be pleasantly surprised.

The Sigma 65mm f2.0 L mount lens review

So a good friend loaned me his lens. One of my subscribers that I have grown to know over the years offered to send me a couple of his Sigma lenses and let me use them for a while as review samples for you guys.

I really appreciate your offer Hassan and look forward to the day when we finally get to link up and go out on a photowalk together!

Hassan packed up two of his beautiful Sigma primes and sent them up for a look. He sent his 65mm f2 DG DN and his 90mm f2.8 DG DN. Both of these are in Leica’s L mount as Hassan has a Panasonic Lumix camera that is also in L mount due to the L mount alliance between Leica, Sigma and Panasonic.

The first impression of this lens is the darn thing is tiny. This lens is really small, this is awesome as it means it makes the system really compact. The next thing I noticed right away is how nice the build is, all metal construction for the major parts, including the lens hood from what I can tell. Really nice fitment of the lens components so there really is no play in the mating parts. Parts designed to move, like the aperture ring, move only in the direction they are designed to move in. The machine work and fitment is nicely executed from what I can tell.

The next thing I noticed is how fast the focus works, just understand this…it is fast. How fast? Well, it is fast enough to get the shot for me. it is not as fast as my native Leica glass, but it is plenty fast enough for my personal use. I don’t have a way to measure the focus speed, but it works great and I have no complaints about it.

It was even great at shooting panning blur photos of the passing bicycle riders in Coolidge Park.

So I took it out for a photo walk or two while I had it and to be honest, I think it is 98% of my Leica glass in every conceivable way. It is so close that you would not be able to tell if I showed you two photos and had you tell me which one came from which lens and why you think your answer is right. It is just that good. The images are laser sharp. The rendering is wonderful too. It is just a great lens all around.

Another thing I want to mention here is that the interaction with the lens is different than my Leica glass. Sigma approaches the aperture and the manual focus modes differently that Leica. I will be honest here, I kinda like the Sigma approach to aperture better too. The Leica lens is all software controlled, there are no external controls on Leica L mount glass except for the focus ring, so you use the camera’s controls to adjust everything. On the Sigma, the aperture control is on the lens, which is nice in my opinion. It has aperture choices in 1/3 stop clicks from f2 to f22 and then you can roll the aperture ring around to “A” for auto mode and the camera now has full control of the aperture just like the SL primes.

The other thing that Sigma does is something I am on the fence about. The manual focus is a switch selection on the lens itself. I dont know why they chose this way to control this function and to be honest, it is not my favorite way of doing this function. It might be that Leica’s firmware prevents Sigma from exploiting manual focus without it. I really don’t know why, but the focus ring is an encoder design which means it is not mechanically connected to the focus helicoid in the lens. One would think this would be how it would be designed if there was a mechanical switch separating the two modes. All that to say my thoughts of this lens are that it is a great lens, especially for the money and you can get them about anywhere. Well done Sigma, well done.

Thank you for reading my thoughts on the Sigma 65mm f2 DG DN lens that Hassan loaned me for my Leica SL2. It has been an adventure for me.

Sometimes, when I go for a photowalk, I don’t want to be a loner…

When I go out to shoot photos I normally go alone as it fits my time table perfectly and I dont have to do any coordination with anyone else. I just grab my kit and go. Well, today is different.

So on this day I linked up with Tim Childers at Mean Mug coffee on Main street in Chattanooga TN and started out with a cup of coffee and some chatting about our youtube channels. Then it was off to find interesting photos and explore some of the old industrial part of the city.

We begin by making our way down to the old foundry turned farmers market. On the way I noticed some interesting stuff at a local processing plant before getting to the farmers market. After grabbing a couple of shots there we headed over to the market space and make some photos of the skate park.

The skate park was basically abandoned so once we worked the scene over as best we could we decided to head over towards the river. From the skate park we make our way to the riverfront industrial area where we grab some photos occasionally while walking down to the aquarium. This is a unique are as it is being converted to modern condominiums and there is a huge development project slated later to construct a park and such as well.

Once we got downtown, we decided to get out of the heat for a little while and grab some lunch at Taco Mac before making our way back to our cars on Main Street. The longer we walked, the hotter it got on this day and by the time we got to Taco Mac I was soaked. We stayed there till I dried out and then went back out in it for more. Haha. Market street has a fair bit of shade fortunately so we was able to avoid most of the sun while heading back to the car.

Some notable stops along the way for me were the intersection of Main and MLK, the HWY 27 bridge, the skate park and the processing plant for me. I hope you enjoyed this little AAR about our photowalk and if you haven’t done it yet, go check out both of our videos from this day at the links below.

Links to both videos are here:

David Saylors Photowalk VLOG

Tim Childers Photowalk VLOG

Also, wanted to thank you for following my blog as well as my videos, It means the world to me.

So I went on the Canterbury pilgrimage a few months back…

Yeah, you heard that right? I went on the Canterbury pilgrimage. This is an interesting thing for me because I’ve never really done a long-distance hike like this before.

I wasn’t even sure I was capable of completing it to be quote honest about it. Well, we jumped in with both fett so to speak and went headlong into this trip ill prepared. The first thing we decided to do was limit our equipment to what we could carry in our respective backpacks. This eliminated a literal mountain of gear that we had deemed needed but optional. It also made the journey much nicer. We finally decided on a couple of changes of clothes, I took a small amount of camera gear in a dry bag (since it rains in the UK alot) and a water bottle. We would pick up snacks along the way and add that to our loadout as we needed it.

This also generated another benifiit with our travel, the airport processing got ALOT simpler this way. We literally didnt check anything so we just went through the TSA check point and carried our packs right to the gate and they were not really encumbering as we had literal backpacks so our hands were free to do things like buy coffee or get out credit cards… it made traveling so much less stressful to be quite honest that I might be adjusting my future travel to operate in this mode. You never lose your luggage as you walk onto the plane with it and it fits into the over head space without issue…every time. This was glorious for me as I worry about the luggage making it to the same place as me or even worse, not arriving at all…

Well, once on the ground in England we checked into our hotel and went for some food, what we found is that the food in the UK is … different… from what we are accustomed to here in the US. We had to adjust to this as it seemed that they have a very specific diet and do not vary from it for any reason. We joked about how for a country that conquered most of planet earth at one point for spices, they dont use them!

Well, we spent the next couple of days being tourists in London for the sake of brevity then we embarked on the mission to Winchester to start the pilgrimage. Once in Winchester, we found the cathedral where we attended the service the next morning and also got our blessing from the preist at the same time.

So first things first, hiking this trail is actually really fun. It could be monotonous for someone who isn’t comfortable with their own thoughts for hours at a time, but it was fine to me. I didn’t even listen to music on this trip, I was just …there…

We ate at so many restaurants and pubs that I am not even going to get into that. Suffice it to say that we enjoyed them all. Since we didn’t take gear that allowed us to cook we really didn’t have a choice. Which is kinda cool since I love to go out to eat. Lol.

As for hiking gear, here is my load-out for this trip, I had a full change of clothes plus extra socks, I also took my phone charging gear, a Katadyn water filter as I was not sure if I would have ready access to clean water. Sometimes you don’t have that access to be honest and I wished I had taken another water bottle. I took a single Nalgene quart water bottle, a ziplock bag of snacks from the grocery store, a rain coat and my dry bag with my camera gear in it.

I picked up a set of trekking poles in Winchester that I almost wore out by the end. My backpack is a Mystery Ranch Pitch 40 which is actually geared toward rock climbing but worked just fine for this trip. I am going to take a moment here to point out that a really well engineered backpack makes all the difference in the world. I was carrying about 25 to 30 pounds from day to day and my back was NEVER sore or painful from the pack. Not once. I can absolutely with certainty recommend Mystery Ranch backpacks after this trip. They work. I never really understood how to properly use a backpack, but after using this one, I figured it out and got it dialed in. It is not really designed for this kind of trek, but rather it is engineered for route climbing and carrying rope and chalk and harnesses and such instead. I just used it anyway…

Below are links to the YouTube videos where I documented some of the trip. We cover lots of ground in those videos so be prepared to keep up and not wander off during the video as you might not understand what is happening when you come back. Pause it instead and then hit play when you come back from the kitchen…

Well, we strike out and head for the next town and I must say at this point that the English countryside is absolutely gorgeous! We couldn’t get over how everywhere we looked that it looked like a postcard! We walked by beautiful fields, streams and all these little communities with some of the nicest people we have ever met!

One of the many churches we explored on our pilgrimage to Canterbury.

Over the course of the next two weeks we would explore numerous old churches as well as eat is many of the most quaint pubs you have ever seen! The bulk of the trek though is through the country with some parts being out in farmland for hours at a time on trail. You really need to make sure you take enough water when you leave too as there are times when water just isn’t available. I ran out on one long day and had debilitating leg cramps later that night because of dehydration. It is a thing ya’ll, don’t scoff at this part, drink electrolytes and water, it matters.

PSA out of the way, let’s talk about the camera gear I decided to take with me on this trip. For this trip I decided to travel light so I took my Leica CL and two prime lenses. The 17mm f1.4 and the 35mm f0.95 prime lens. Turned out I wished I had taken the 35mm f1.4 as it is smaller and lighter than the 0.95 aperture lens and would have saved me some weight. I don’t know if I even once opened up to f0.95 on this trip, even at night. I just didn’t need it so it was wasteful to bring it.

When you would cross from one field to another or maybe pass from the forest to the fields, you would come to one of these gates in a variety of forms, all of them would work in a pretty similar fashion, but none the less, it would be there. This is a simple cattle gate but in the United Kingdom, it is called a kissing gate for some reason.

This is a modern steel kissing gate and they are all over these trail systems in England.

This hike was a two fold event, first it was a way to explore England in a more intimate way than seeing the usual tourist sites and then hopping on a plane for the states. This way we get to talk to the locals and see parts of the country that other visitors will never see, eat food that they will never taste, and just enjoy the country like a traveler should. The second part or probably what should be considered the first part is the pilgrimage part of the trip. A pilgrimage is a trek to a significant location for the purpose of reflection and to be able to spend time with the Lord. I had ample time for this too, you get to be with your own thoughts a lot if you keep your cell phone put away and this gave me a lot of time to reflect. I am glad I did this as it allowed me to just disconnect from life for a while and to be able to just enjoy where I was at the time without having to think about what I was going to do the next day or what ever.

This was so important to me that I didnt even post much about the trip while on it. I used the map function most of the time (there is a website where you can get the route and it overlays on google maps). This was wonderful for someone who has grown VERY accustomed to using their phone alot.

Here is a perfect example of what I am talking about. This bridge is pre-war era construction. The reason I know this is because the whole thing is riveted together. Any other modern form of metal joining would be significantly cheaper than rivets. Arc welding wasn’t really common place till after world war 2 so rivets were used everywhere till then. If I had been a typical traveler heading to the next destination, I most likely would not have noticed this.

In closing, I am going to wrap this with the following quote that I made up just for this blog, but it does seem fitting to me. “If you dont stop to look at the flowers along the way, you wasted part of your trip”

I am really one of those people that likes the journey as much as the destination and this was the perfect blend for me. Daily goal oriented activity with lots to do and see along the way…

Until next time, get your camera out and go take a picture with it.

Modern cameras make photography so easy.

I bought a vintage Zeiss Ikon and it is pure mechanical in design. It has a light meter built into it, but it is a selenium light meter and it is not connected to the camera’s exposure system at all. This is great in that it doesn’t need batteries at all to work but it also doesn’t do ANYTHING automatically at all either.

I bought this camera while on my trip in the UK and when I got back home I sent it to Zack’s Camera for a CLA as the shutter was dragging pretty bad. Once back from Zack’s, (who did a phenomenal job BTW) I loaded it up with some HP5 and grabbed my old Sekonic light meter and hit the streets of Chattanooga to play with my “new” toy.

It didn’t take long to realize that we as photographers in the 21st century are so spoiled with our cameras that have auto…everything. I am currently 54 years old and even when I was younger we already had cameras with automatic focus and exposure and even auto film advance. This machine is the grandfather to those cameras.

The day I went out to shoot had partly cloudy skies so as I would walk the streets I would take light meter readings and adjust the camera accordingly for the light on hand. This almost turned into a chore as the clouds would move in front of the sun and lower the light by 2 stops then the cloud would move out of the way and the meter would jump back up those two stops. Also, I learned dark shade is 3 stops lower than direct sun, so keep that in the back of your mind while looking for street scenes too.

So now I see why some people like having those tiny little hot shoe mounted light meters. The handheld one was nice but it sure was inconvenient to carry around. Having a free hand to adjust and hold the camera would have been nice at times. Plus the light meter is just in the way all the time. I don’t have a lanyard on it so I either had it in my pocket or my hand, neither of which are really desirable.

Once I started to get the exposure settings figured out, I start thinking, I am ready to hit the trail and get some sweet street photos. Nothing could be further from the truth. I now have to learn how to focus the camera. Yes, you heard that right, I… a photographer, had to learn how to focus a camera. That was strange to me as I have been accustomed to simply looking through the viewfinder and focusing and then pressing the shutter. Not so on the Contina! You have to engage in the fine art of range estimation with this camera. Yeah, you literally either get out a tape measure and put your camera on a tripod OR just guess as best you can. Seriously, those are the choices here. The viewfinder is literally used only for composing the image. The taking lens is a completely separate system.

You quickly learn about f stops and how to change depth of field so you have a hope of getting something in focus. Notice on the lens the distance scale and the depth of field scales? You better, because you are going to be using those alot if you plan to shoot with the aperture opened up at all.

On my first roll of film I used Ilford HP5 400 speed and quickly realized this was actually a mistake. This camera is so old that the highest ISO on the built in meter is 320 and the fastest shutter speed is 1/300 second. Yeah, in a world where I personally have cameras right now that will shoot at 1/32000 second, I just bought a camera that maxes out at 1/300… Luckily, the aperture goes down to f22 so in full sun it is correctly exposing (I think) at 1/300 second. This did help with the other problem though…focus. Since at f22 everything from 1 meter to infinity is in focus I just had to make sure that I had not bumped the focus ring and moved it.

Once I used it for about an hour I would start to choose estimated focus distances to try to land better focus. We will see once I get the film developed and scanned…

Another thing you will notice in this photo is that all three major functions of the camera are on the lens, the focus is the first and smallest ring, then the shutter speed is the middle ring and the rear most and largest ring is the aperture ring. All the controls on the top are used to control film exposure and movement. The shutter release button, the film advance, frame counter, and rewind knob are in this area. There is a cold shoe and a light meter in the center area on top. That’s it. I love the simplicity, but wow, photos made in that period were worked for.

Going forward I will now have a brand new appreciation for my modern cameras with all their conveniences. I have learned that our forefathers had it much harder and that we should be more appreciative of the photos from that period. I will continue to use this warhorse of a machine but plan to get some lower ISO film first and we will see what we get over time.

So until next time, get your camera out!

Nikon Zf Full Frame Concept Camera Rumor Discussion

Well here we are. Talking about fictitious cameras again… lol.

Of course this is my satire photo I cobbled together for a concept, I kind of like the aesthetic though.

When I heard this rumor I thought about it and dismissed it almost immediately, but then I started thinking about it more and more and came to realize that I would really like a camera like the rumored Nikon Zf mirrorless retro camera. Let’s take a walk down “Wishful Lane” and cobble together the main features I would like to see in such a camera.

David Saylors Nikon Zf Full Frame Rumor Street Photography Camera Livestream

Link to video on youtube

First off we need to establish something, Nikon is no newcomer to the retro camera space, if anything they are a leader in this space in my opinion. You see, they have already tried this several years ago. The Nikon Df was a full frame DSLR retro styled camera that first came out in late 2013. Here is the problem with the Df, it was ahead of its time. The Df came out at the height of the DSLR period in camera history and nobody wanted to go back in time to the cameras that looked like that… yet. To say it simpler, nobody wanted it…

Reference photo scraped from the internet courtesy of B&H Photo.

The Nikon Df was a really cool camera too, sporting a full frame sensor in a stylish retro body. It was simply just too soon. Fast forward to mid 2017 and Fujifilm launches arguably their most important camera to date…the XT3. Sure the XT1 and XT2 had done fairly well, but this camera propelled them into the Street, Reportage, Lifestyle camera space like a rocket. Everybody had an XT3 at one point, shoot I even used one for several years. It is a great camera.

Another image scraped from the internet for reference.

Fuji had been chumming the waters for several years at this point in the street photography niche and a strong marketing campaign combined with a period in time when youtubers were the main game in town for getting the word out and the XT3 took over this game…for a time. The point had been finally made that the photography world was in fact ready for a retro styled camera.

Next in this story came the Zf-c from Nikon, this little power house of a camera was basically a test run, in my opinion, to see if Nikon had enough market segment clout to pull users from Fujifilm, Olympus and Leica over to their court. They even released it with a retro styled 28mm lens to go with it. Pure genious in my opinion as the 28mm f2.8 Ai-s was one of their best lenses ever made. This has to be the most blatant shot across the bow of Fujifilm in the company’s history… Just look at the two cameras in the comparison below.

Sceen capture from Cameradecision.com, a website that will allow you to compare many cameras.

I grabbed this image above from CameraDecision.com as it has the measurements to show how close they actually are in physical size and appearance. Just look at it and then try to tell me with a straight face this wasn’t a test shot at improving Nikon's street photography market share…lol

You know what though, it worked. Zfc sales soared and the cameras flew off the shelves. People loved the tiny little camera but it wasn’t without its shortcomings. These shortcomings will be what is fixed in the Zf if I am right… You see Leica has already figured it out. The dropped the CL from their lineup entirly due to the fact that people that want crop sensor street cameras simply buy the Fujifilm machines. Fujifilm owns this market outright now. It is common knowledge that if you shoot crop sensor street photos it is probably on a Fuji… So Leica simply leaned into their full frame machines and focused on them more, this proved to be the right move for them too. Nikon is also starting to see this in my opinion and the Zf will be the camera that they use to show it.

The things I am lookng for in the Zf that will make me choose it will be:

  1. 24Mp full frame, stacked, BSI sensor - Low light is what I am wanting here.

  2. IBIS - slow shutter speeds are so much easier with good stabilization.

  3. The same battery as the other full frame machines.

  4. Dual card slots - not a deal breaker but overflow is nice.

  5. High quality EVF - A hi-res EVF is important to me.

  6. Released with a set of fast primes like 28mm, 35mm, & 50mm.

  7. A tilting screen is a must. A side swinging (flip out) design is not important though.

  8. Shutterless design like the Z8 & Z9

  9. Weather resistant in the rain.

You will notice that video is not on this list. That is because I don’t think this camera will be used by video enthusiasts and good video specs will not really matter. Sure, give it 4K 30p or some such if you want. That way you can capture the occasional B roll clip of shoot off of a tripod or what have you, but 90 percent of the people that will choose this camera will be choosing it for the stills experience.

I think that if they lean into the stills side of the game on this machine and integrate the external controls from something like an F3, that they will have a solid winner on their hands. I know I would love to have one. I bought the XT3 back in the day because Nikon didn’t have what I wanted. The Zfc was a near miss for me, I almost bought one when my buddy Phil Thach did, but I was able to keep my resolve to hold out for the full frame version…lol.

You see, I already have a crop sensor street camera with my Leica CL, so I just didn’t see the point in another crop sensor machine that didn’t have IBIS. If I buy another APS-c camera it will have IBIS. The tech is there, just look at the Fujiifilm XH2 for instance. The IBIS makes a big difference for me in that I like to shoot with fairly slow shutter speeds to capture motion blur and in low light or even at night. This is why I want the 24MP sensor, the larger photo-sites will make noise control a lot easier for the processor. Also killing shadow noise at the same time. Another point that needs expanding is that I like the EVF in my Leica cameras as I use glasses and with the EVF I can see the camera display7 information as well as the scene exposure and I can focus it to be able to not need to use my glasses. This matters in that if I looked through my glasses, I have to press the lens against the rubber eye cup and this usually has skin oils on it which in turn makes my glasses useless… Hence the reason for being able to focus the viewfinder to my un-aided eye. I simply look directly into the EVF and I can see everything, including image review if needed. I have grown to NEED a good EVF at this point instead of wanting it.

What do you think would make the perfect retro styled camera? Let me know in the comments below!

Sometimes you come away with nothing…

In the era of social media hyped street photos, we have grown accustomed to seeing something everyday from our favorite accounts. I don’t post very regular anymore so I don’t have that problem with my account but some do. I see people posting literally every day on some accounts and I wonder just how they can collect so many good photos. I went out today and came away with nothing at all.

You see, these days I normally take a camera everywhere I go. Today was different though, I didn’t know the itinerary at all so rather than bring camera gear that bakes in the sun while stored in the car, I opted to leave my cameras at home. This left me with nothing but my smart phone to take photos with tempted to take straight photos with it on Broadway in Nashville, but came away with nothing but junk. They are so bad that I am not even sharing them in this blog post and have already deleted them from my phone, you have to understand that sometimes you just come away with nothing

I am not sure what the premise is that has led people to believe that they need to come away with banger photos every single outing or they are a failure. Somewhere along the way people got mixed up in understanding that. People have to be willing to except that they don’t always get a cool photo. For me, that was today.

You have to be willing to not come away a photo if you shoot street. If your not, then you will start to feel like a failure and that is counterproductive to say the least. I mean, if you are not coming away happy then why are you doing it at all? Simple rational I know, but it works for me. So get out there and take some photos.