WK4DS Amateur Radio Blog
Search Posts
A shorted diode…and the sBitx
I blew a diode while pushing the boundaries of my IRF520 output transistors messing around with FT8…

Troubleshooting was actually pretty simple this time as I chose to use technology to my advantage and simply scanned the parts during transmit with the infrared heat gun and found a diode was 25 degrees hotter than everything else around it. This has to be cheating…
Let’s rewind time just a little so you can understand what I have been doing here… You see, this radio came with some fairly fragile finals from the factory. So fragile in fact, that they sent a spare set with the radio. The IRFZ24N transistors were wonderful, but under full load on FT8 and into less than perfect SWR would prove fatal for them. I ended up killing 3 of them before changing my radio over to the V3 spec. The V3 specification changes the finals and also changes a few other components in the amplifier chain to use them properly. HF Signals sent out a bulletin showing what all needed to be done and it was actually pretty straight forward. I decided to use some IRF520 transistors instead of the IRF510 transistors speced for the update as they had better current specs than the IRF510. They are rated for the same power dissipation essentially, but can handle almost twice the current without damage. This combined with the fact that I had them on hand, led to the construction of a bomb proof set of finals in my sBitx radio!
Once I had them installed, I set the bias and was off to the races. They literally handle anything I throw at them and I have run them hard to make sure they would not fail in the field at an activation. This is good and bad you see, these transistors work so well that I now can get over 65 watts (with the drive set to 100%) on 80 meters with them…and this is a problem.
The sBitx is not engineered for transmitter output powers this high, the original design was for 40 watts maximum forward power. and the components in the amplifier chain are sized accordingly. I learned this when I powered up the machine after messing around on 80 meters and accidentally transmitted into a 10:1 SWR with it last night (probably infinite SWR since it was into the coax with no antenna on it... It blew the 10 amp fuse almost immediately, which I figured would protect the radio…and it did, sort of... I was able to put a new fuse in it and get right back on 80 meters without any trouble at all. I didn’t leave that band though so I had no idea what had actually happened.

Fast forward back to today, I turn on the rig and dial up 15 meters to see what was happening on FT8 there, tune up the antenna with the Comet Antenna Analyzer and the manual antenna tuner and I am off to the races! Or so I thought. Seems when it would go into transmit, there was zero watts going out to the antenna, but the Astron RS-35M power supply was showing proper current draw for 15 meters FT8 transmit! How is it pulling the right amount of amps (6 amps is 20 watts on 15 meters) and not putting anything into the coax? That math ain’t mathing… I remember that whole current law about current going in has to match current coming out, so I start looking around.
I tested 10 meters and it was the same, so was 20 meters, but when I got to 40 meters, suddenly I had power to the antenna again. I also had it on 80 meters as well, full output power was there till I left the two lower bands. Something is either wrong with the 80/40 section OR all of the others. So I take it down to the shop where my test bench is located and rig it to a dummy load to see what I could find with the heat gun.
The photo below shows the diode that is shorted where I pulled one leg, so I could test my theory prior to dismantling the radio to replace it properly. This is a 1N4007 and it is being used to switch the radio’s transmitter band pass filters into and out of circuit. It has four filters to cover 8 ham bands (80 & 40, 30 & 20, 17 & 15, then 12 & 10 is the last one). The diode that failed was on the 40 & 80 meter filter. This essentially turned it on all the time. and also turning off the others by putting the switching voltage on both sides of the other filters output diodes. This makes them all have zero volts dropped across them essentially turning them all off. So only the 40 & 80 meter filter could be turned on at this point. You can see what I am talking about by looking at the schematic below where I am pointing out the diode that failed on the print.


The foreground, in the below photo, is the board showing the new diode in place after removing all the stuff in the background to get to it. You have to literally take the whole thing apart to get to this part of the radio. Fortunately for me, I have done it so much I have memorized the process and can do it in maybe ten minutes. You can also see the two IRF520 finals next to my thumb, you can also see all the heatsinks I installed to help mitigate the heat buildup in the radio.


Did a static test on the bench, just to make sure, and it worked perfectly with the dummy load attached. Luckily I did it right and dont have to take that whole thing back apart! HaHa. In the background is another little project I may write about. Seems the sBitx has this systemic problem with low audio on SSB and I tried the new microphone element others in the email reflector suggested to no avail. So the next solve is a more “active” solution with the use of a small single transistor amplifier is a sort of (pre-amp) configuration so that I can increase the audio signal going into the radio and make it actually work like it should. The radio already has one of these circuits in it, I don’t think it can handle any more gain with out distorting so I want to pre-amp into it with a variable gain setup so I can go into it with 2x, 3x or even 5x the input signal so I can get decent audio out of my radio. More on this later…

Man, I had no idea how messy my bench was till I looked at this photo… I will have to clean that up! Sorry about that everyone…


So today had the real test. I took it to US-2169 and setup in my usual spot and decided that today I would stay on 40 meters till I secured the activation then I would move to 15 meters to see what I could find. Seem I found a lot. 40 meters and hamsticks will usually produce contacts that are closer to home for me, maybe as far away as Texas or Michigan is a long haul on 40 meters but 15 meters is a different story all together. With me getting contacts in Russia and Japan on this trip! If you will notice the power levels are lower, this is because the truck, when shut down, has battery voltages around 12.5 VDC and not 13.8 as these are older batteries, well this produces less output wattage since the voltage is lower. Still had plenty to make a ton of contacts with while I was at the park! Of note here, only the FT8 contacts are with the sBitx, all the CW contacts are with the Ten Tec Scout 555 portable radio. I did scan through the 15 meter side band section of the band and heard zero QSOs so that is why I went to CW. There was a station with a mild pileup on CW and so I moved up 5kc or so from them and set up shop there for a while. I was able to get all three west west coast states a Russian, a Canadian, and Massachusetts! Enough about the Ten Tec Scout though, this is about the sBitx…
The sBitx is up and running again and it is all good now. The radio runs flawlessly (other than the SSB audio) and I am happy as a lark now. More to come as they software gets dialed in for better CW operation!
Broken antennas and a quick activation at K-2169 is what ham radio is all about!
I started today’s activation at the Sitton’s Gulch parking area. This is a quick access location for me as it is only about 15 minutes from my house to this spot.

First thing I had to do before the activation though was make a new center conductor for my hamstick mount. Since I made the truck mount out of thicker flat bar stainless steel in the machine shop, it didn’t occur to me that the antenna adapter is going to be too short. Well, it was and I ended up stripping out the last 2 threads on the stud because that was all that was holding it together. Problem here was that I couldn’t reuse it like it was, enter the machine shop at this point.

Below shows the arbor press pushing out the center conductor from the mount itself. This turned out to be a fairly straight forward affair as well, which was nice.


Once out of the arbor press, I was able to examine it more closely. It is a simple part so I decided to make a new one out of bar stock. I dug around in a couple of bins and came up with some brass bar stock and set it up in the lathe and proceeded to cut out a new center stud that was the right size for my needs…

Here we have the new part coming out of the bar and all the unneeded parts (chips) flying off at high speed! Lol. I love machining brass, it is such a joy to work with compared to stainless steel or titanium… Since the stud is press fitted into the body I really had to watch a couple of the dimensions to make sure they would fit properly, but several were pretty loose and were really not critical so I was able to get this part cut out in about an hour total, which for me isn’t too bad.


The solution was to make a new stud that is .200” longer thus allowing for the thickness of my mount. I simply replicated the same measurements, other than the length of the threads, and pressed it back into the housing and now I have an antenna mount with the correct amount of threads for my particular application. I also did one other thing too, I hand fitted the threads to the coupler that screws onto it, this gives me the best possible thread fit between these two part as well as the strongest fit as well. Since I know this is the only place these two devices will ever be together I don’t think it will turn out to be a problem later should there be some need to use it with another setup.
With it repaired and installed on the riser frame, I can now get back on the air and stay warm in the truck too!

Something of note in the below photo is that I use the nanoVNA to check my antenna every time I setup now (or as often as possible as long as I have it with me and it is charged up). I have found some odd stuff a couple of times too because of it. This is how I found the broken coax center conductor a while back as well as some band Sta-kon connectors on my radials a couple of times.
I will even use it between band changes just to see what the SWR is going to be like in a certain band location now. It is a really handy little tool. I highly recommend you picking one of these up and learning a little about it at some point, they are fairly inexpensive compared to the antenna analyzers and will give you the same information plus some. It just takes a little time with YouTube and some patience…

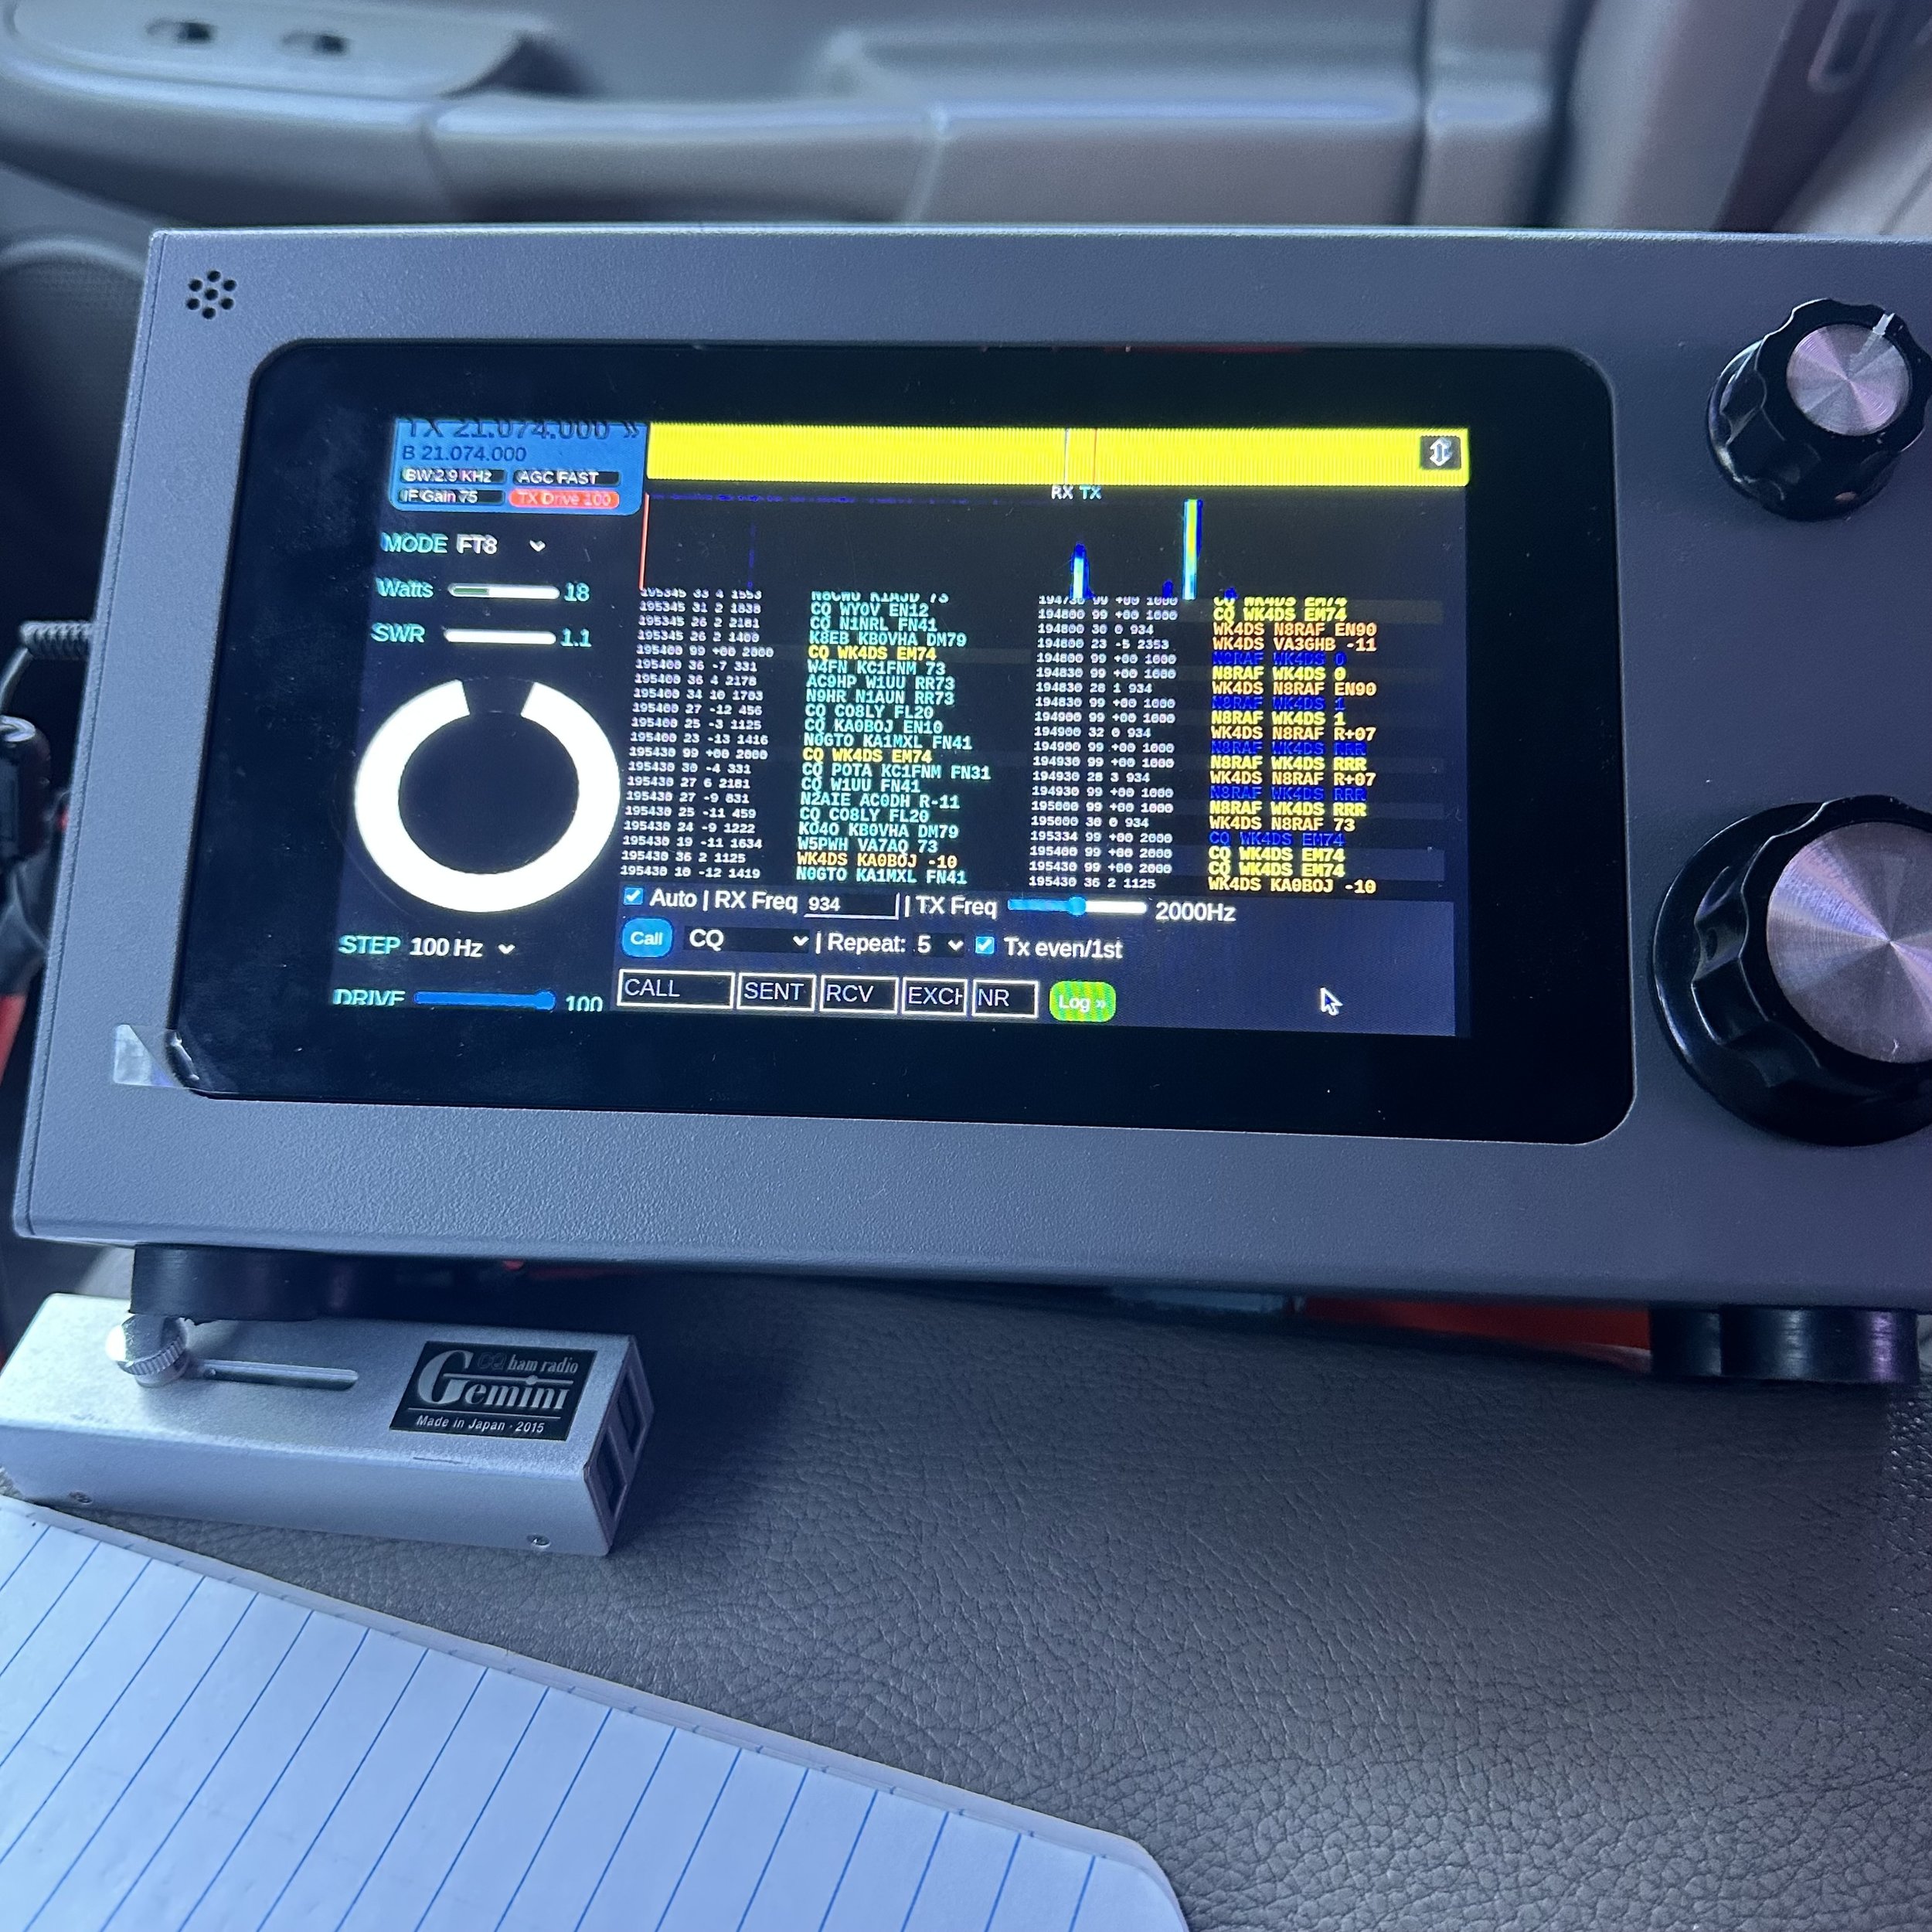
Once the antenna was deployed, I got back in the truck and powered up the radio to see if there was anything going on and boy was there! In this photo I am working FT8 on 15meters and as you can see the band was not very active with FT8 operators (you can see it on the waterfall). No one answered me, probably because they couldn’t hear me very well compared to other ops, and after a while I decided to see if there was any CW contacts on 15. After several minutes of calling CQ, I had netted just two contacts. These two showed how good 15 meters is for distance though with both of them being a great distance away from my park. So sometimes the band just isnt there for you to make contacts even if the RBN says it is.
All that aside, I started on 20 meters as it is my goto band if I dont have a lot of time. If you have been reading my blog posts for a while, you will know this, so here I am on 20 meters and I decide to start on CW this time and see what I can find. I get my spot on the POTA site and off we go, it didnt take long to secure the activation and then some and once I had cleared the little pile up I had going I decided to hop on FT8 to see what I could do. FT8 went really well there to with me netting 14 QSOs there as well before I decided to move up to 15 meters. What I really like about FT8 is that it is pretty hands off, this allowed me to fill out me log on HAMRS and get it caught up to the most recent QSO before I finished out this mode and changed bands. That is really cool in my book.
Now that I have the wiring in the doors repaired I am able to route the antenna coax though the window the easy way as long as it isn’t raining… This is really fast and doesn’t pinch the coax like running it through the door jamb does when I operate in the rain. You really don’t know how convenient this is till you don’t have access to a feature like windows that roll down… It is almost comical how long I put off repairing the wiring in the two back doors and to be honest, it really wasnt that hard either…live and learn.


In the above screenshot you can see that there was plenty of signal but there just wasn’t many CW ops on the band. I did get one Canadian and Paul up in Idaho before going QRT though. I was happy to get at least a couple of contacts once I setup on the band. It is always interesting to see what the range of a band is when the higher bands are open. I have gotten some pretty long distance stuff with some really bad antennas on 10, 12 and 15 meters in the past. It just takes going up to those bands and looking around and the right time of day for it to work…the band has to be open too, but we all know that at this point…lol.

Today’s key was the Gemini Ham Radio travel key, This little key is great for me as it is the perfect size for my hand and I really like how it collapses into the housing for travel. When you take it apart, you see how simple the design is and that you don’t have to have this super complex device to send good code. This thing really is pretty simple and it works great.
Below shows the radial field I laid out today and this was just to give it something to work with as they are all on the same side of the truck! I used one of my tuned 20 meter radials and the set of 17 meter radials and this gave me great SWR on 15 and 20 meters. I like it when this works out… Of course, since I am using a ham stick, the truck body is part of the ground plane and the radials interact with it so the SWR will depend on where I put the radials. This is why I always attempt to put them at right angles to the mount if at all possible as this is how I tuned them initially and also allows me to adjust SWR somewhat by simply moving them around behind the truck.


This is also a first for me as my log shows almost as many FT8 contacts as CW contacts. (14) FT8 contacts and (19) CW contacts is a good day when you only have an hour and a half or so to operate. I have never been one to try to get hundreds of contacts in one outing, even though it has happened a couple of times, I am more about just getting on the air and having some fun. So at some point I hope to work you on one of my POTA trips!
73
WK4DS