WK4DS Amateur Radio Blog
Search Posts
Penntek TR-35 QRP power, DX & POTA fun!
Today saw me back in north west Georgia and back at US-2169 (Cloudland Canyon State Park) for a quick little QRP activation. I deployed the Penntek TR-35 QRP HF Transceiver today as it is simple, compact and fun to use…as long as you like CW. This is because it is a CW only radio…haha. One of the things I love about this particular park though, is the fact that it has so many different places to setup a POTA station and not be in anyone else’s way. Today saw me deploy to the top of the hill at the Frisbee golf course (which happens to be my all time favorite place to deploy when at this park) and setup the telescoping vertical on the truck receiver hitch mount that I made. Since this location is in direct sun most of the time, I opted to set the radio up in the cab.
Cloudland Canyon State Park - US-2169 POTA Destination
Today saw me back in north west Georgia and back at US-2169 (Cloudland Canyon State Park) for a quick little QRP activation. I deployed the Penntek TR-35 QRP HF Transceiver today as it is simple, compact and fun to use…as long as you like CW. This is because it is a CW only radio…haha. One of the things I love about this particular park though, is the fact that it has so many different places to setup a POTA station and not be in anyone else’s way. Today saw me deploy to the top of the hill at the Frisbee golf course (which happens to be my all time favorite place to deploy when at this park) and setup the telescoping vertical on the truck receiver hitch mount that I made. Since this location is in direct sun most of the time, I opted to set the radio up in the cab.
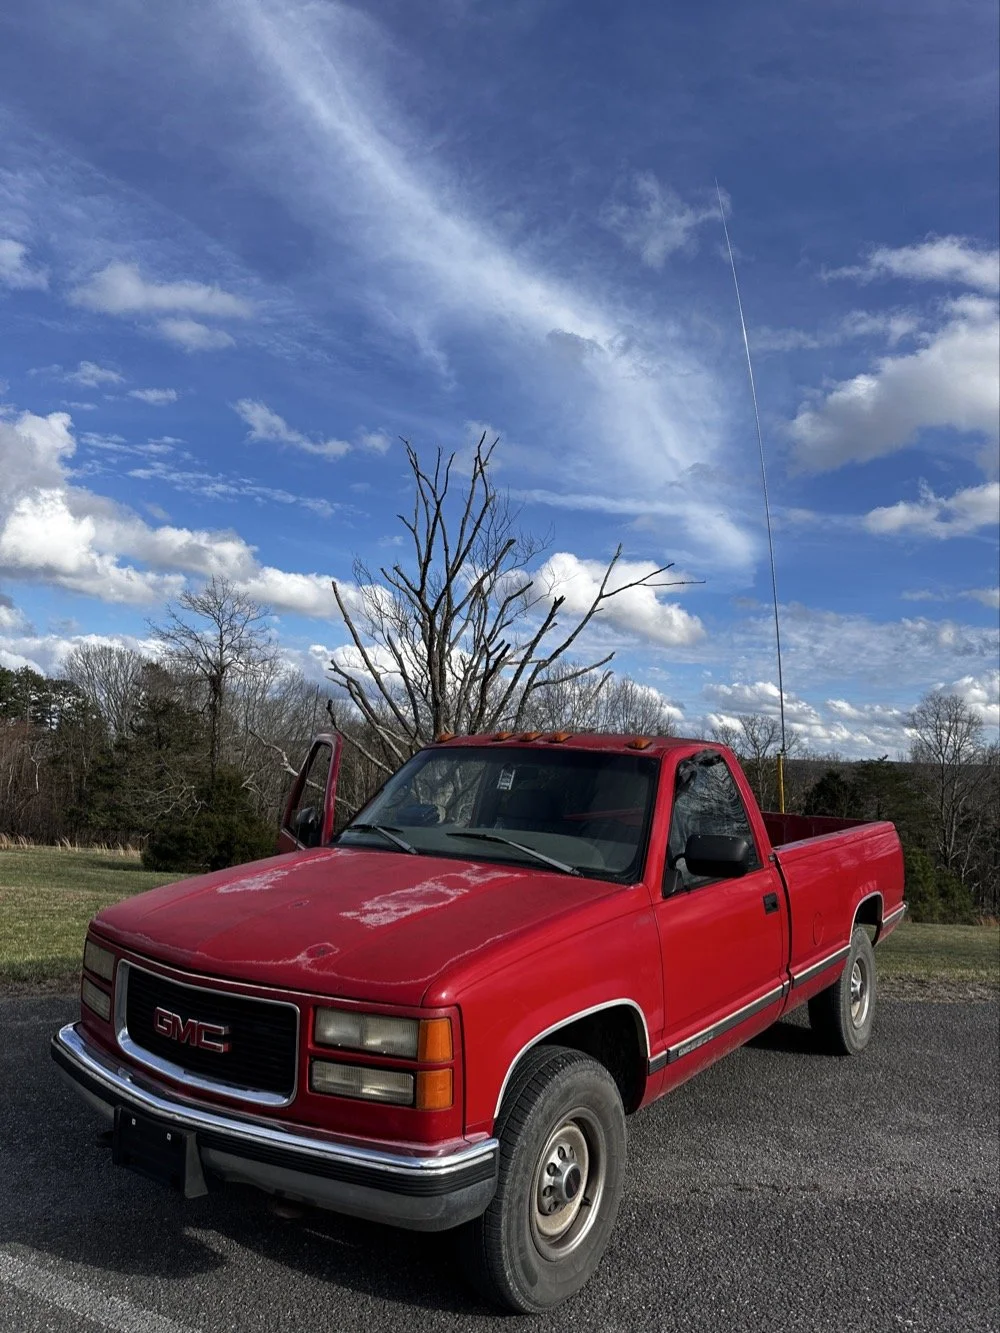
The old red chevy is back in service as the War Wagon is down currently with several problems. Today saw me setup the 18.4’ telescoping vertical from Amazon.
Setting up the 18.4’ Telescoping Vertical Antenna on 20m
Tuning is simple with my old friend the nanoVNA. I have learned to simplify my tuning process to the following. I will setup the antenna and collapse the first section at the top as it never ends up being needed unless I go below 20 meters. Then I deploy the two usual radials and connect them to the ground lug on the antenna base. Then I connect the nanoVNA to the base of the antenna with a short coax jumper and power on the nanoVNA. I have mine set to power on with the span set from 1mhz to 30mhz and you will immediately see the null where the antenna is tuned somewhere in the middle. Then I choose the menu for the marker and set the marker to minimum and then check the “tracking” box so it will follow the null. When you do this, the marker will display the center of the tuned frequency at the top of the nanoVNA. Now all you do is start shortening the antenna a little at a time till the frequency moves up to about 14.050mhz and your done! I happen to be just tall enough to be able to reach to first collapsible section on the antenna while it is still mounted and I can simply slide it down a little at a time without having to take it down to do it. This whole tuning process takes maybe two minutes now that I have done it so many times. It goes really fast. With the antenna built and tuned to 20 meters CW (today I couldn’t get the SWR below 1.5:1 for some reason but as you will see later, that is not a problem), I turned my attention to the radio side of the build out…
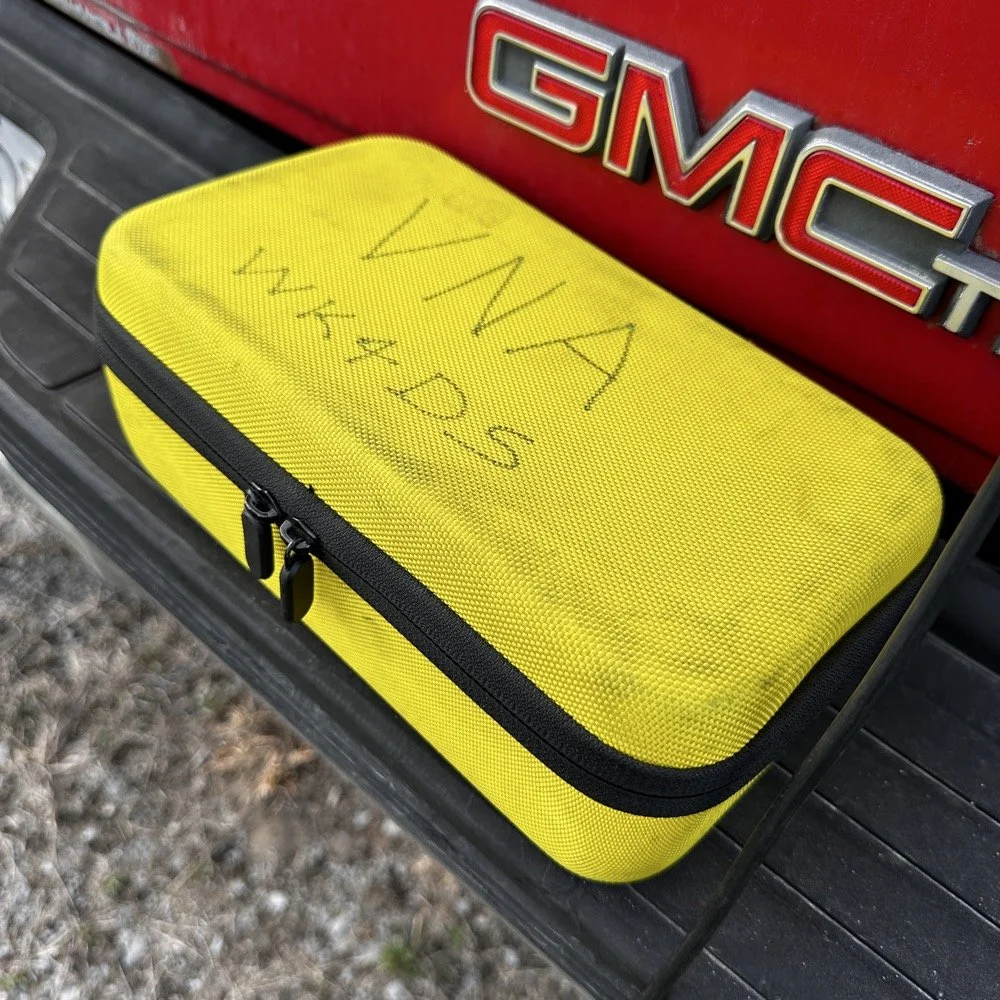
The GigaParts soft shell case is a great way to store a nanoVNA and all the cables and adapters you will collect for it.
Quick side note… I have FINALLY bought a hardshell case for my Begali Traveler CW paddle! I found this little case at Walmart if I remember right and the foam was left over from the Harbor Freight hard shell case for the Scout 555 I bought recently. I guess it pays to hold on to the scraps on occasion…haha. I have about gotten to the point where I dont save stuff like this foam, but for some reason I held on to this one. I really love this key and it have become the de-facto key I use as long as I have a hard surface to sit it on. I have retired my N3ZN key that I got from Tony a while back to my camper key and it now lives with my TenTec Argonaut V permanently in that capacity. I still deploy with three keys most of the time and if I don’t bring the Penntek TR-35 then I will have two keys. I will get into all that later, but for now, lets keep setting up the radio.
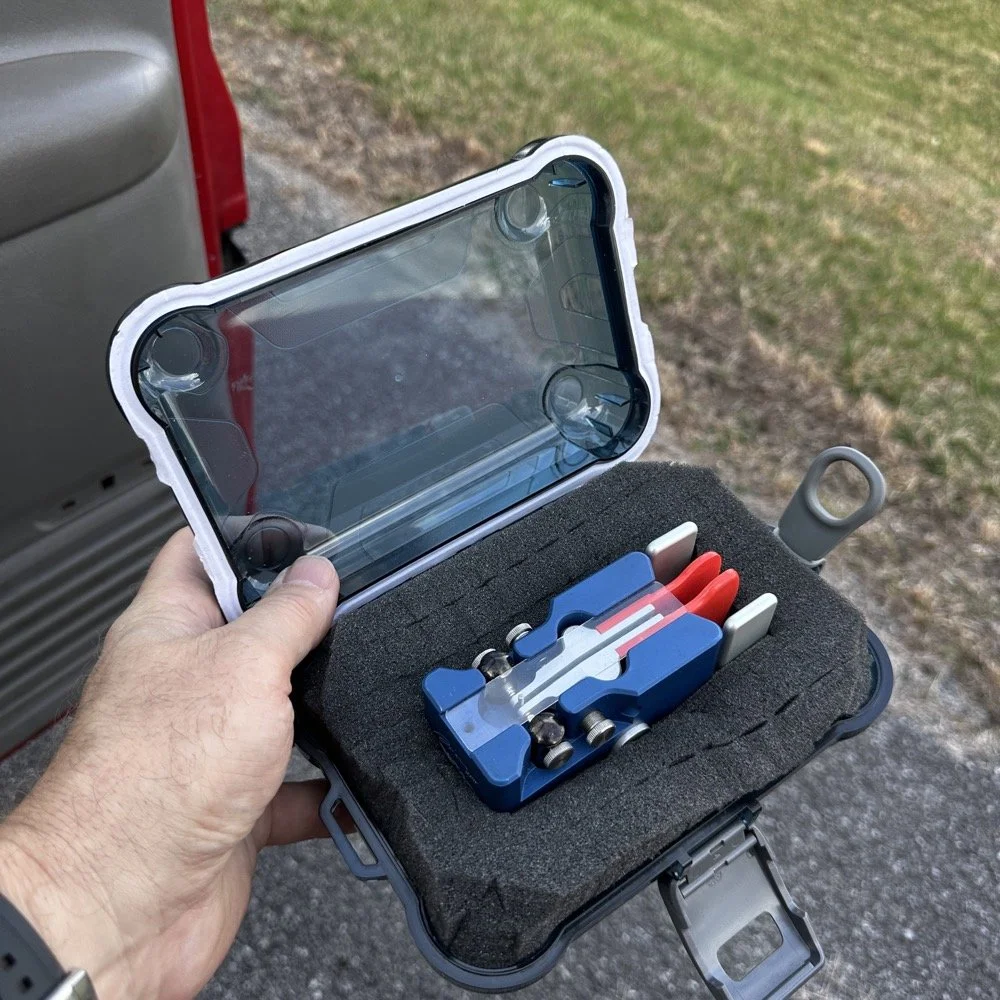
I finally procured a storage solution for my Begali Traveler CW paddle so it doesn’t get damaged between POTA park activations.
Pros and Cons of the Penntek TR-35 QRP Transceiver
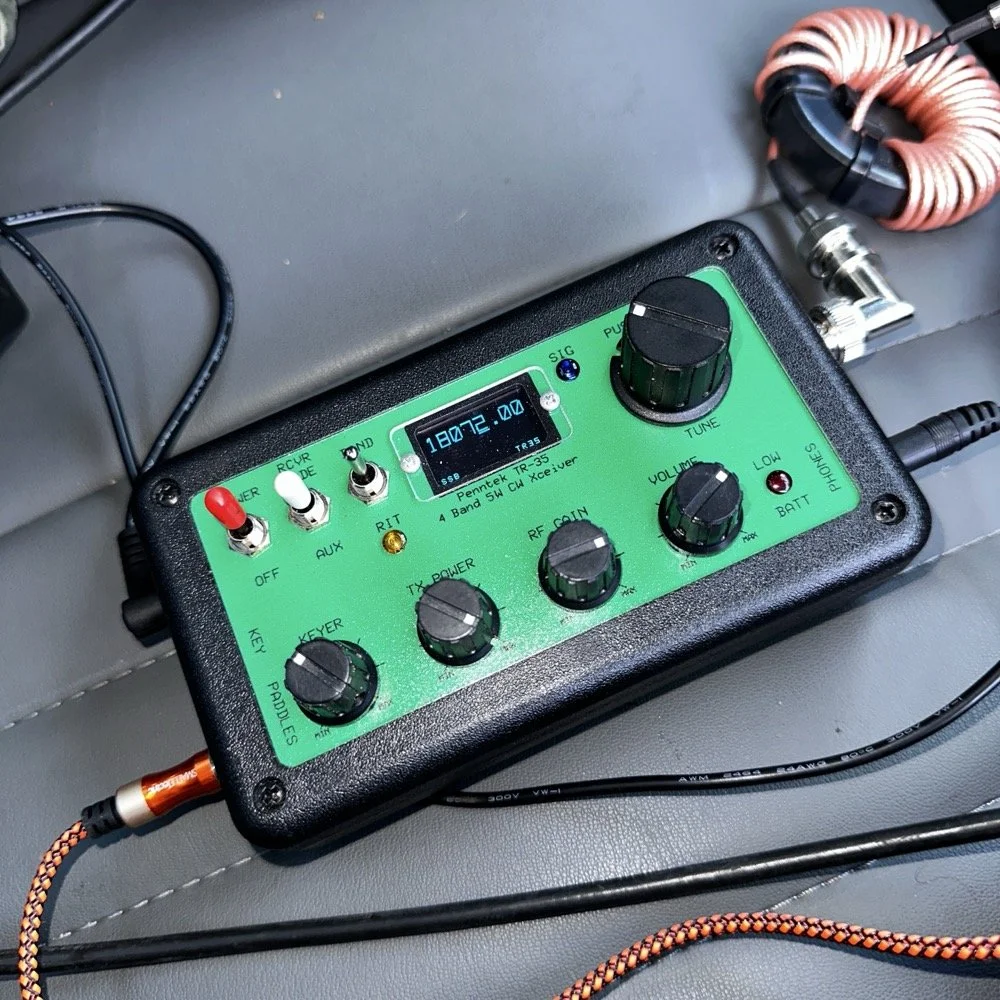
Below is the star of the show…the Penntek TR-35 4 band QRP HF Transceiver. This little radio sports the following features which make it perfect for POTA field ops.
It is small and light weight.
Output power is a full 5 watts and adjustable down from there.
Three filters he calls SSB(VERY wide), CW wide and CW narrow. I think CW narrow is 500hz or a little less as it is really selective.
Two keyer memories that are easy to program once you get the cadence down.
4 HF bands (40m, 30m, 20m, & 17m) The radio only toggles up through the bands with the band switch. Simple and effective.
RIT which is de-facto split if you need to work a split station. It also helps me when someone is off a couple hundred hertz as well.
VFO has three speeds for the tuning. The default two are past the decimal and a long press on the VFO will set it to 1 khz tuning which is really fast for the CW portion.
There is a physical RF Gain AND a Volume knob!!! That is awesome on a whole different level by itself.
The keyer speed is set by a knob so speed changes for different POTA hunters is easy and fast. I really like this feature.
It has a straight key input as well as a paddle input so you are ready to go with either kind of key.
Some detractors that I wished were different are…
I really wished it had 15 meters instead of 17 meters…but I digress…
It is so small that there is no room for a speaker so you must use some sort of external speaker whether it be earphones or something like what I used today.
It lacks an S meter and this bothers me so much that I built one just for it. Link is here to that article…
That is about it for what I dont like, it is almost perfect.
The Penntek TR-35 HF QRP transceiver is almost perfect, it is so close I wouldn’t change it now if I could. It really has everything you need and nothing you don’t to run a POTA activation.
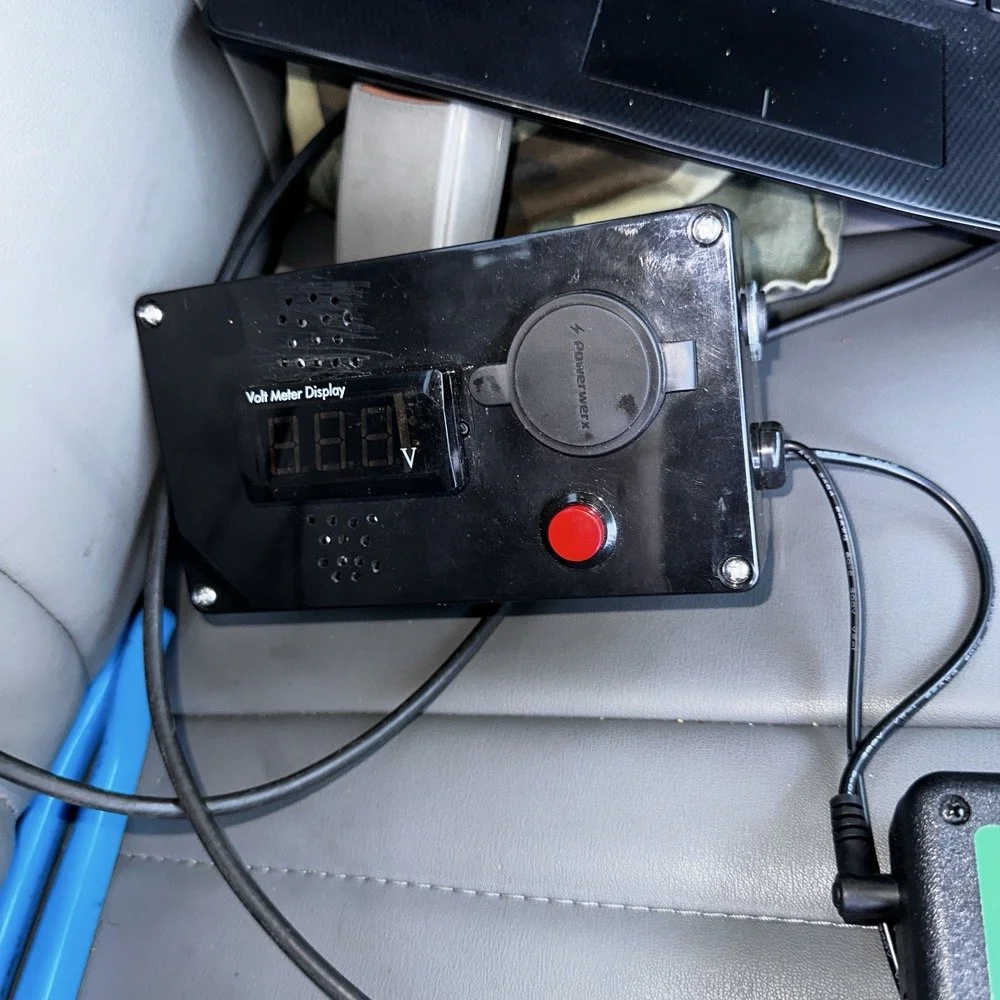
Homebrew power pack containing a Bioenno 3Ah LiFePO4 battery, speakers and a "on demand" voltmeter with a pair of Anderson power pole connectors
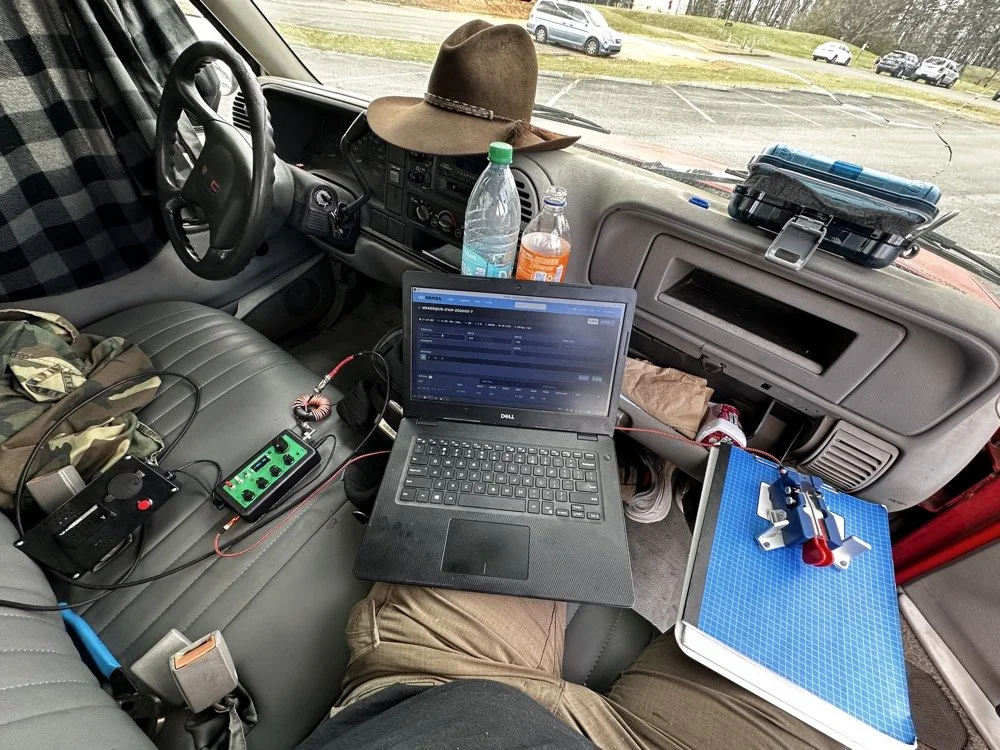
This is the station for today. Dell Inspiron computer, Begali traveler paddle, Penntek TR-35 QRP radio, and a POTA park!
POTA Station Positioning and Start Up
Once I finished connecting all the RF equipment together, I had to figure out where I would sit. I had not really considered this as my regular truck has that huge, flat arm rest that I normally have access to. With that considered, I decided to setup in the passenger seat as this made the most logical sense. Then I had the problem of the sun causing me a ton of glare and I had to come up with something to mitigate it. The below photo is my expedient “curtain” that I simply rolled up in the window. Modern problems call for modern solutions… lol.
Once the sun was beaten back out of the cab of the truck, I had to figure out how to setup up the whole station so that I could send code and log the contacts as well. What you see is how I solved that problem, I just balanced the computer on one leg and the clip board is cheated. The clip board is actually sitting on the top of the open glove box, which is stabilizing it, and then it is making the third contact on my leg which turned out to be very stable for the cw key. The Begali Trraveler is one of those keys that once you get it set like you want, it is simply a dream to use. I have learned that it takes me a few minutes to get it positioned properly or I will make a lot of mistakes with it. But once I get it in the right spot, it just works.
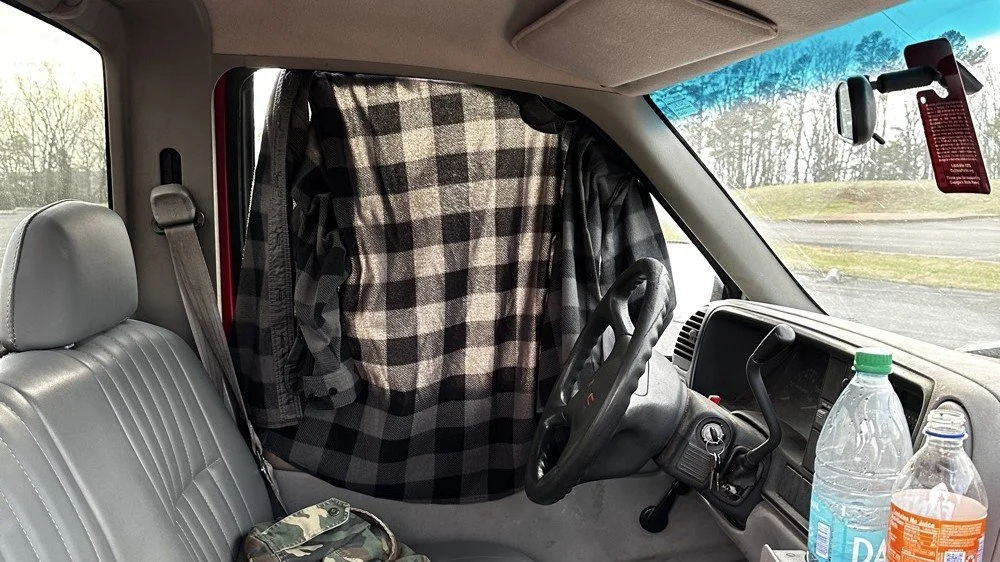
Simple problems require simple solutions, this is how I removed the sun glare off of my radio and computer screen today. If it works…
Activation Report: The Penntek TR-35 and 5 watts of RF Power
Once I had the station sorted out, I powered up the rig and hunted me a clear frequency, today the 20 meter band was going strong so the band was a little crowded. I would call QRL (This means “Is the frequency in use?”) and I would hear a lone “R” come back to me. This means someone is using it so I would simply dial to another frequency and try again. I finally found a clear spot and listened for a bit as sometimes you are on the other side of a station that is talking to someone you can not hear and they are listening to them at the time you get on frequency. So it is a good idea to listen for a while before sending QRL to make sure this is not happening. I didn’t hear anything and after calling QRL again, I started calling CQ POTA… Then things took off…
The log for this activation came together really nicely, and I was pretty happy with how the bands cooperated. All 36 contacts were CW at 5 watts QRP from US-2169, split between 20 meters and 17 meters.
I started on 20m at 14.061 and the pile-up got going almost immediately. The contacts came in steadily from all over the place -- Illinois, Vermont, Michigan, Missouri, Maryland, North Carolina, Texas, and more. A couple of Canadian stations made it into the log too, with VE3UXJ and VA3EKR both pulling through with solid enough signals to complete the exchange. Signal reports on 20m were mostly in the 559 to 599 range, which honestly is about as good as it gets when you are running 5 watts into a field antenna. Also remember that this radio lacks that S meter I like to have…so the signal reports were a bit more subjective today compared to other days.
After working through the 20m pile-up, I switched over to 17m at 18.072, and that is where things got really interesting. The band was in good shape with minimal QSB and the contacts kept coming. It did take a few minutes of calling CQ to get the RBN (Reverse Beacon Network) to auto update my spot on the spot page of the POTA website, but once it did, things started looking up! I picked up stations from Idaho, Florida, Colorado, Washington, and Texas, among others. But the two that really stood out were HI8D out of the Dominican Republic and JH1OCC from Japan! Getting Japan in the log on 5 watts from a field activation is always a treat, and the fact that JH1OCC came back at all through the noise is a testament to how well 17m was performing this afternoon. His received signal report was a 339, which is pretty typical for a trans-Pacific path at QRP, but a contact is a contact and I will absolutely take it! This has happened to me a few times now while doing POTA, I will be on one of the upper bands and a band opening to the Far East will open up for a couple of minutes and I will land one or two Japan calls. It takes me a minute to process this sometimes, as it is a long way to Japan from NW Georgia!
Total QSO count landed at 36, which is a solid activation by any measure. Both bands contributed meaningfully, and the geographic spread across the log -- from the Midwest out to the Rockies, up into Canada, down to the Caribbean, and all the way to Japan is one of those things that never gets old no matter how many activations you do. Five watts and a wire…errr…vertical…lol…, doing its thing. This setup worked pretty well but if I could improve it, I would make a more steady surface for the key. The key moved around too much for my liking so I would like to correct that going forward, like maybe use a different key…lol. Anyway, it was a great day in the park and I hope this nudge you to get out and activate a park near you.
You can help support this website by using these Amazon Affiliate Links:
QRP/Portable Radios:
Antennas & Tuning:
CW Equipment:
Power & Accessories:
Organization & Transport:
BONUS ITEMS
73, David / WK4DS